How to Take Good Photos
A Few Basic Tips on How to Improve Your Travel Photography
Article Date: May, 2010
Article and Photography by Mark Quasius
Overview
While certainly not a professional photographer, other than the RV photos I shoot for magazines, I do tend to gravitate
towards the "serious amateur" category. My greatest passion is taking pictures of wildlife and landscapes in the American West therefore the tips
I give you are tips that have worked for me while photgraphing these outdoor subjects. A few of these images have been posted on this site for
your enjoyment. I will share with you a few tips and techniques I've learned over the years. While this is far from a tutorial course on photography,
I feel that you may gain from some of these perspectives so, here goes.
First, there are a number of different forms of photography. Macro photography covers detailed close-up images of small objects,
Sports photography covers fast action events as they occur while portrait photography deals with static subjects and extensive lighting control to
produce glamour shots. My hints and tips deal with none of this. Instead, I will concentrate on the areas I enjoy the most, namely landscape photography
and wildlife photography. Each is unique and requires special techniques and considerations so we'll deal with them separately.
Landscape Photography
Landscape photography is what I call my "slow" kind of photography. It closely relates to the "hurry up and wait" metaphor.
When you are setting up to take a large panorama of the Grand Canyon, a mountain, or a lake - your subject isn't going anywhere so you have plenty
of time. Use this time to properly set up your shot. Find the best angle and position yourself for the best vantage point to take the shot from.
Also, while the subject doesn't change, the light conditions do. Take some time to research your setting. Ideally you'd be there a day ahead of
time to watch how the light and shadows play as the sun rises and sets. Then make your notes and return the next day at the best time to take
the shot. Many times you do have to be quick to catch that magic moment when the light casts just the right tones on your subject but you do
have to be patient waiting for that moment.
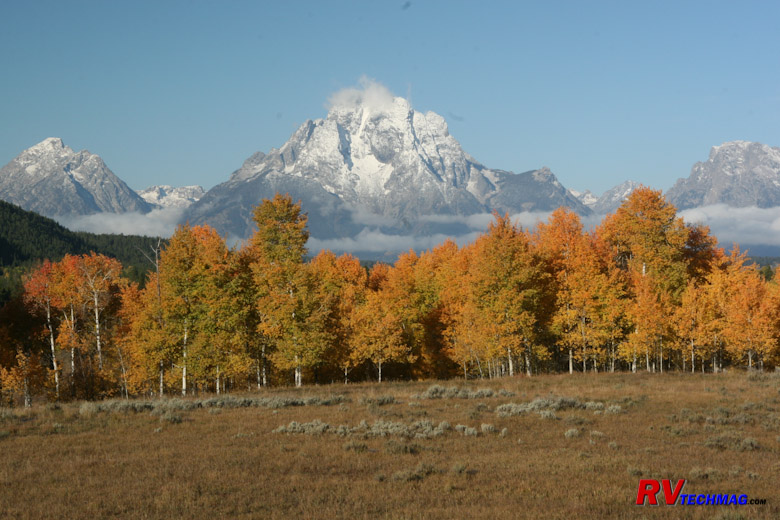
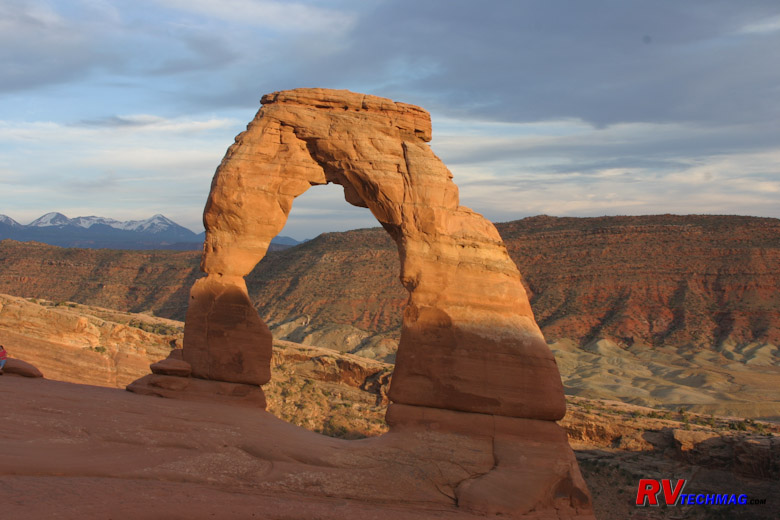
The best light does not occur at mid-day. It's directly overhead and the light is harsh and there is significant contrast
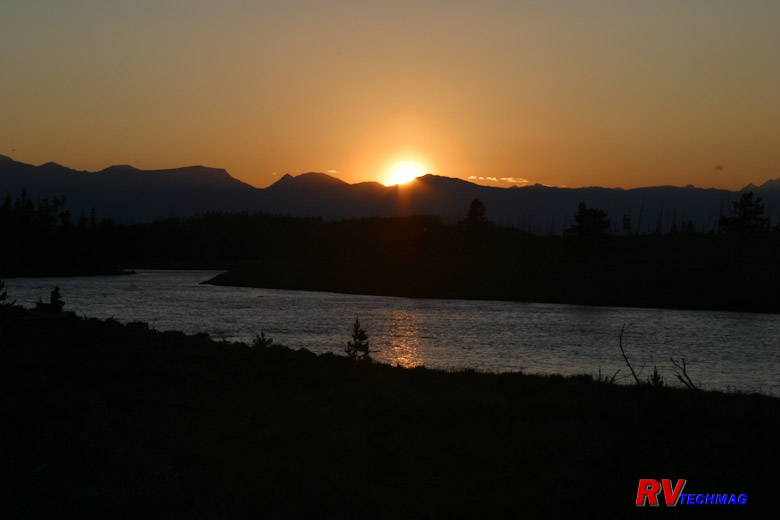
between the highlights and shadows, which makes for bad pictures. During sunrise and sunset the light is low in the sky and as it filters through
the atmosphere it brings a reddish glow to the subject. This is perfect for mountains and canyons. By researching how the light shines on your
subject, say a mountain slope, you'll know whether it's best to be there at sunrise or sunset. Generally the best sunrise pictures are taken
facing west, with the sun behind your back while the best sunset pictures face east. However, there are no set rules in photography so there are
always exceptions.
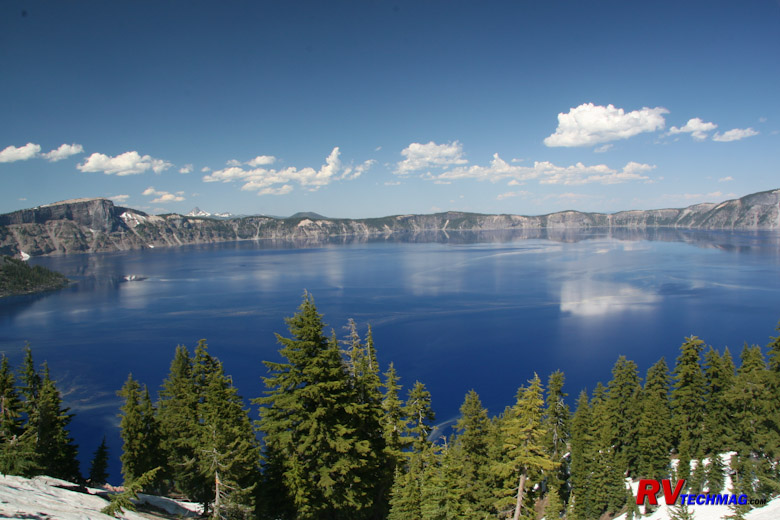
Photography is a two dimensional media. You don't get the same depth perception that you do when seeing the subject with
the naked eye. Therefore you have to learn to think like a camera. Look through the viewfinder and try to forget about what you've just seen with
your eye. It may have looked awesome at first glance but now that you are looking through your camera's viewfinder does it still look awesome or
is it flat and lifeless. The key is to somehow convey a sense of depth in your 2 dimensional images. If you are trying to take an image of the
Great Wall of China, don't face off with the wall and fill the frame from left to right. That's okay for police lineups but not for scenic photos.
Instead, try to make the wall lead into your shot. Take the image on an oblique so that it winds it's way diagonally through the camera viewfinder.
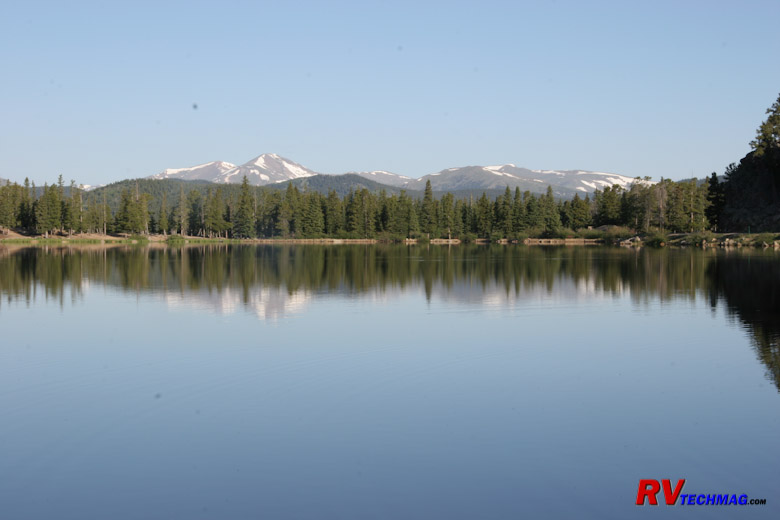
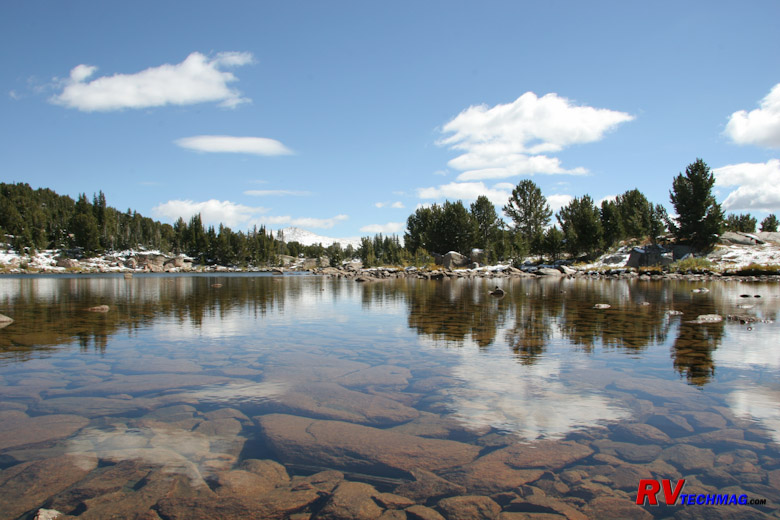
When taking a picture of a distant mountainscape try to put something in the foreground to lead your eye into the image. A lake is a perfect
foreground to a mountain backdrop. Ideally you'll find something in the immediate foreground to allow the viewer's eye to "travel" from the
foreground to the background, thus conveying a sense of depth. This object could be a small boat, pier, or a large rock in the water. If this
object can be placed in the immediate foreground, off to one side, then the viewer's eye will see that first and then travel back across the
lake to the mountain. If nothing is available, placing a person in the foreground looking out over the lake can also be used. Just be sure that
the person is an "element" of the scene and not the dominant feature.
Wildlife Photography
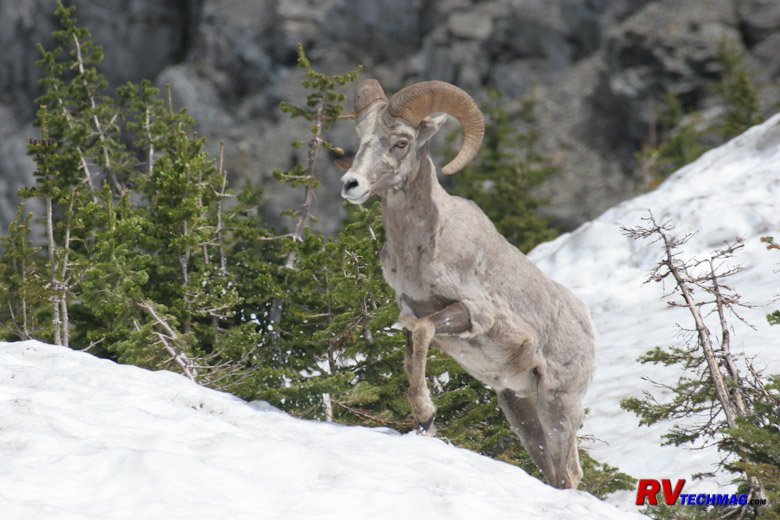
Wildlife photography is my favorite. With wildlife photography you have to think fast and be on the move or else your
subject matter will walk off or fly away while you're thinking about the shot. The number one secret to success is to understand your subject.
Take the time to research them and what their habits are. Are they shy? Are they inquisitive? How dangerous can they be if approached? Always
remain a respectful distance from wildlife, regardless of how dangerous or tame they may be. If you have a small point and shoot camera don't
expect to get close-up images of any animal. You'll need a zoom lens for this. If you approach them they'll only move away and the best you're
going to get is a shot of their posterior section as they move away from you. Plus, you'll destroy the opportunity for others to view that
animal so be respectful of both the animal and other photographers.
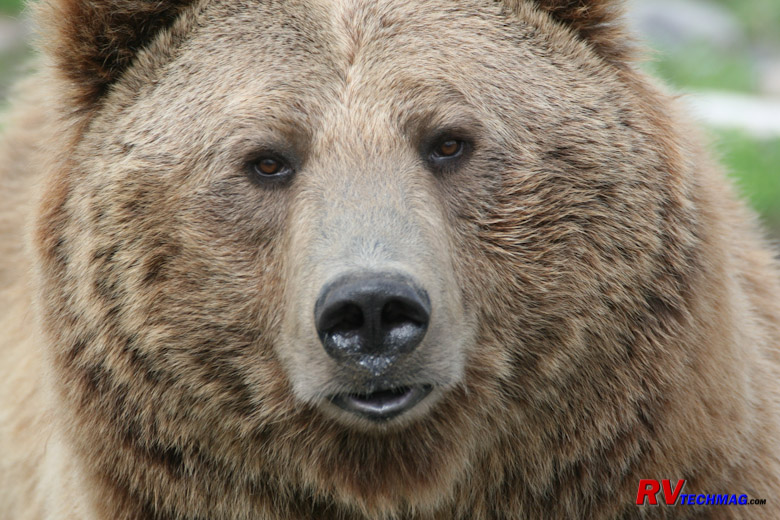
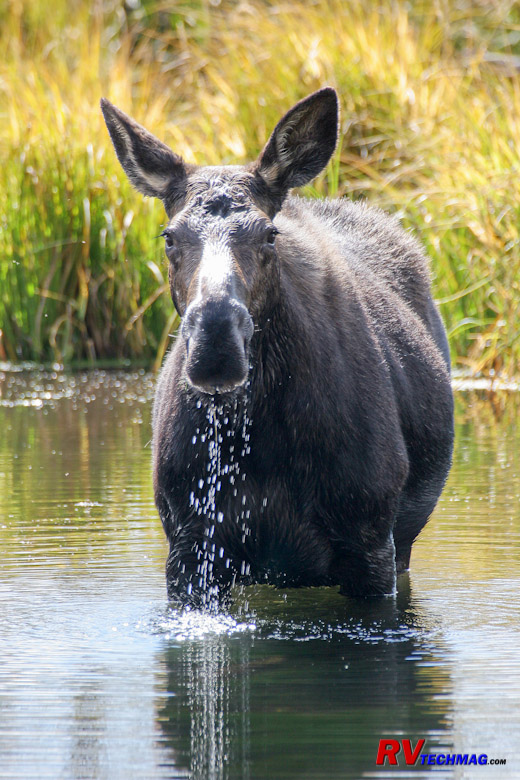
Lighting is also a factor when shooting wildlife. A number of the large mammals, such as moose or bears are dark in color.
If it's a bright sunny day the animal will appear as a dark blob. If there are clouds passing over, try to wait until a cloud covers the area to
reduce this high contrast setting. If the animal moves into a shaded clearing you can use your zoom lens to limit the frame to the shaded area,
thereby eliminating the effects of the bright sun. Shooting into the sun rarely works well. Try to position yourself so that the sun is behind
your back if at all possible.
Here are three key tips that I've found help me in wildlife photography.
The first is to keep low. Most animals spend their time eating or sleeping. If they're sleeping you generally won't be
taking their picture because they'll be hiding in a thicket someplace, although there are always exceptions. Most animals find their food on the
ground, whether they are grazers or scavengers. This means that they're heads are down as they are grazing. If you move to a reasonable range to
take a picture the animal will want to know where you are in order to protect himself. This isn't the family dog you know so he'll be somewhat
protective, defensive, and/or apprehensive. If has to look up all the time to see where you are, he'll be nervous and you'll find him moving off
and away from you. If the terrain has any kind of slope to it, try to position yourself down slope, looking up. That way he can easily see where
you are. You'll also appear smaller and less threatening and the animal won't be as apprehensive as if you are standing up looking down in him.
The second is to avoid eye contact. When the animal looks at you and sees that you are looking back at him he'll determine
that you have some interest in him. Naturally he doesn't know you only want to take his picture so he'll assume that you might be looking for a
free lunch or something and he'll begin to position himself at a safe distance. This will destroy your shot. You best bet is to avoid direct eye
contact. A brief glance is all it take to analyze the situation. Then, when you are in position, use your camera viewfinder and lens to make your
final decisions. He can't see your eye through the camera lens.
The third is to never directly approach an animal. If you do, the animal will know that you are interested in him. As in
the above example, he'll move away and you'll never get the shot you wanted. Instead, set up an intercept course. Study the animal from a
distance. Determine where he was, what he's doing, and where he's going. Then look ahead to where he's going and find the spot that is best
suited for taking the shot. Ideally it's down low so the animal is looking down at you, you'll have good cover to shoot from, and there will
be an attractive backdrop once the animal moves to his new position. Keep in mind that he may change his plan so you want to keep your options
open somewhat. Then, move to that spot and patiently wait for him to get there. The key is that you are not approaching the animal. He is
approaching you. Therefore he won't think you are interested in him or feel threatened and he's not as apt to move away from you. While you
are patiently waiting avoid any excessive eye contact. If you can appear disinterested in him he'll be more at ease.
Summary
This is far from a course on photography but I hope that these tips will help you take some better images. As always, there
are no hard and fast rules because every situation is different. So, feel free to vary from these rules whenever necessary. Photography is a
dynamic subject and conditions change rapidly. The most successful shooters get the shots they do because they are out there. You just have to be
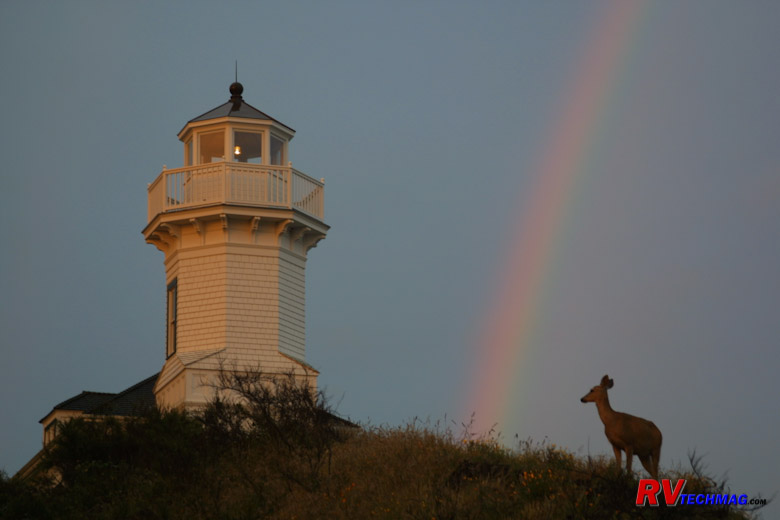
there. Some of my best shots were ones that God just handed to me. The above example of the rainbow was one. I didn't plan this or Photoshop it
later on. We saw a rainbow in the east one evening and thought we would drive to a better location. We barely got out of the parking lot when there
it was. The rainbow was next to the lighthouse tower and the deer walked into the scene just as if it was a motion picture that God wa directing.
shots like that you just cannot plan or set up for. But just being out there increases your chances of being handed a great photo opportunity. With
the advent of digital photography there is no more "film is too expensive" excuse so take plenty of shots. You'll find that everyone, from pros to
amateurs, have a fairly low hit rate, or percentage of shots that turn out well. The key is to take plenty of them and experiment to learn your craft.
Enjoy!
Return to Home Page
If you enjoyed this article be sure to recommend RVtechMag.com to your friends, like us on Facebook or Twitter
or subscribe to our RSS feed.


|


