Multimeter Tech and Proper Use
An Item for Every RV Owner's Toolbox
Article Date: September, 2011
Article by Mark Quasius
Photography by Mark and Leann Quasius
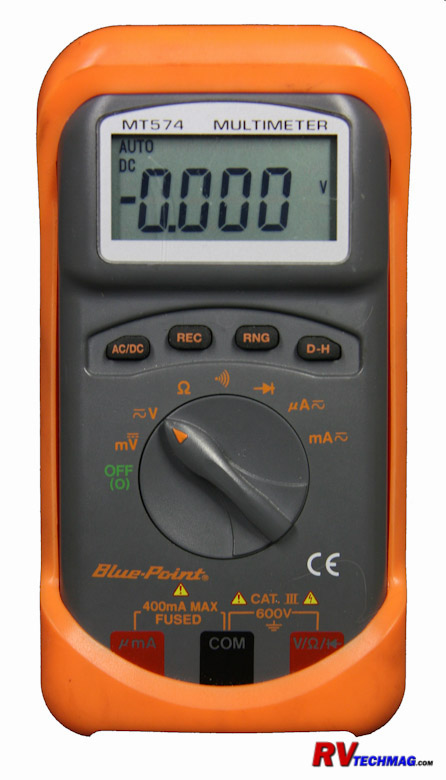
A multimeter is something every RV owner should carry in their RV's toolkit. Multimeters come in either analog or
digital versions and can be used for a vast array of electrical tests and repairs. Analog meters feature the traditional dial and needle
type display whereas digital meters utilize the digital LCD display. Analog meters have pretty much been made obsolete because digital
meters provide a more accurate reading with greater precision. Digital meters are available for prices ranging from dirt cheap to astronomical.
Fortunately, good quality meters can be purchased for minimal cost and will easily handle the needs of any RV owner.
Testing Voltage
|
Multimeters are easy to use when testing voltage. You just turn on the unit, switch it to either the AC or DC
voltage setting, stick your probes on the battery or electrical item being measured, and read the displayed answer. For many RVers,
that's about as far as they go. Yet, multimeters can be used in a number of ways. You can use them to test for voltage drop at
various circuits, blown fuses, current draws, heating elements, and to verify bad cable connections.
|
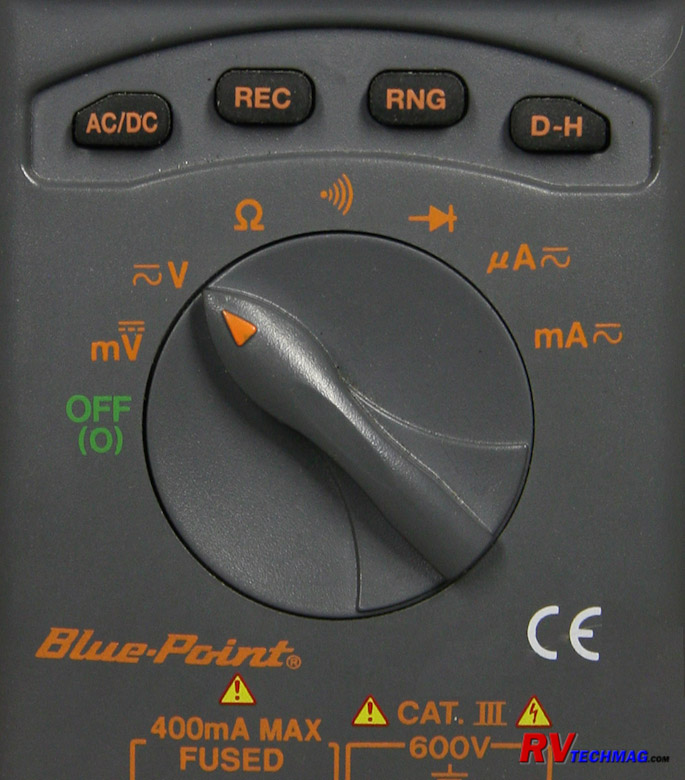
The various functions of the multimeter can be chosen via the selection dial.
|
|
The most common task is checking pedestal voltage. Twenty- or 30-amp RV pedestals use a three-wire receptacle.
This means that there will be a single hot pole, a neutral wire, and a ground wire. When setting the ammeter to the AC voltage setting,
you will be able to test for proper pedestal voltage by inserting one probe into the hot terminal and the other into the neutral terminal.
A 50-amp service will have a four-wire receptacle. In addition to the neutral and ground wires, there will be two hot poles. Testing
either of these hot poles to the neutral should produce 120 volts. When testing one hot pole to the other, you should have 240 volts
present. If the voltage is not within tolerance, do not plug your RV into that pedestal.
|
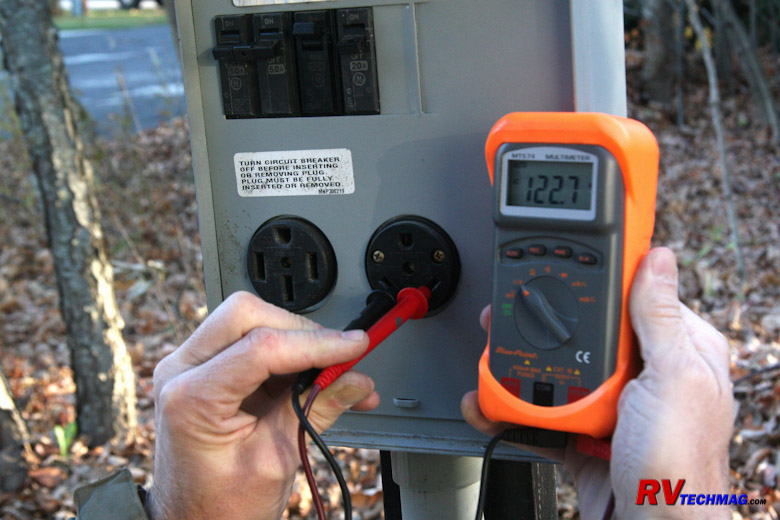
Testing pedestal voltage before plugging in will prevent damage to your RV's electrical system.
|
Batteries
Battery and charging system testing is another popular use for the multimeter. Batteries should measure 12.6 volts
when at rest if fully charged. If not, you may need to isolate your batteries from each other and charge them up individually, then test to
see which battery is drawing your battery bank down. When the charging system is running, you may see in excess of 14 volts while bulk charging,
or 13.2 if in float mode. If you constantly need to add battery water, the odds are good that your charging system is putting out too much
voltage, most likely during the float mode. If your battery voltage is in excess of 13.2 volts while in float mode, your battery charger is
putting out too much voltage and is in need of service or replacement.
Current Draw
|
Another use for multimeters is to test for current draw. If your RV loses battery power while parked, you may
have a current draw some place that needs to be dealt with. Every RV will have a certain parasitic load. Motorized RVs in particular
have draws associated with the engine and transmission ECMs while clocks and radio memory power supplies are typical of other parasitic
loads. If you suspect that something else is drawing too many amps when parked, you can use your multimeter to test for this. Set the
multimeter to the amps position, remove the positive battery cable, and insert the multimeter probes inline between the battery cable
and post. If you find the current draw to be significant, remove fuses from the various circuits to see where the draw is found. You
can then narrow down your search to a handful of components. If you want to check larger current loads, such as alternator output,
battery charger output, or inverter draws, you'll need to use a clamp-on ammeter attachment. These attachments convert amps to
millivolts so that you can read them on your multimeter.
|
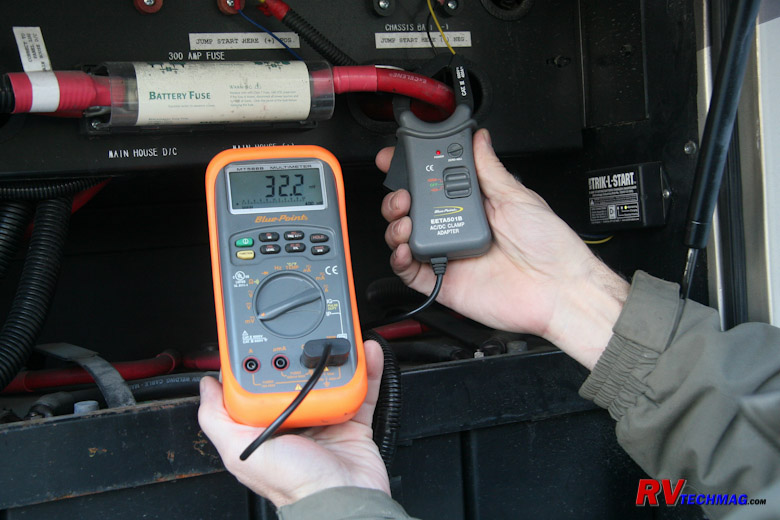
Your multimeter can be used to check current draws as well as alternator or battery charger output.
|
Bad Connections
Battery cables and wiring sometimes suffer from bad connections. A terminal connector may have a bad crimp, a wire
may have pulled out of the connector, or corrosion may be affecting the ability of the wire to transfer current. By placing one meter probe
on one end of the wire and the other probe on the far end of the wire, you will be able to determine the voltage drop or loss as the current
passes through the wire. If your meter reads 0.2 volts, that is acceptable, but if you are seeing 2.5 volts or more, you have a serious voltage
loss in that cable. You'll be able to determine which cable segment is bad by checking the entire run and then narrowing it down to smaller segments.
Fuses
Fuses are another common test. You can use the DC voltmeter setting if the fuse is in the holder and the circuit is powered.
You should have power at the input side of the fuse. If the fuse is good, you will have power at the output side, as well, but you will only have
power on the input side if the fuse has blown. For circuits that are not powered at the moment, you can remove the fuse from the fuse holder and
test the fuse with your meter's ohmmeter function. You should get a reading when you place your probes on each end of the fuse.
|
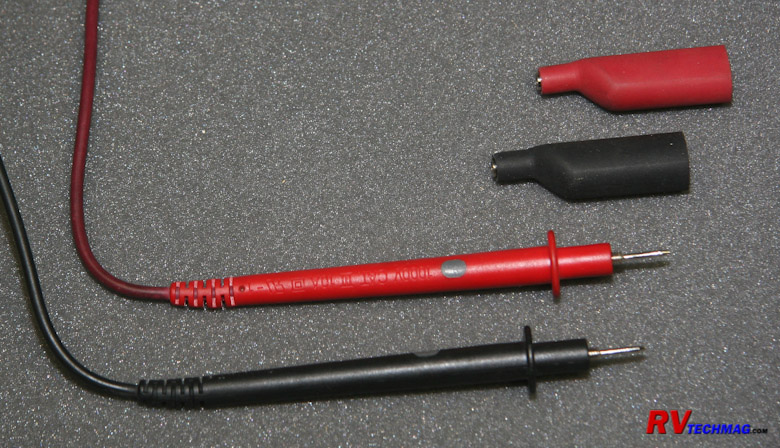
Screw-on alligator clips are a handy accessory to your multimeter probes.
|
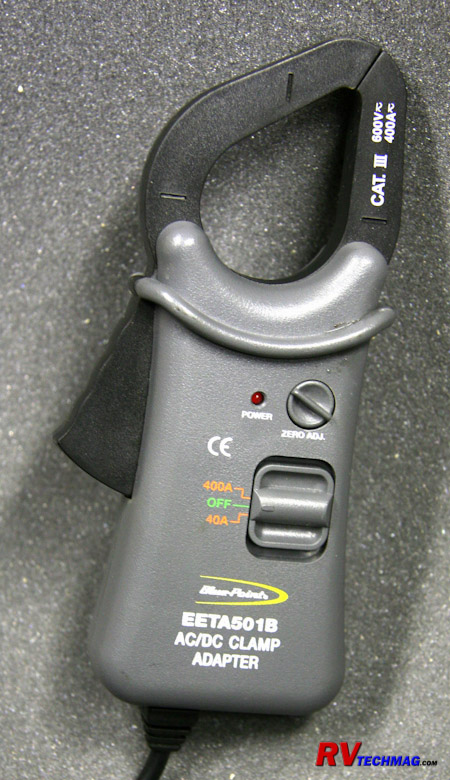
A clamp-on ammeter accessory will allow your multimeter to measure current loads greater than 10 amps.
|
Heaters
Another task is to test heating elements. If your water heater just isn't getting very warm when in electric mode,
disconnect the power from the heater and remove the wires from the heating element. Find out the rated wattage of your water heater and
divide by 120 volts to find out how many amps it would normally draw. Then divide 120 volts by the amperage to find out what the normal
resistance of the heating element would be. Place your multimeter into the ohmmeter mode and test the resistance of the heating element by
placing your probes on the wiring terminal connection. If your heater element is in good shape, the reading should match or be very close
to what your formula came up with.
Hopefully this gives you a better understanding of multimeters and how to utilize them in an RV application. It's
definitely one tool that should be in your toolbox.
Source
Snap-On Tools
(262) 656-5200
www.snap-on.com
Radio Shack
(800) 843-7422
www.radioshack.com
Fluke Electronics
(800) 443-5853
www.fluke.com
Return to Home Page
If you enjoyed this article be sure to recommend RVtechMag.com to your friends, like us on Facebook or Twitter
or subscribe to our RSS feed.


|


