Polishing Aluminum Rims
Restoring the Shine to Weathered Aluminum Wheel Rims
Article Date: July, 2007
Article and Photography by Mark Quasius
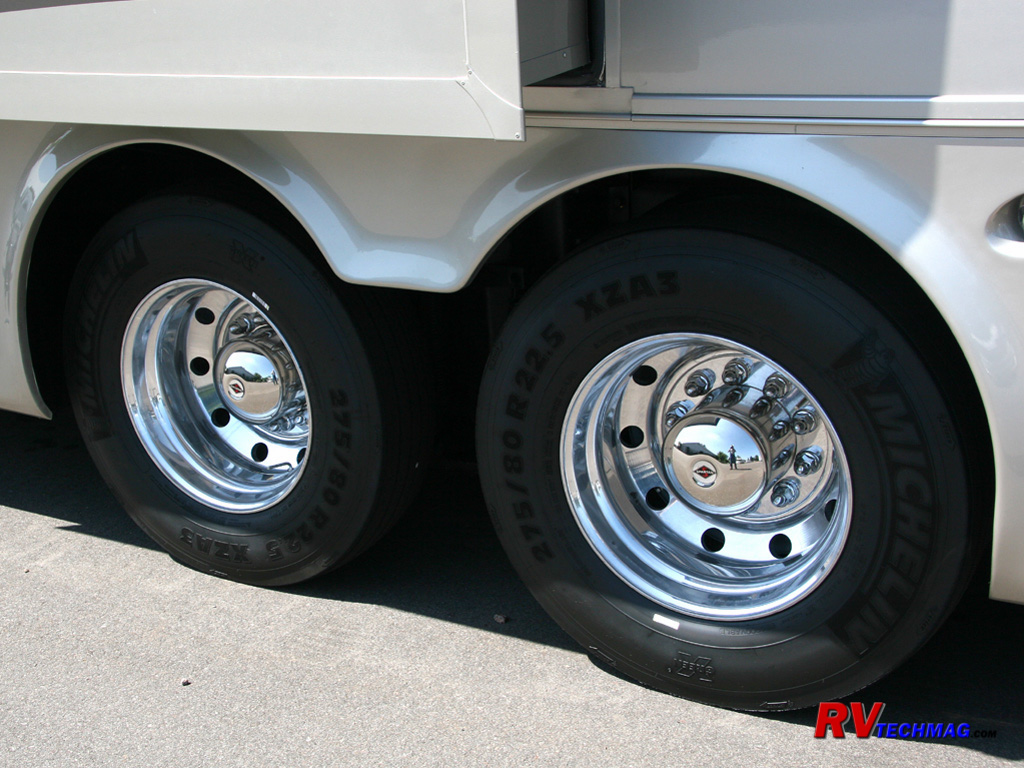
Aluminum wheel rims offer a number of advantages over steel rims. They look cool. They offer a better ride because they are
truer than steel rims and also are lighter. Having less unsprung weight means that the wheel is more apt to stay in contact with the road and won't
bounce as much from inertia. It's also easier to get at the valve stems without cutting your hands on the stainless steel trim rings. Oh, and did I
mention - they look cool?.
However, aluminum rims do tend to get chalky after a while. The constant abrasion from swirling dust, effects of road salt and
tar, and oxidation from the atmosphere doesn't let them retain their brilliance indefinitely. Fortunately, aluminum rims are thick and the shine can
be restored to them by polishing. Some rims are available with a clear coating, which acts as a sealer and will protect them from oxidation. However,
these rims must be lightly washed with soap and water. If you use anything abrasive on them, the clear coat will get scratched and look foggy. While
the clear coating helps to maintain the original shine, it also never lets them look their very best because the coating does tend to dull the original
shine of the aluminum. In a nutshell, uncoated rims look great when polished and bad when they are neglected while clear coated rims never look great
but always look good.
On this webpage I'll detail the steps that I've taken to restore the luster to my AccuRide aluminum rims on my 2007 Allegro
Bus. I'll explain what I did and what I used so that others can benefit from this information.
The "Before" Photos
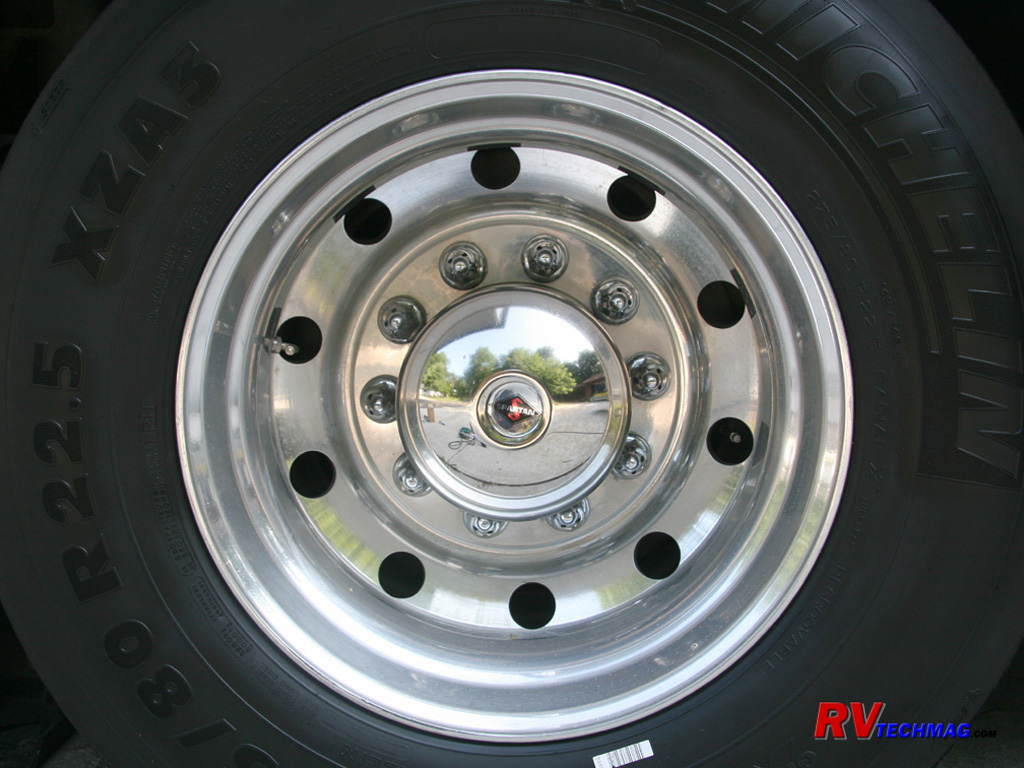
The original rims were in service about 9 months and had just over 10,000 miles on them. This consisted of a wide variety of
driving conditions and also included a bit of salt from the Wisconsin winters.
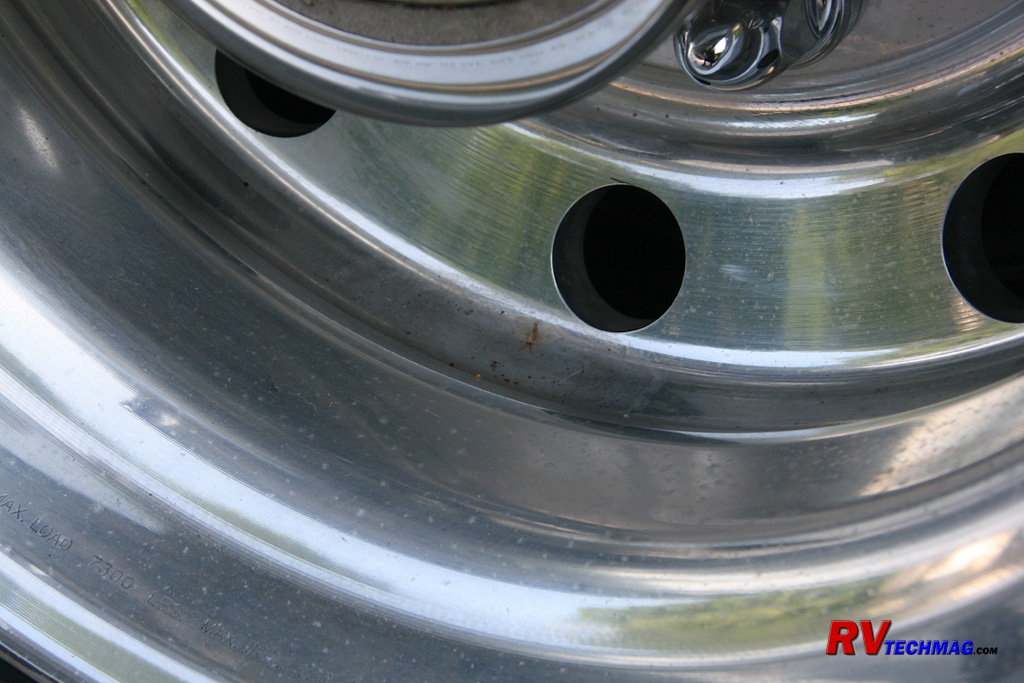
This close-up shot shows the oxidation to the rims as well as some minor corrosive pitting (the white specs). Also, dirt had
settled in a few spots and left oval water spots that remained etched into the rim after the water evaporated and left the contaminants.
The Procedure
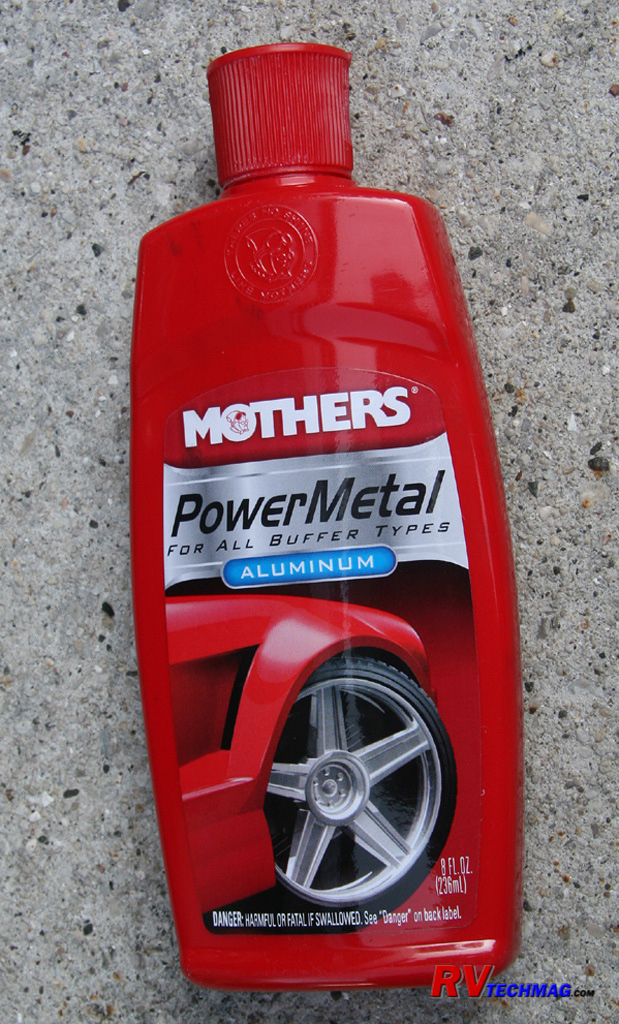
The secret to getting a good shine is to use a good polish. I've used
Mother's Chrome Polish in the past for many things. It's perfect for polishing chrome
mirrors, tailpipes, and even safely removes water spots that have baked onto dark tinted glass without scratching the glass or leaving any residue
or film. But, it's not aggressive enough for polishing aluminum rims. After trying a number of polishes I've settled on
Mother's Metal Polish, which is perfect for aluminum. It does a great job
of removing haze and surface damage with minimal effort. It can be applied with a power buffer or by hand. After trying a number of other polishes I've
found that PowerMetal is the one I prefer for this task.
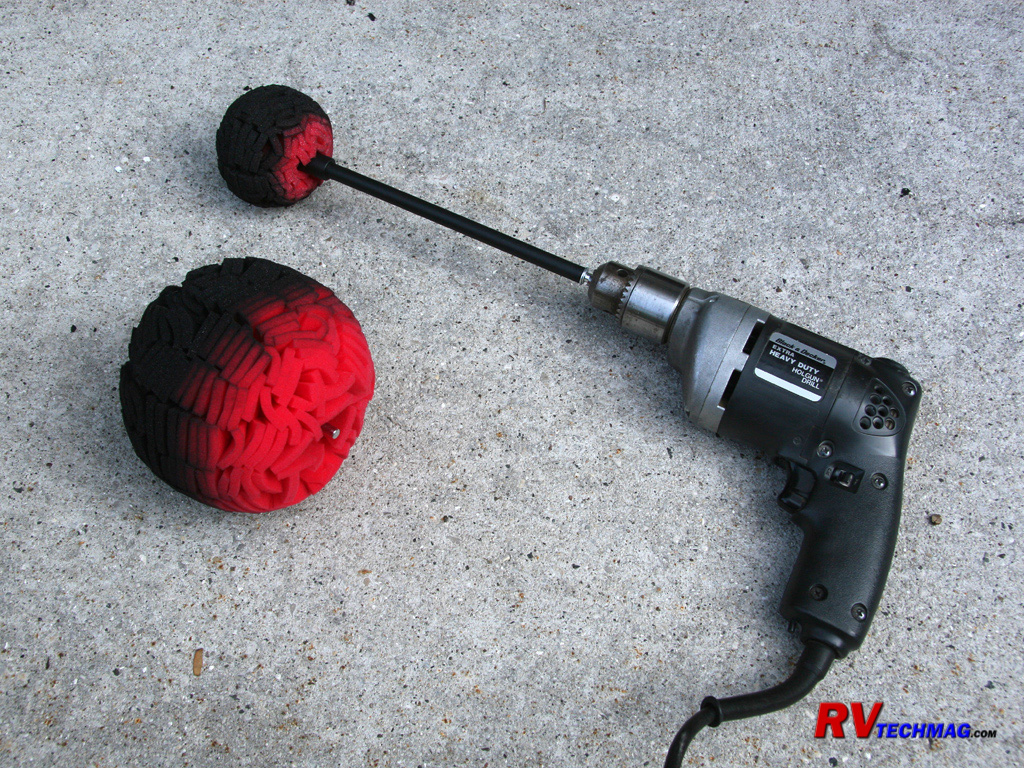
Needless to say, rubbing all that polish on 8 wheel rims is a time consuming project. While the Power Metal Polish does
achieve remarkable results when applied by hand, using a power tool greatly reduces the time needed to remove the heavier oxidation and blemishes.
But, buffing out wheel rims isn't the same as buffing out a large flat surface, such as the hood of your car or truck. Mother's makes a Powerball
and a Powerball Mini that work prefect for this application. The Powerball is basically a 5" diameter ball made up of small foam pads that hold the
polish and apply it to the rims. It's great for maneuvering inside the large diameters of the wheel rim. The Powerball Mini is a smaller 3"
diameter version that also comes with a 10" long shielded extension shank. The Powerball Mini gets you into the tight spots, such as between lug nuts
and also is perfect for cleaning out the round holes in the back of the rim. The tube that surrounds the extension shank can be held in your hand as
the tool is spinning so that you can apply extra pressure when needed and help guide the tool. The combination of these two Powerballs really makes
the job go super fast and after doing 6 rims and using up one bottle of PowerMetal Polish the balls are still in great shape and have not shredded.
Applying the polish is fairly easy. You just dab a small patch on the rim and then use the tool to spread it around a bit. Then
you hit the switch on the drill and buff away. Soon the polish will turn black as it picks up the oxidized aluminum and once it dries out you just
take a microfiber or terry cloth towel and wipe it away. If it needs a bit more polishing, simply repeat. Mother's recommends using a cordless drill
on the Powerballs but I found that my battery gave out before I even had one wheel done so I went with a regular heavy duty corded drill instead.
After everything was wiped off I took some polish and manually wiped it across any areas where I had missed something or weren't quite shiny enough.
I was surprised at how fast and easy the shine was restored after just a little bit of hand wiping. Because of this I'm sure that if I lightly wipe
over the wheel rims by hand with this polish after I wash the coach, the rims should remain shiny for a long time to come with minimal effort.
The "After" Photos
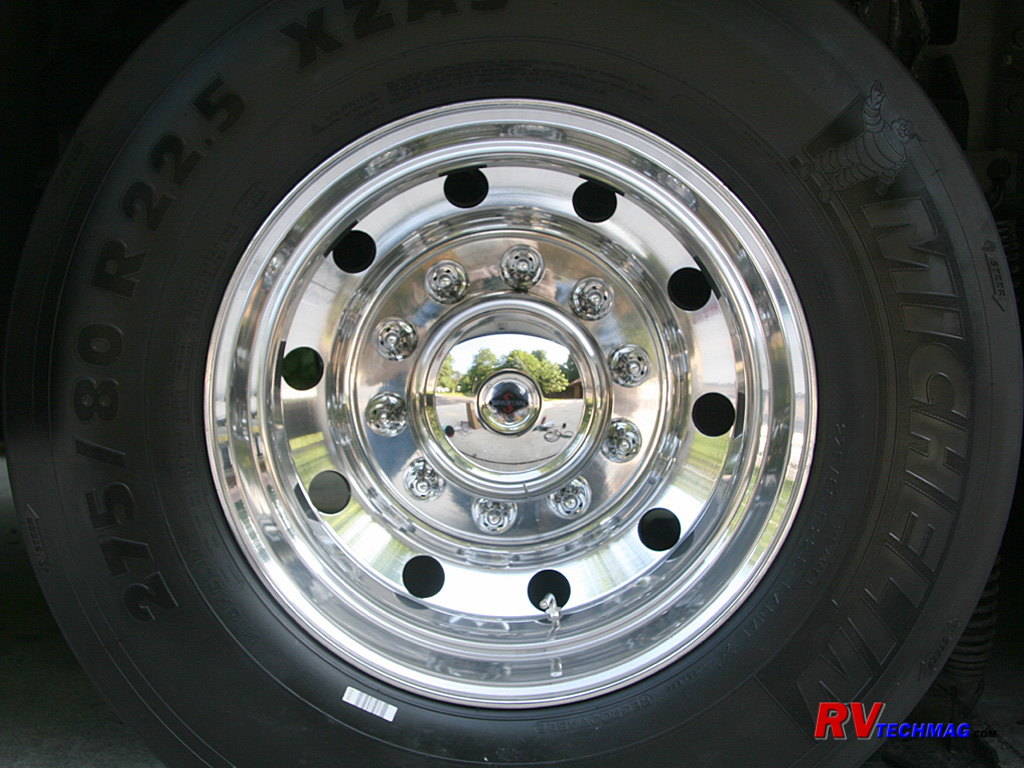
The polished rims really do show off a nice shine and have very smooth finish to them.
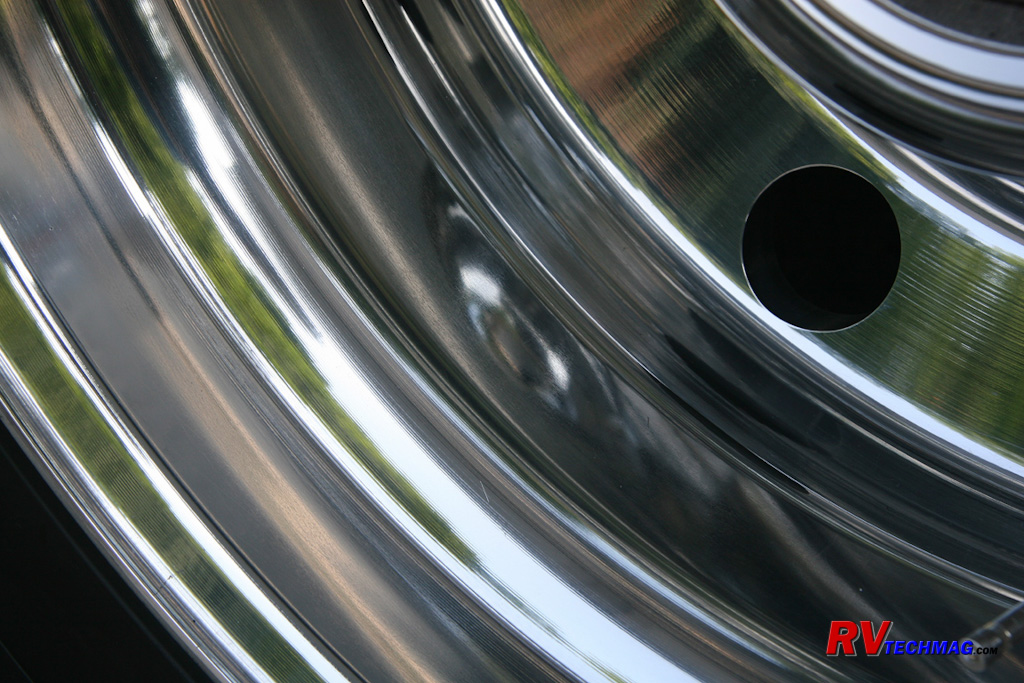
This close-up shows the detail in the rim. Aluminum rims are cast and then spun during the machining process so you'll always
be able to see fine lines from this process. Further polishing would achieve an even greater finish and would give it a more mirrored Finish but that
would take a lot of effort and the rims look better than new already.
Summary
The combination of the PowerMetal Aluminum Polish and the Powerballs really makes this an easy to do job that yields great
results. I also found that my best pricing was found at Microfiber Products Online and they shipped immediately and were great to do business with.
Return to Home Page
If you enjoyed this article be sure to recommend RVtechMag.com to your friends, like us on Facebook or Twitter
or subscribe to our RSS feed.


|
