RV Water Softener and Deionizer
Installing an Automated Water Softener and Deionizer in an RV
Article Date: August, 2017
Article and Photography by Mark Quasius
Hard water is found in many areas of the country. The hard water available at some RV parks can cause plenty of
ill effects to your RV. These can range from soap scum that doesn't rinse off to calcium deposits on dishware to damage to your plumbing
fixtures. To rectify this you need a water softener.
A second concern is how to wash a large motorcoach without leaving water spots on the finish. Even soft water
will still contain some mineral deposits and when you rinse off your coach the water will dry and evaporate but the mineral content of the water
will remain and leave water spots on your painted coach finish. To eliminate these unsightly water spots a deionizer is used.
In this article I'll detail the steps I took to install a water softener and a deionizer in my Entegra Coach. But before I
get into the details of the installation let's first talk about how water softeners work.
Water Softener Technology
Conventional water filters do not remove hardness from water. Filters function by screening out solids that are larger than
what the filter material is designed to pass. That's great for filtering silt, rust and other debris but won't stop suspended solids, such as calcium,
that is in your water. Other filters utilize carbon media but this is designed to stop bacteria and remove elements that contribute to bad taste. But
they will not remove hardness from the water.
A water softener functions on an ion exchange basis. A water softener consists of a tank filled with polymer resin beads. These
beads are treated with a salt brine solution which coats the resin with sodium ions. As the water flows through the softener the resin exchanges the
calcium and magnesium ions in the water for the sodium ions, effectively neutralizing the hardness of the water. Eventually the sodium ions
become
depleted and the softener is no longer doing its job. When that occurs it's time to regenerate the water softener.
Regeneration is when the ion exchange process is reversed. The best practice is to backwash the softener to remove any sediment
or loose material that is restricting the flow through the resin beads. After the backwash cycle is complete a salt brine is run into the softener to
recoat the media. Residential softeners utilize a brine tank where salt is held. Water is also present in the tank and the salt partially dissolves to
create a salt brine at the bottom of the tank. Automatic controllers on these systems count the water usage and perform the regeneration process as
needed, which is generally programmed to occur during the middle of the night. The first stage backwashes the media, then the controller draws the salt
brine into the softener, where it remains for a while to regenerate the beads. Finally, the softener is rinsed with fresh water and the brine tank refilled
with water so that it can make more brine for the next time.
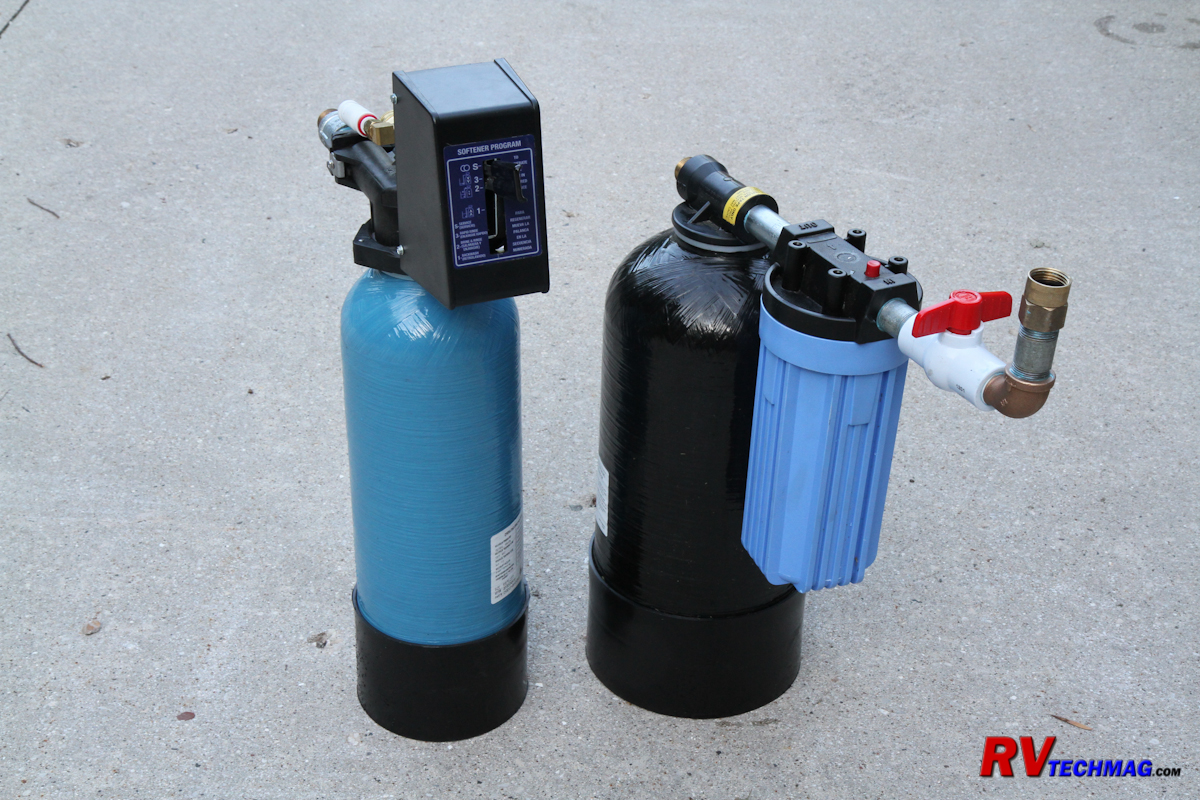
My original system consisted of a water softener with pre-filter as well as an iron filter
That's a nice automated way to manage the softener but the systems are too large for RV use so smaller portable systems are
commonly sold for use in an RV. These systems consist of a small water softener with a pre-filter. These system have no automatic controller so they
require manual regeneration. I initially had one of these and the regeneration consisted of removing the prefilter element and filling the canister with
solar salt and inserting a pick-up tube. I would then open a faucet in the coach and let a stream of water about the size of a pencil flow for about one
hour. There was no way to backwash the unit but the salt flow did regenerate the sodium ions in the beads. When finished I would remove the canister, sump
out any extra salt, remove the pick-up tube and replace the filter element. This method worked but it required a bit of effort and meant that the coach water
would be unavailable for an hour while the system regenerates.
Fortunately I ran into a great system recently released by
Motor Coach Water Filtration that packs the benefits of a residential system into a small compact system designed for motorhomes. In addition they also had
a deionizer available that would work great with my RoadWave pressure washer so I
set about finding a way to pack all of this stuff into my coach.
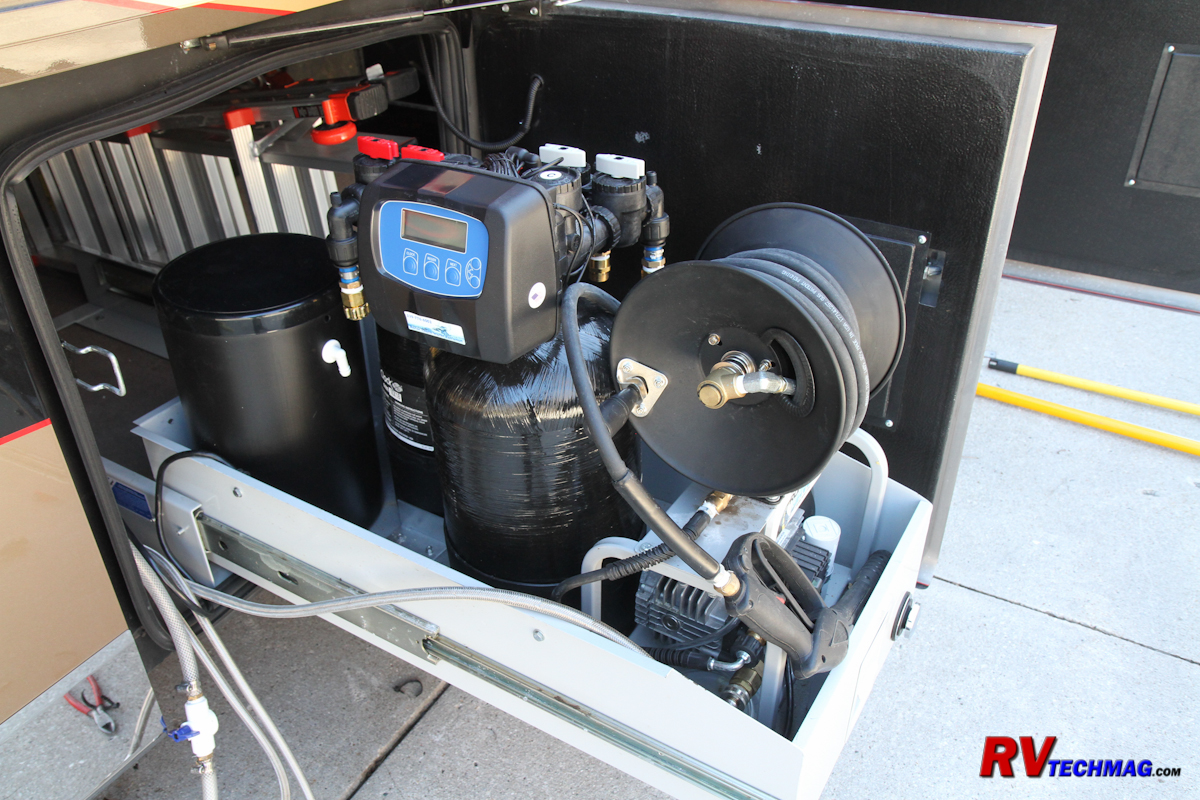
There was just enough room in the cargo tray for the softener, deionizer and pressure washer
Planning the Installation
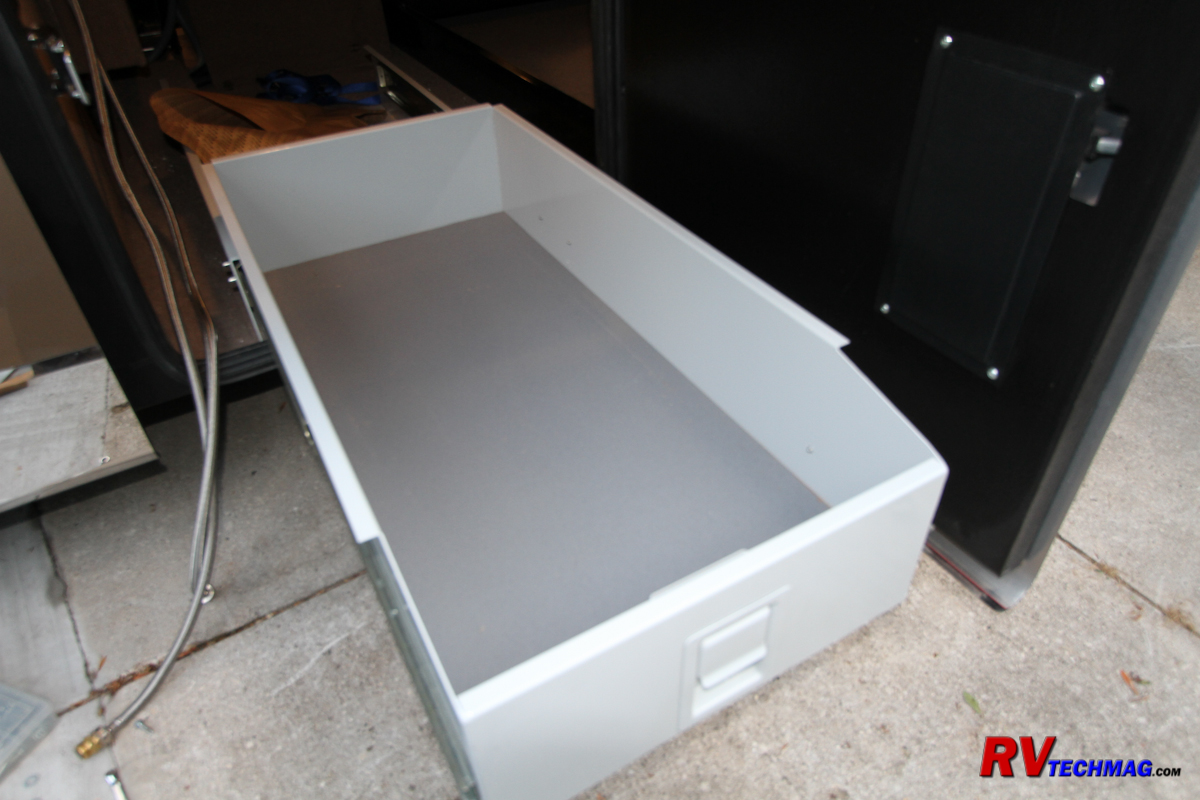
My previous installation consisted of a cargo slide tray that was placed into a basement compartment. The water softener was located
behind my RoadWave pressure washer. I also had added an iron filter, which was located next to the softener. All of these items easily fit into that small
cargo tray, which left my other basement storage open for a pair of freezers and a Davey Crockett smoker grill. I don't travel light so I wanted to keep the
new softener in the same location, which was close to my fresh water tank and plumbing. However, I was now adding a brine tank and the cargo tray wasn't large
enough to accommodate everything so something had to go. I really like my iron filter because it filters iron and sulfur from the water and my water at home is
high in iron content and didn't want to lose it but either it or the deionizer had to go to make room for the larger 10" diameter softener tank. I decided to
relocate the iron filter because it is tall and narrow so I was able to place it in the small gap between my two main basement cargo slide trays. That gave me
just enough room to put the new softener and brine tank and the deionizer into the tray right behind the pressure washer.
Deionizers are different than softeners. Deionized water is simply water that has all of the ions removed from it. Deionizers
replace the positively charged calcium, magnesium, iron and sodium ions (cations) and negatively charged chloride, sulfate, nitrate and carbonate ions
(anions) with hydrogen (H+) and Hydroxyl (H-) ions which combine to make pure water that won't leave any water spots when dry. Deionizers do not get
regenerated but the media can be replaced when worn out. For this reason a deionizer should be reserved for spot-free rinsing of the coach and not be
wasted during the soapy wash process. I decided to feed my pressure washer with two different water supplies - a soft water wash supply and a deionized
rinse water supply. To do this I installed a pair of 12 volt solenoid valves so that I could select either source simply by flipping the appropriate
rocker switch next to the pressure washer.
|
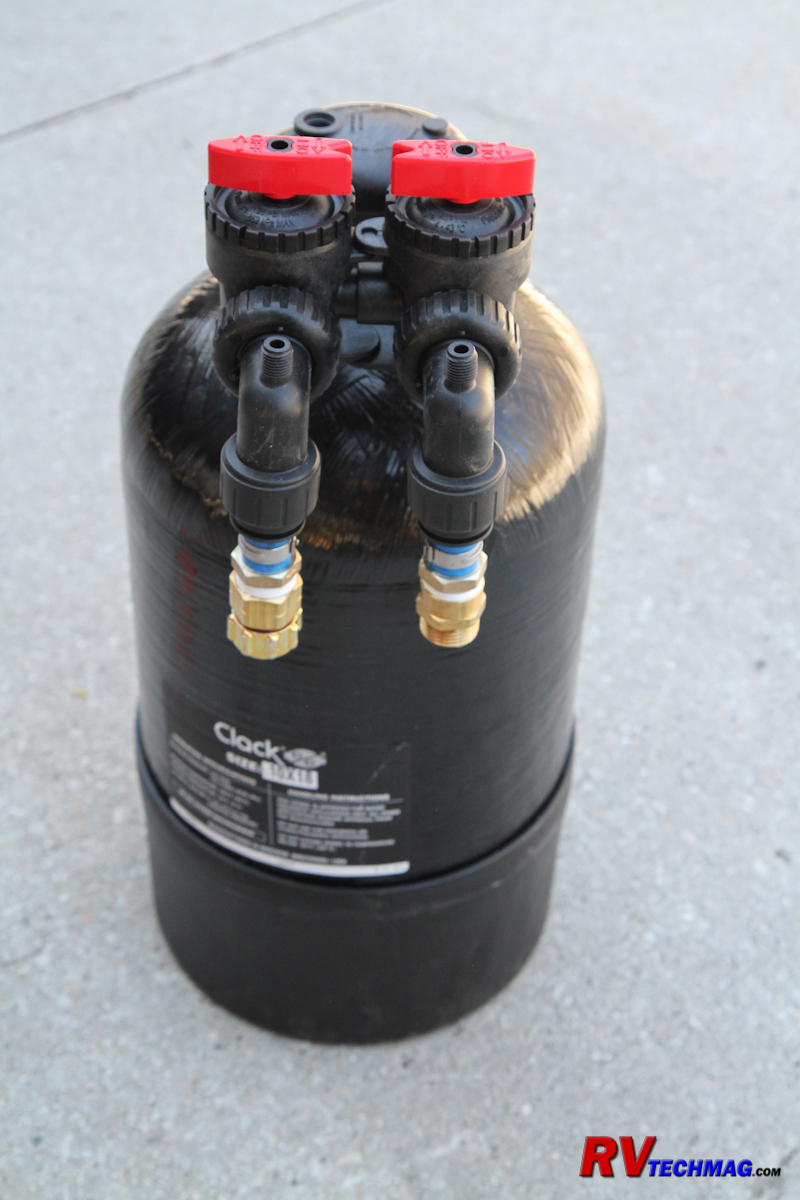
The Deionizer tank is equipped with a pair of
shutoff-bypass valves
|
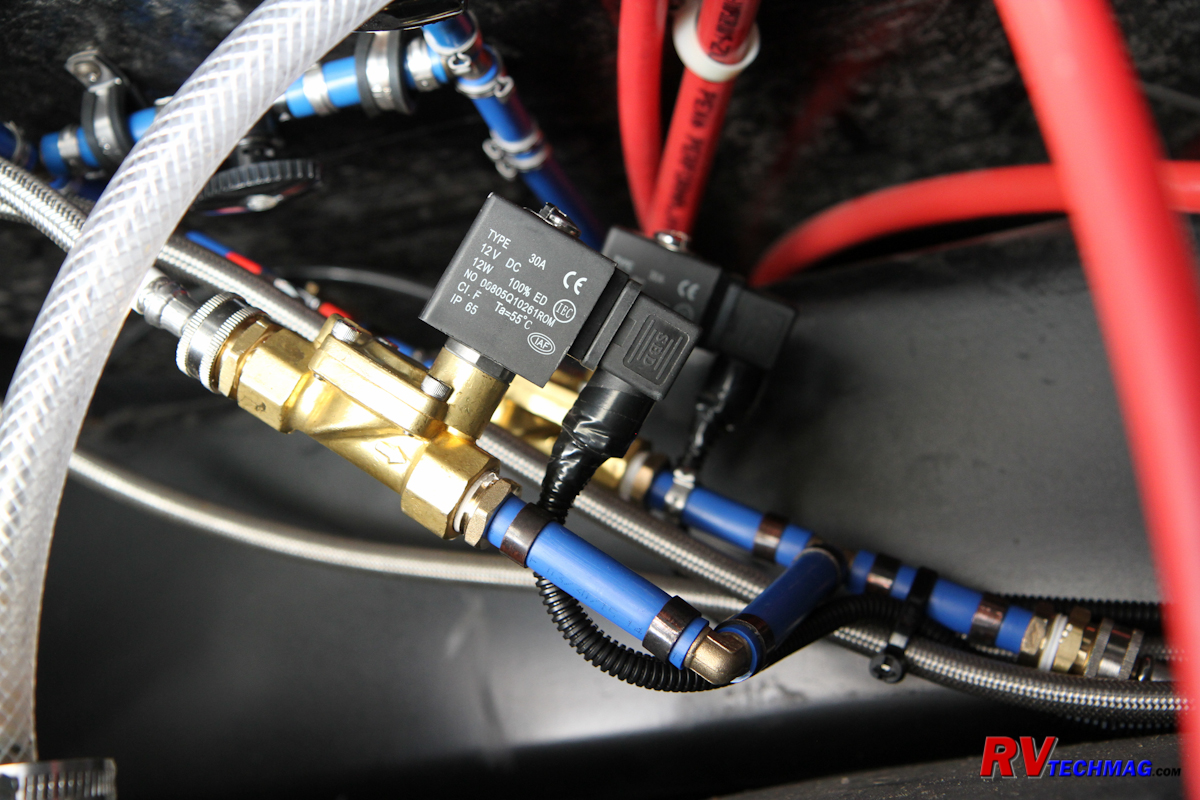
A pair of 12 volt solenoid valves controlled
water to the deionizer
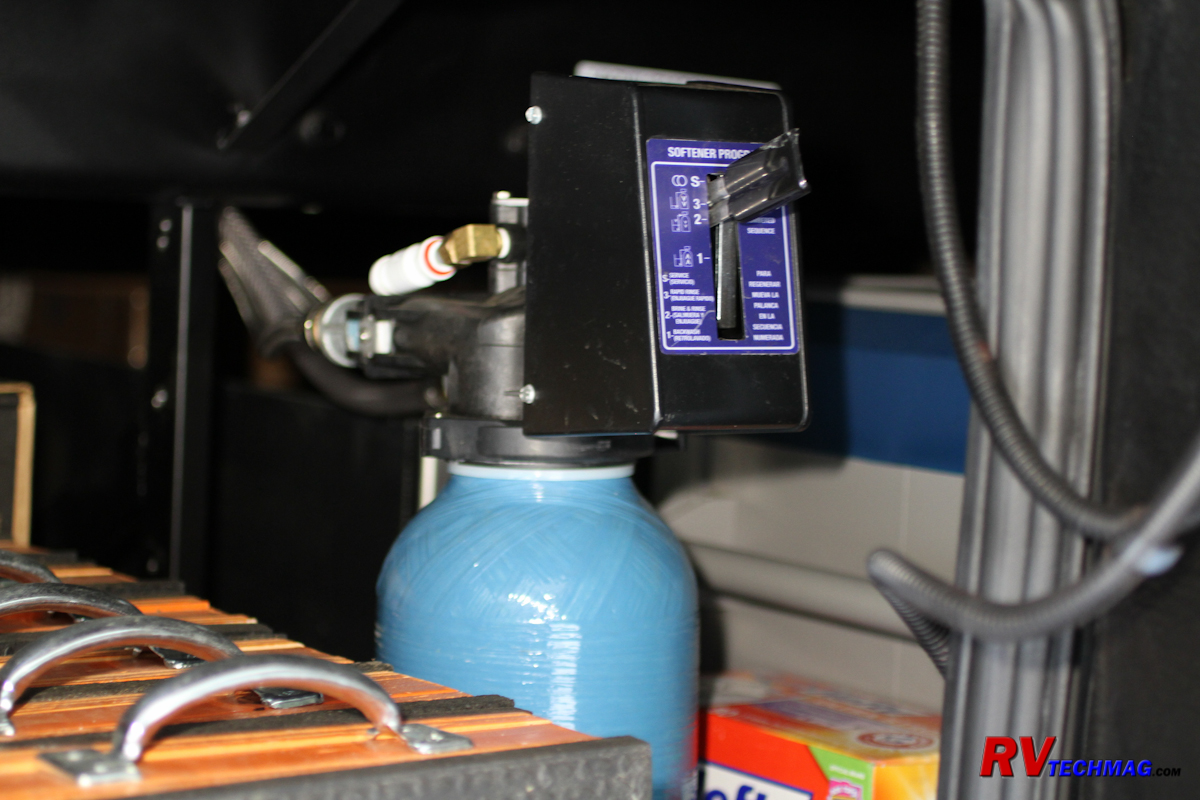
The iron filter was relocated to an available area
to make room for the softener, brine tank and deionizer
|
Return to Home Page
If you enjoyed this article be sure to recommend RVtechMag.com to your friends, like us on Facebook or Twitter
or subscribe to our RSS feed.


|


