RV Water Softener and Deionizer
Installing an Automated Water Softener and Deionizer in an RV
Article Date: August, 2017
Article and Photography by Mark Quasius
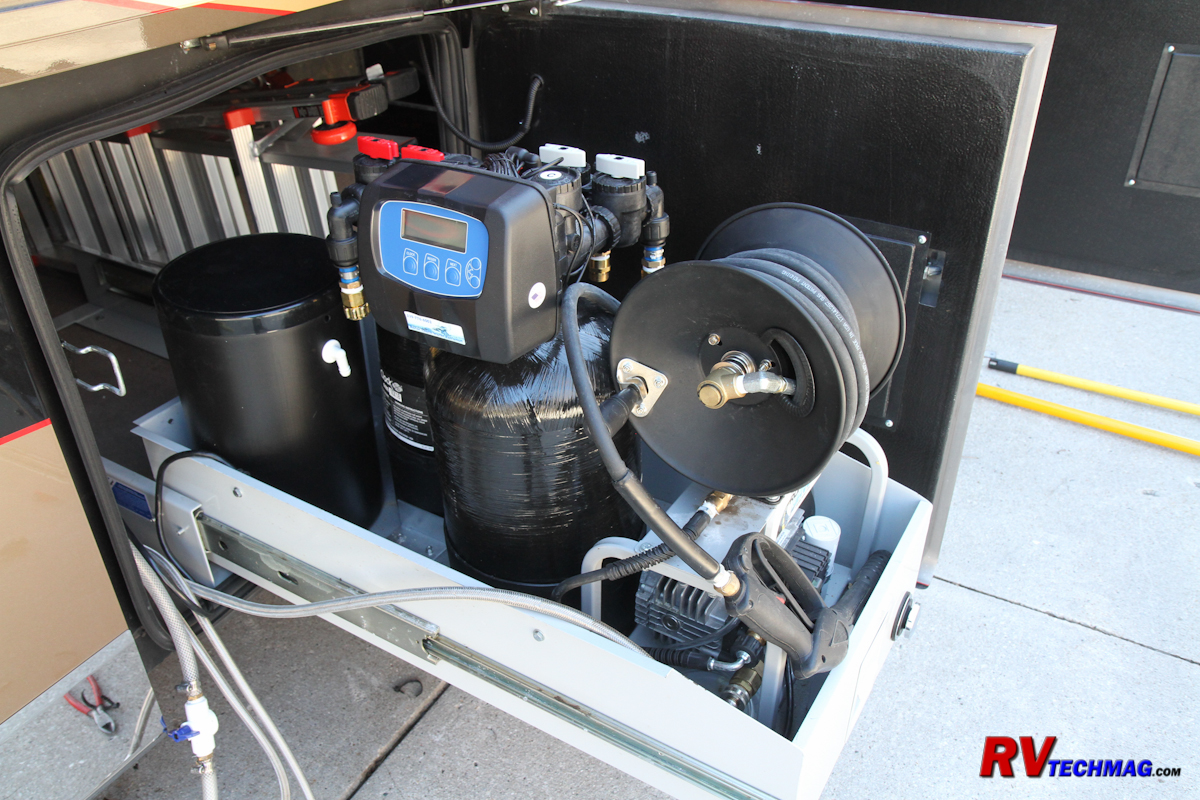
Installing the Equipment
I began by preparing the brine tank. The brine tank holds all of the solar salt that will be used to create the salt brine
that will be used to regenerate the water softener. Before adding salt, I removed the top cover from the brine well. There is a float valve that determines
how much water is allowed to enter the brine tank during
regeneration. As received, the float is held in place with a rubber band to prevent rattling during
shipment. This rubber band needs to be removed before use or else the tank will overflow with water.
|
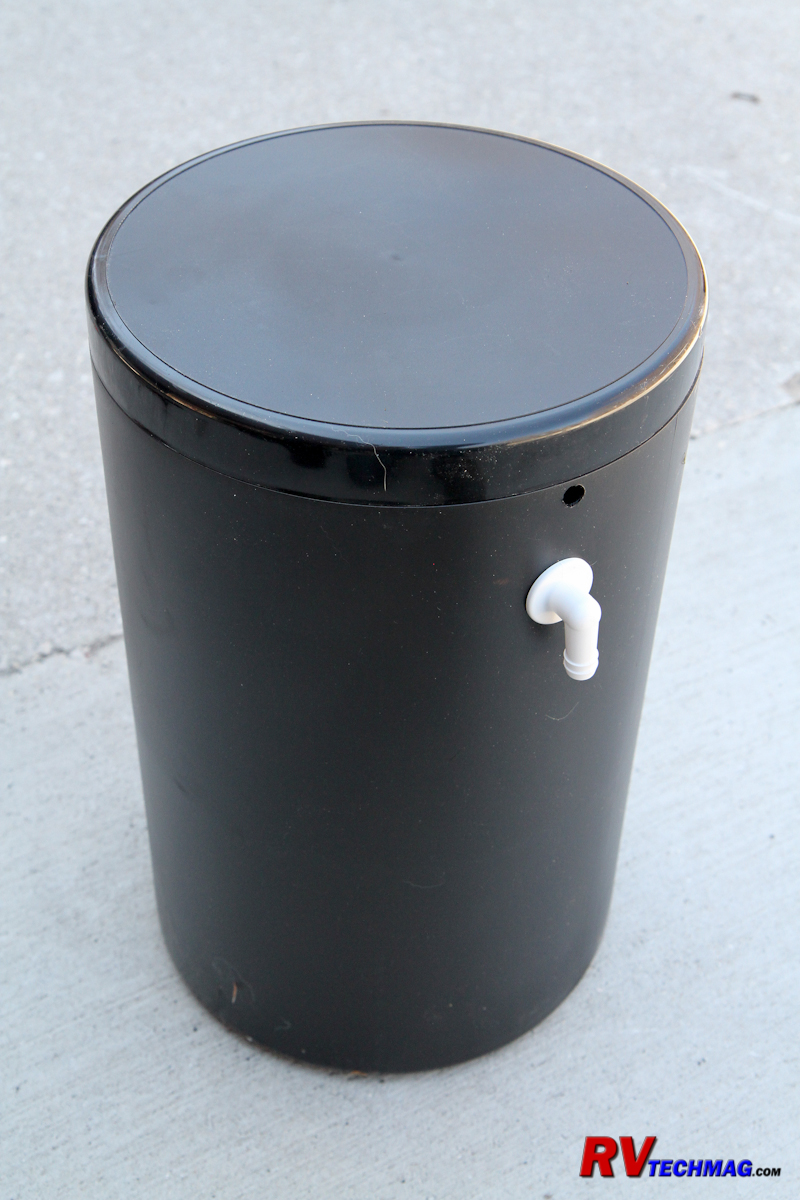
The brine tank is used to hold the salt required for regenerating the softener
|
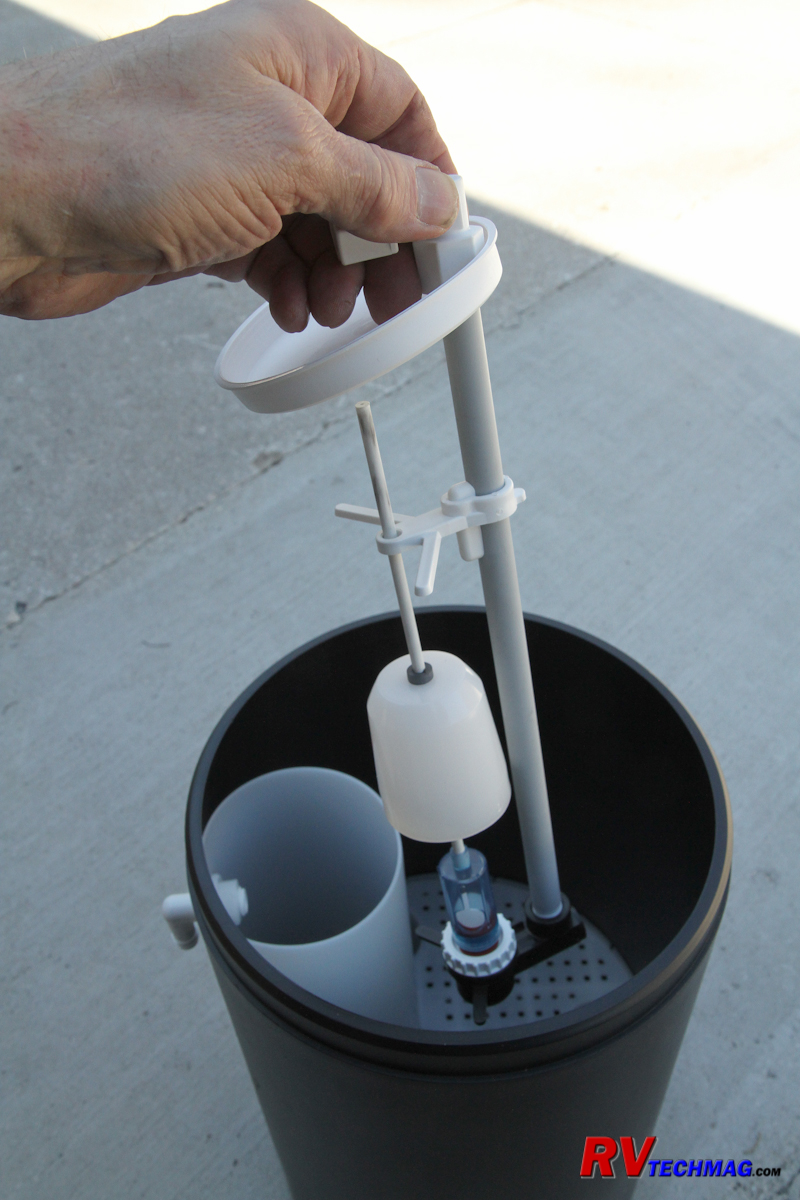
The rubber band needs to be removed from the float prior to use
|
Both the deionizer and water softener used push-in connectors design for 3/4" Pex tubing. My system was installed in a slide tray
so that I could easily access the softener for service so hard plumbed Pex wasn't going to work for me. Instead I bought some stainless steel braided hoses
with 3/4" female garden hose fittings designed for a clothes washer. These would give me the flexibility needed when sliding the tray out from the basement
compartment in the coach. I bought a few 3/4" male GHT by make GHT adaptors so that I could convert one end of each hose to male garden hose thread so that
I wouldn't get my ins and outs mixed up when I removed the unit during winter storage. I also picked up some threaded Pex adaptors so that I could adapt the
stainless braided garden hoses to the plug-in connectors on the equipment. I cut four short 3/4" Pex stubs and used a crimp tool to crimp them on to the
brass shank adaptors. I added some pipe thread by garden hose
adaptors to finish the pieces. I slipped them into the valve bodies and hand tightened the
retaining nuts.
|
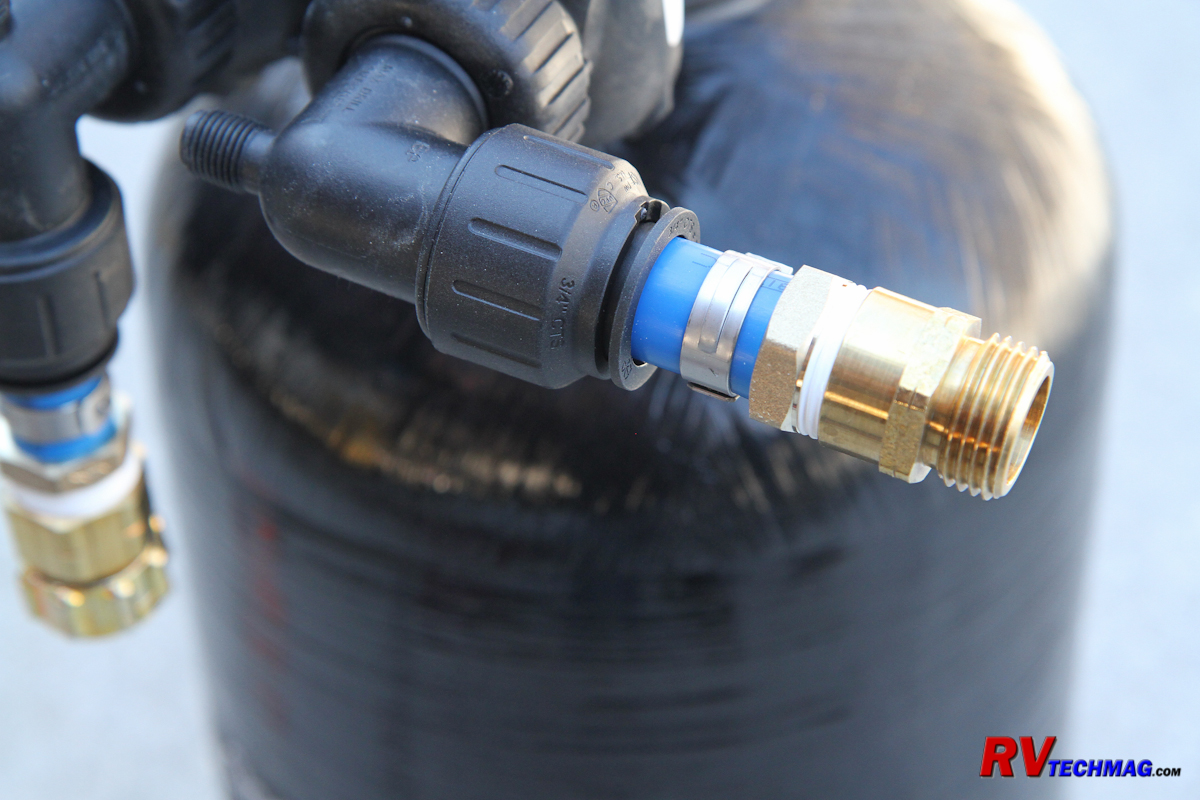
Pex to garden hose thread adaptors were made to
adapt the softener and deionizer to flexible hoses
|
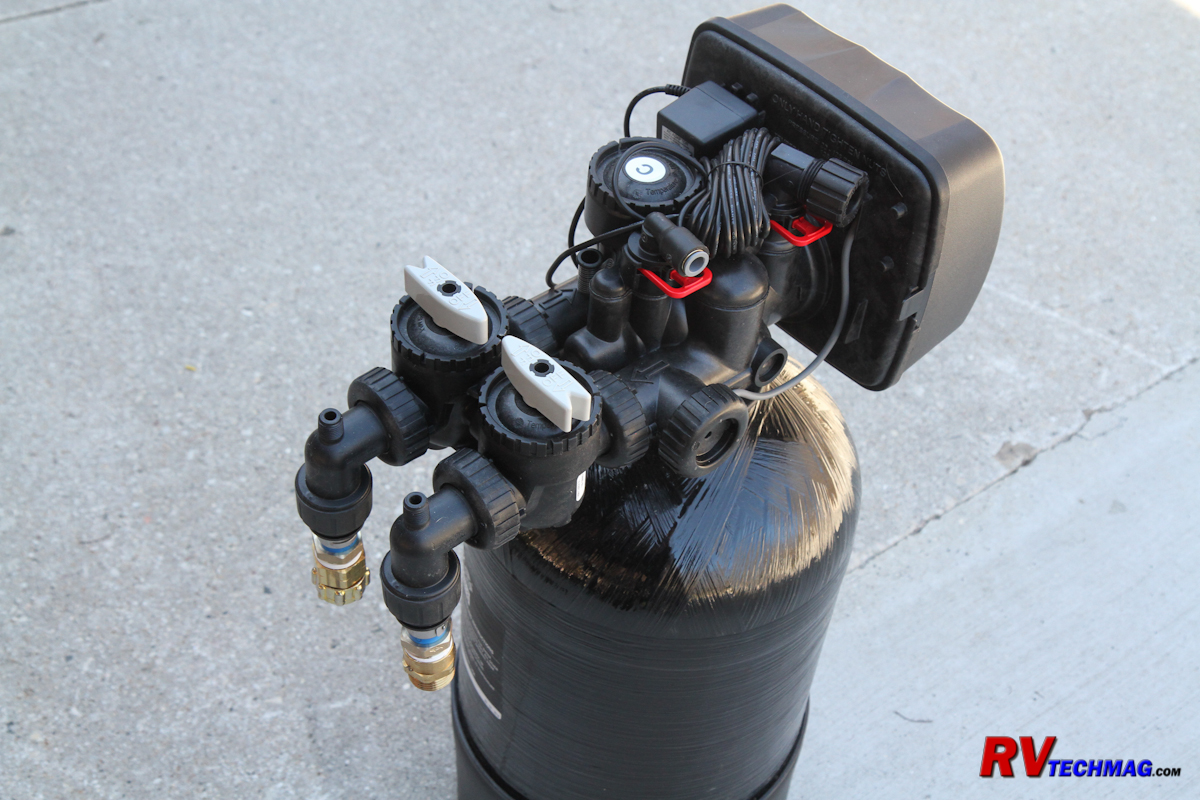
The softener - ready for installation
|
The RoadWave pressure washer was already mounted in the cargo slide tray. It needed to be on the outside edge so that it could be
easily accessed for use. The deionizer will rarely need to be accessed so the best choice would be to locate it in the back of the tray. The brine tank
will need occasional access to add salt and the softeners control panel needs to be visible to allow programming changes or to initiate a forced
regeneration cycle. These three items did eventually fit into the tray. I decided to cut some aluminum angle iron pieces which would be screwed to the
plywood floor in the cargo tray to keep them in place so they wouldn't move around when traveling.
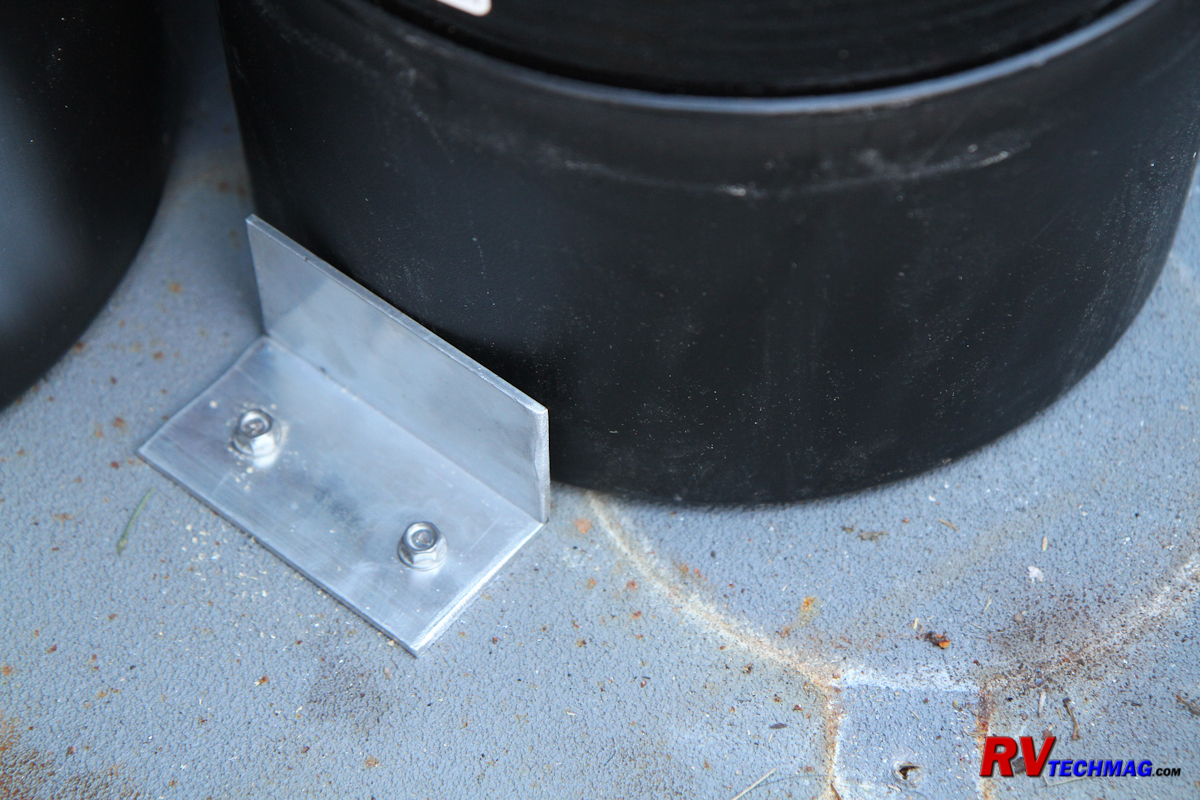
Aluminum brackets were made to keep the equipment from moving around in the tray
About 20-25 gallons of water is flushed through the softener during the backwash cycle portion of regeneration. This water is
routed to the gray water tank. I ran a polyvinyl tubing from the push-in connector on the water softener valve to the gray water tank. I drilled a hole in
the top of the ABS plastic gray water tank, threaded it with a pipe tap and inserted a brass hose barb connector to connect the other end of the hose to.
Sealant was applied to the threads. The brine tank also had an overflow hose. This is just in case the float valve in the tank failed. I simply drilled a
hole in the basement floor and ran the clear vinyl hose out through it so that any overflow would drain onto the ground. It would be clean water should that
ever happen so I didn't see the need to have to run it into a holding tank.
|
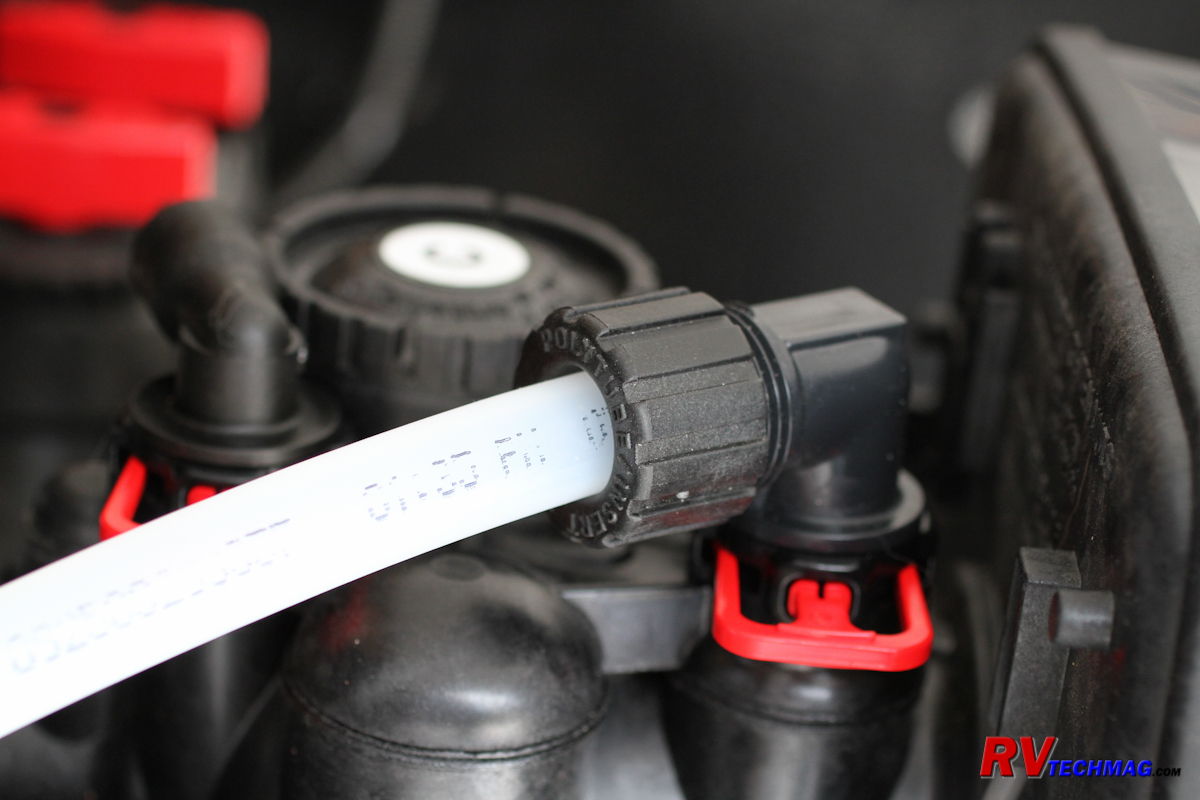
Polyvinyl tubing was run from the softener to the
gray water tank to accommodate the water flow
when backwashing the system
|
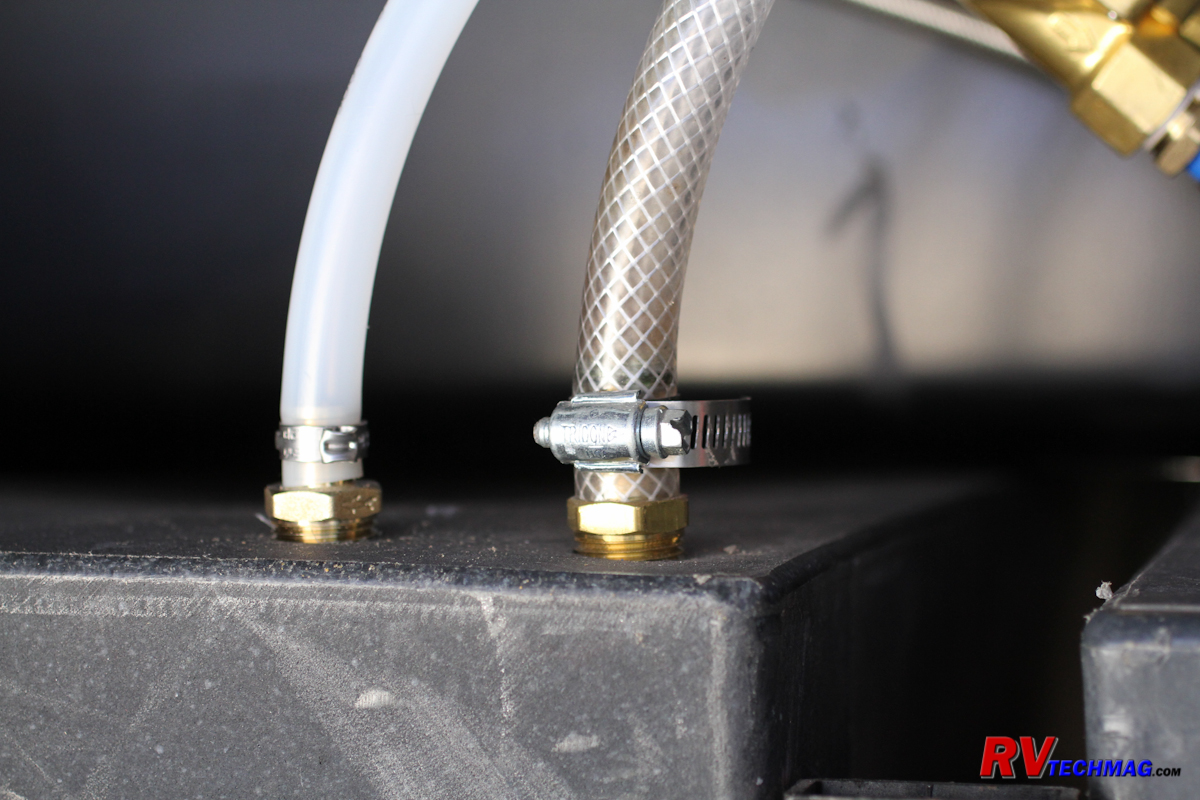
The polyvinyl drain hose for the softener was inserted
into the top of the gray tank next to the braided
clear vinyl drain line from the iron filter
|
Once everything was fastened in place, the brine tank was connected to the softener with the black nylon tubing that was supplied
with the softener. The stainless steel braided garden hose lines were connected to input and output ports on the softener and deionizer valves. A small 120 volt
power adaptor was plugged into a nearby basement electrical outlet fed by the inverter to supply power to the softener. The garden hoses, drain lines and
power cord were all bundled together with black nylon cable ties and clamped at the rear of the slide tray with rubber hold-down clamps. This allowed everything
inside the tray to remain stationary while giving enough flex between the tray and the plumbing connections in the next bay to allow the tray to easily be extended
for service access. Finally, the brine tank was filled with solar salt and 5 quarts of water were added to the tank to allow it to make the
initial brine.
|
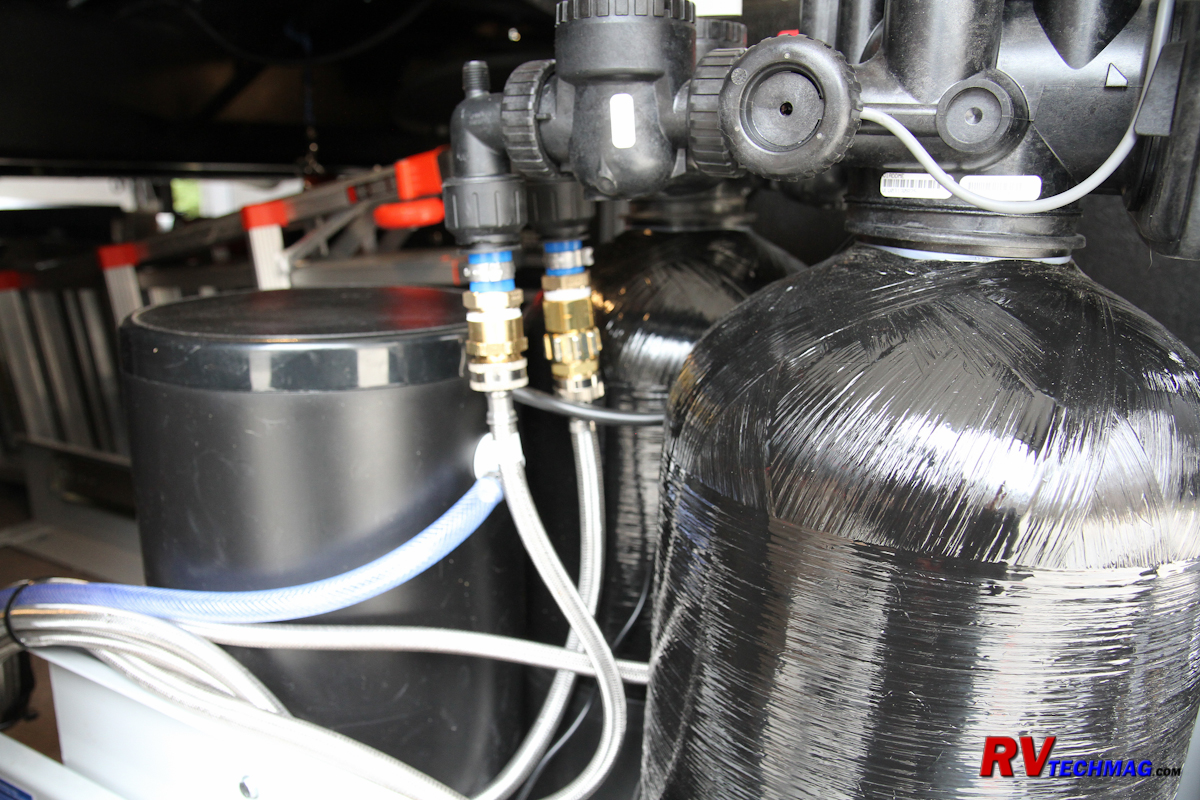
The stainless steel garden hoses were attached to
the softener and clamped at the rear of the tray
|
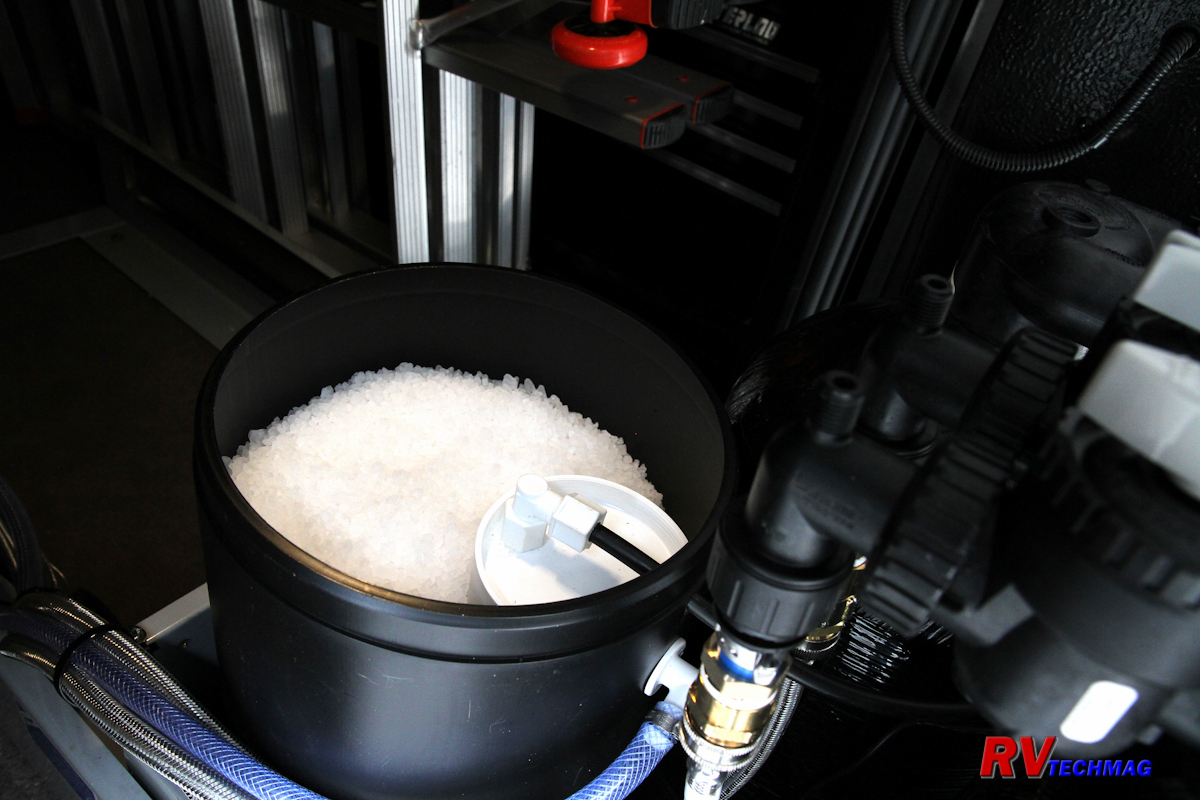
The overflow hose was attached to the brine tank
and the tank was filled with solar salt
|
Return to Home Page
If you enjoyed this article be sure to recommend RVtechMag.com to your friends, like us on Facebook or Twitter
or subscribe to our RSS feed.


|
