Building an Entegra Coach
Following the Construction of a 2016 Cornerstone from Start to Finish
Article Date: January, 2016
Article and Photography by Mark Quasius
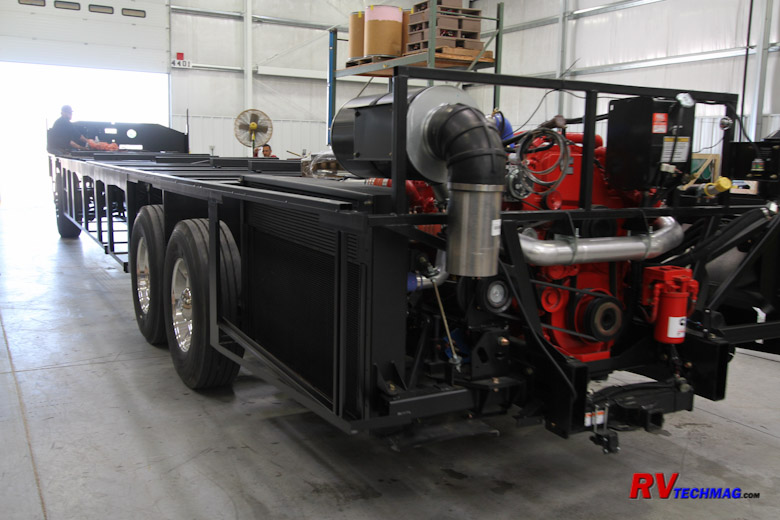
Outfitting the Chassis
At this point the main electrical harnesses have been run through the chassis and the generator and batteries
have been installed. The hydraulic leveling jack pump is the installed and connected to an automatic cycling machine that cycles the
jacks up and down to ensure that there are no trapped air pockets in the system.
|
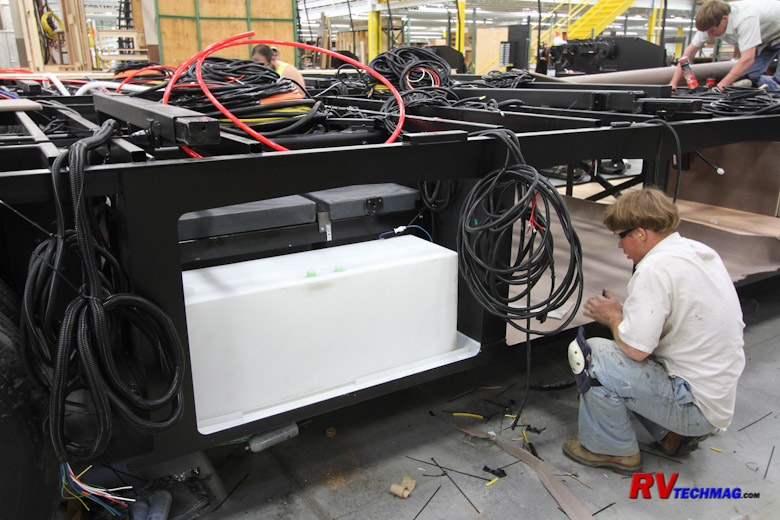
Once the main wiring harnesses are in place, the fresh water and holding tanks are installed.
|
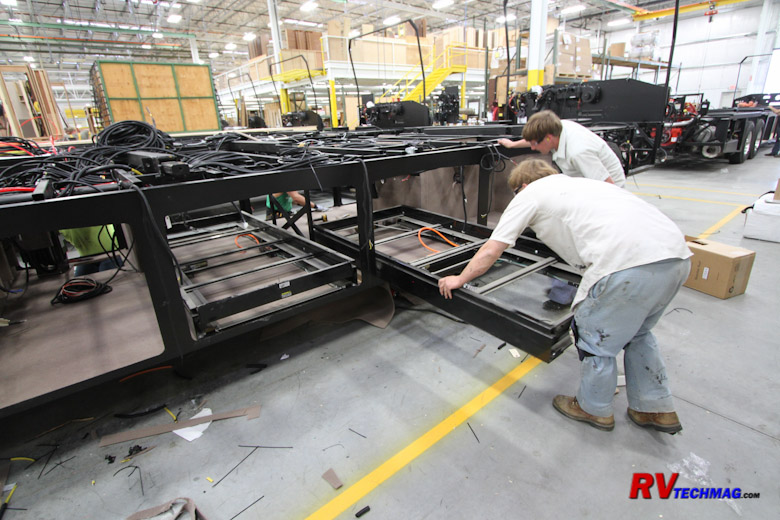
After the basement is fully carpeted, the power cargo slide trays are installed.
|
Once the plywood floor and walls is fully installed in the basement the surfaces are carpeted or covered.
The fresh water and holding tanks are installed and the cargo slide trays are installed.
|
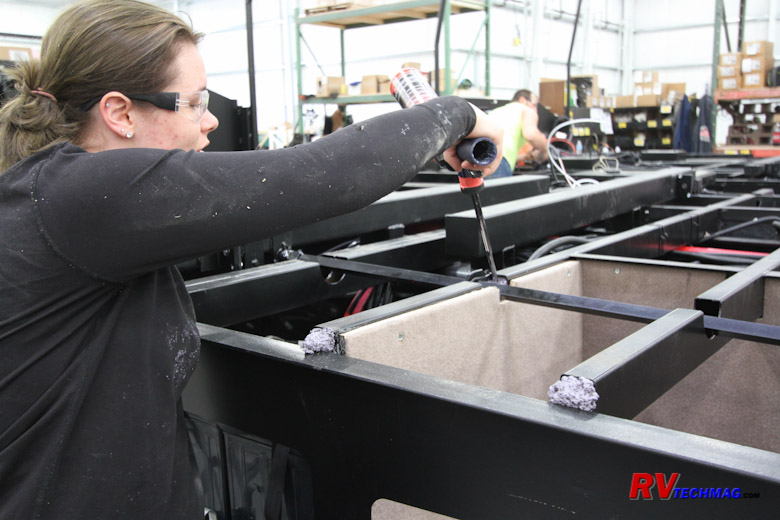
Foam insulation is applied to the every possible location where air could penetrate the coach.
|
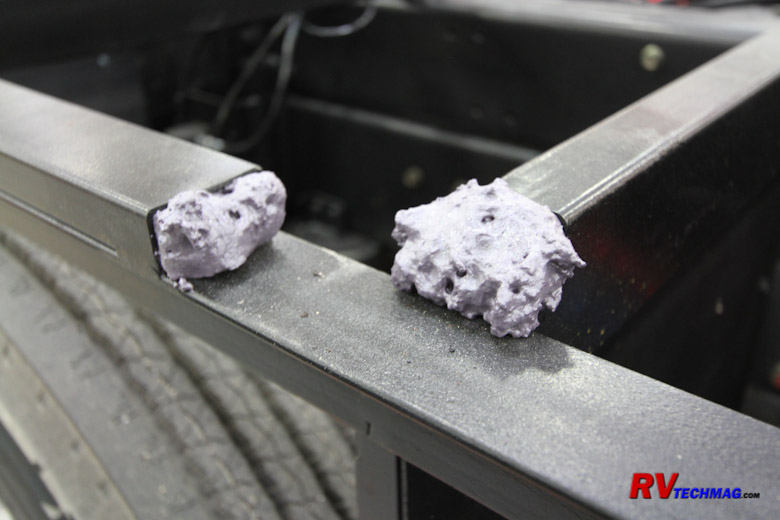
Any exposed ends of structural steel tubing are also foamed to minimize any noise or harmonics from entering the coach.
|
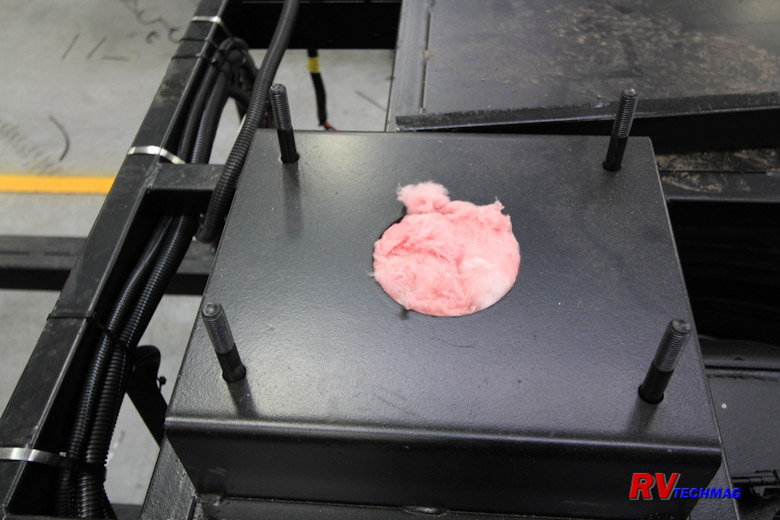
A typical example of the extreme lengths that Entegra goes when insulating is this cockpit seat pedestal mount, which
is filled with fiberglass insulation.
|
|
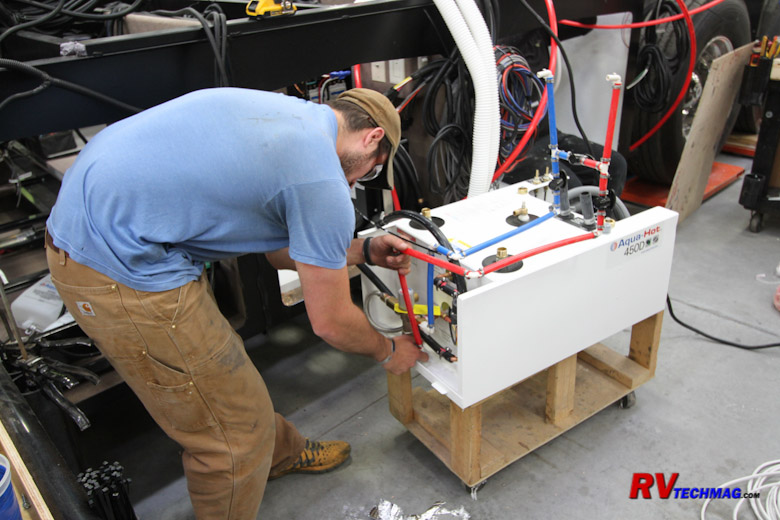
The Aqua-Hot boiler is prepared for installation into the coach.
|
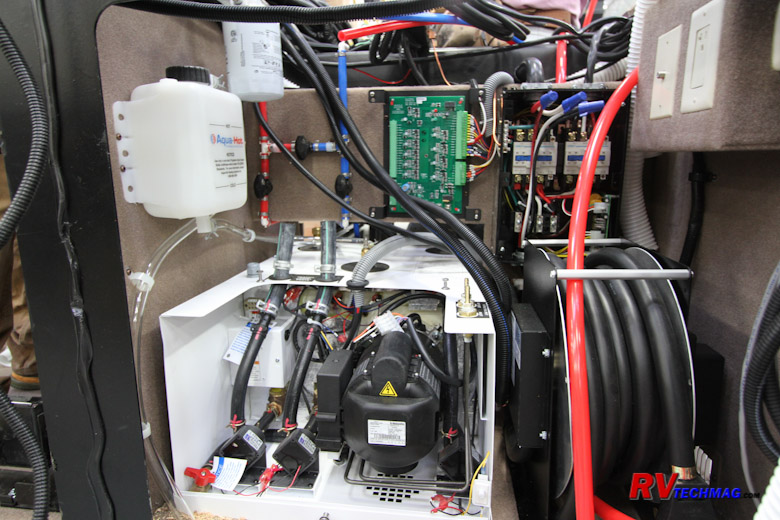
The Aqua-Hot boiler, automatic transfer switch and power cord reel are installed and connected.
|
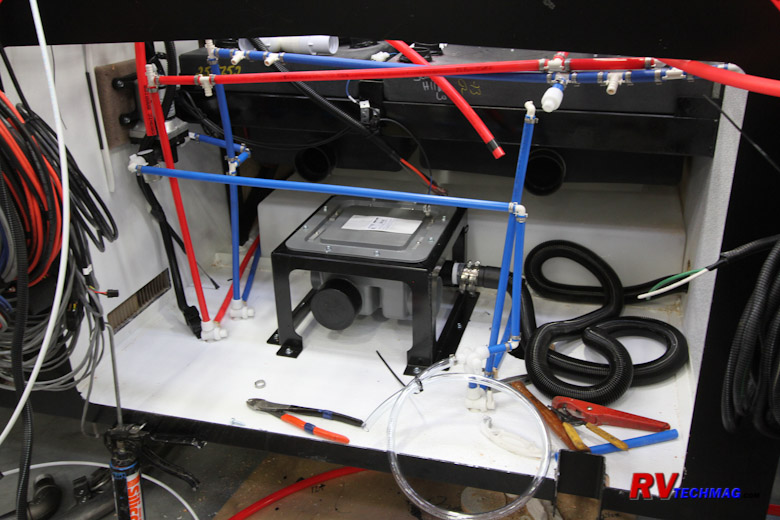
The Sanicion Turbo macerator and water pump is installed in the plumbing utility bay and the initial Pex water lines are run.
|
Entegra goes to extremes when insulating their coaches. Insulation deals with two
issues, noise and heat. Sprayed foam
insulation is used to seal off any penetration. It is also applied to the ends of any open structural tubing. This
minimizes noise from
harmonic vibrations to ensure a quiet ride. Various components, such as the transfer switch, power cord reel and Aqua-Hot boiler are added at this
time. The water pump and macerator are installed and some of the primary water connections are made via Pex tubing.
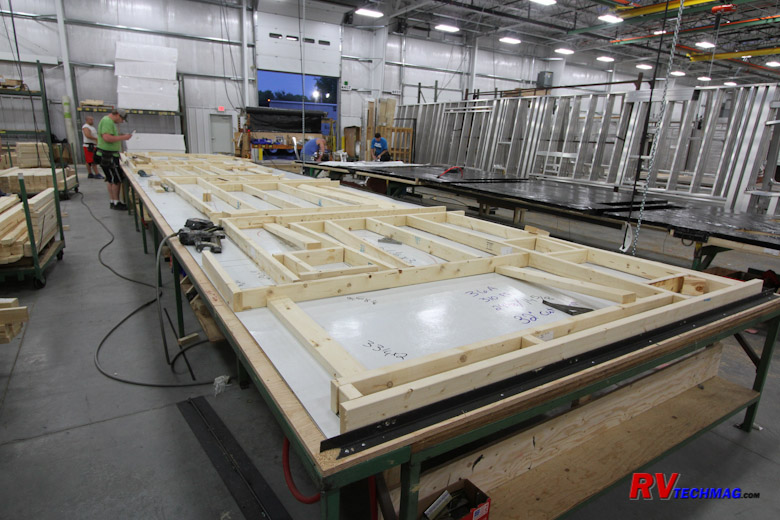
One major reason for Entegra's uniqueness is their floor design. Most motorhome floors consist of
OSB sheeting over the steel framed substructure. Entegra departs
from that and builds a thick 2x4 framed wooden floor that is placed
on top of the steel framing. This thick floor absorbs any road noise or vibration when driving. It consists of a 3/4" plywood floor and plywood
base, separated by 2x4s. This floor is then filled with insulation.
|
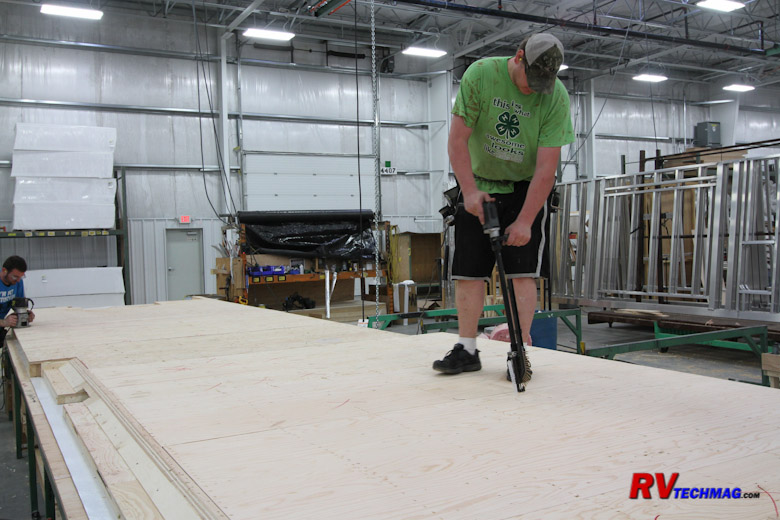
Once the 2x4 framing has been assembled, the 3/4" marine grade plywood is fastened down to the framing with deck screws.
|
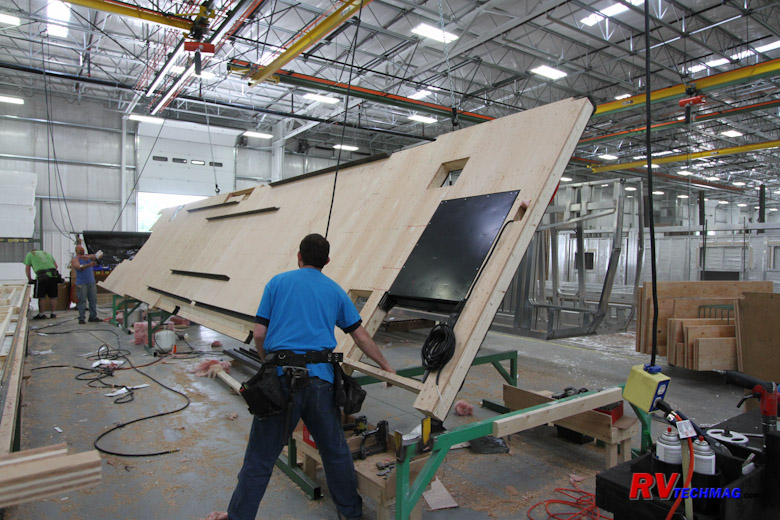
After the plywood is installed the entire assembly is hoisted off the table for access to the underside.
|
|
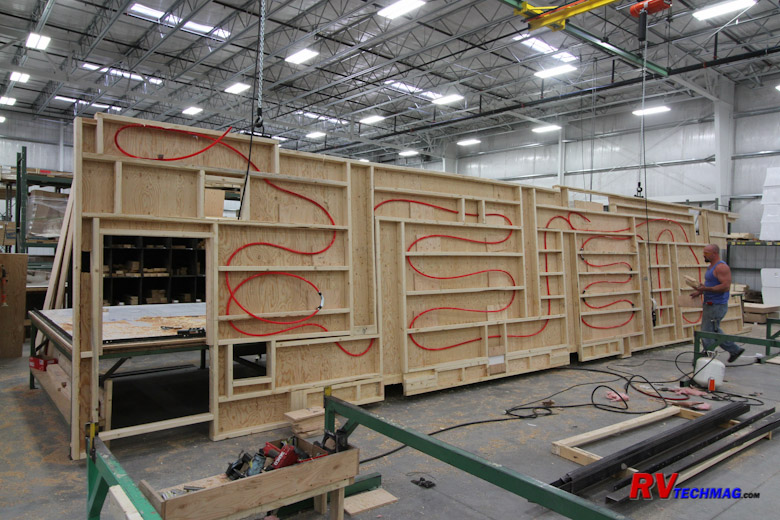
The Pex lines for the hydronic floor heat are installed.
|
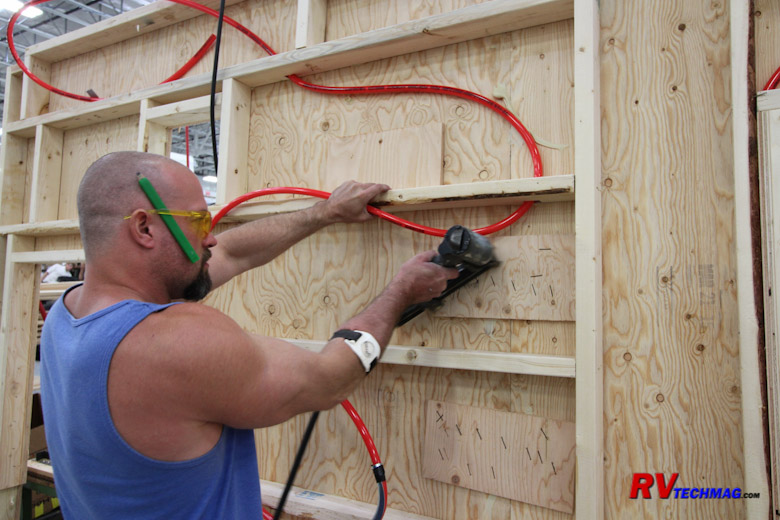
Cleats are applied at every plywood joint to ensure no future shifting and a squeak free floor.
|
A Pex loop is installed in the floor to provide in-floor heat from the Aqua-Hot hydronic heating system. Every
plywood joint is fitted with cleats to ensure that no joint will every shift or cause a squeak during use.
|
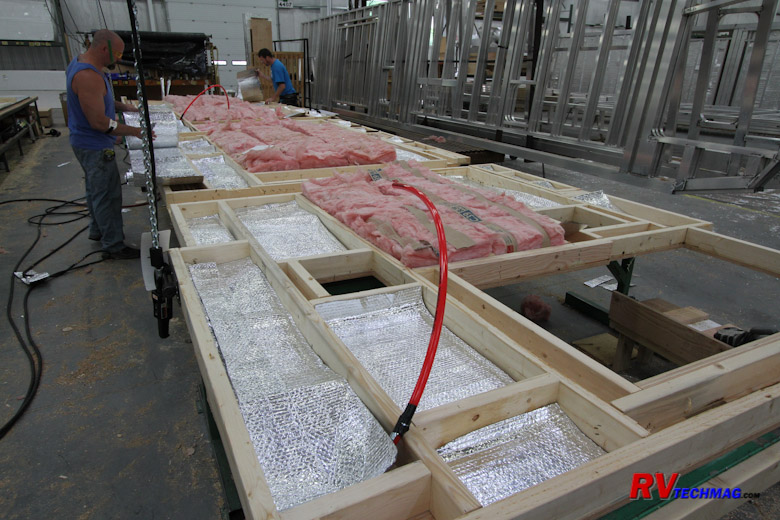
The floor is inverted and reflective Flex Foil and
fiberglass batt insulation is added before the final plywood
cap sheet is added.
|
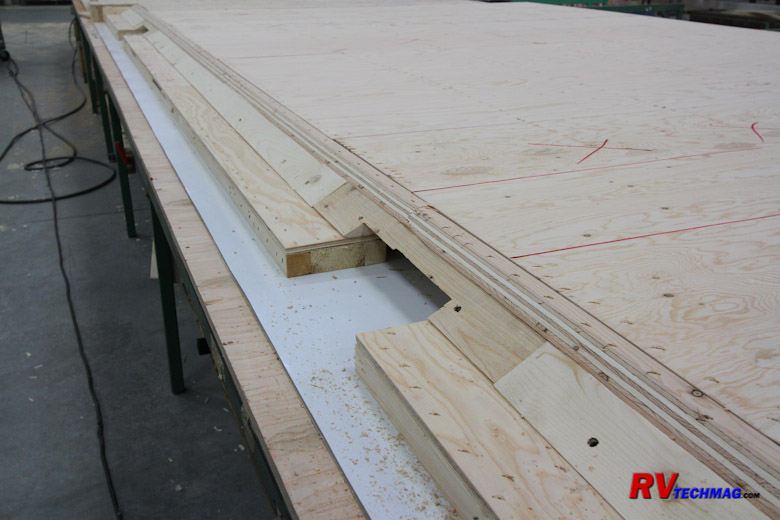
The thick floor allows the flush floor slideout mechanisms to be
integrated into the floor to minimize any impact on
basement cargo space.
|
The floor is then returned to the layout table in an inverted position. Reflective Flex Foil insulation is
applied to direct the hydronic floor heat upwards. The cavities are then filled with fiberglass batt insulation. A plywood sheet
finishes off the basement ceiling and is covered with a black Tyvek style membrane. The result is a floor with an impressive R33
insulation value that also blocks out noise and provides for a very quiet coach.
|
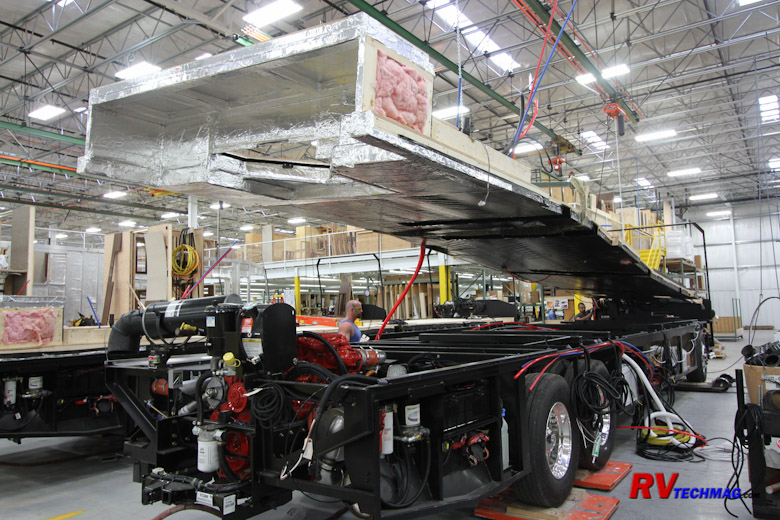
The finished floor is then hoisted by an overhead crane and lowered onto the chassis.
|
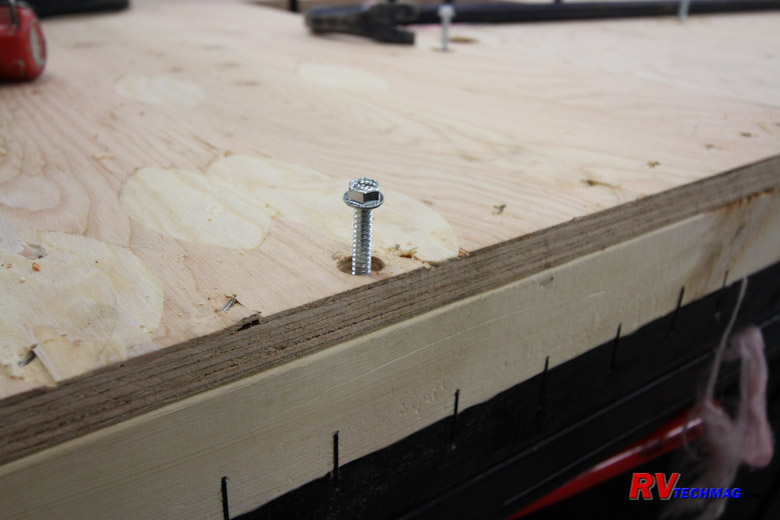
The floor is attached to the steel frame beneath with self-drilling screws.
|
The floor that was built in an adjoining area is now hoisted by an overhead crane and lowered onto the chassis
of the coach. It is then fastened down with large self-drilling hex head screws. Each screw is recessed into the plywood.
Return to Home Page
If you enjoyed this article be sure to recommend RVtechMag.com to your friends, like us on Facebook or Twitter
or subscribe to our RSS feed.


|


