Building an Entegra Coach
Following the Construction of a 2016 Cornerstone from Start to Finish
Article Date: January, 2016
Article and Photography by Mark Quasius
Building up from the Floor
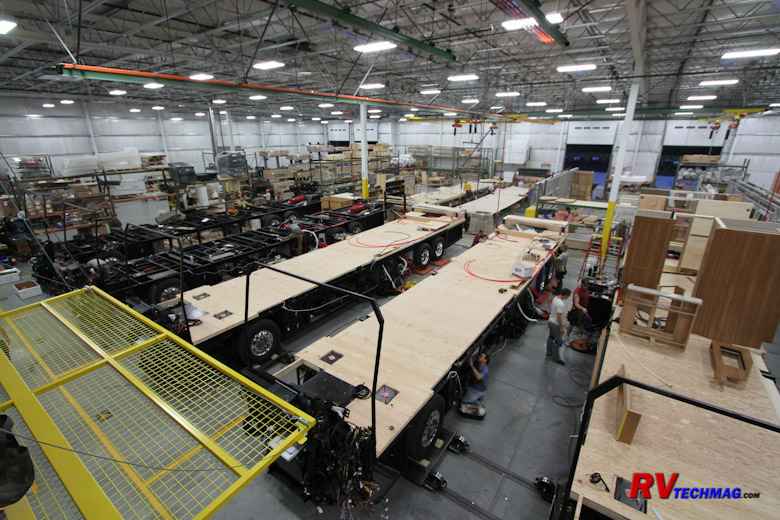
Now that the floor is installed on the coach it's time to move further down the assembly line so that
the large interior fixtures and partitions can be installed.
|
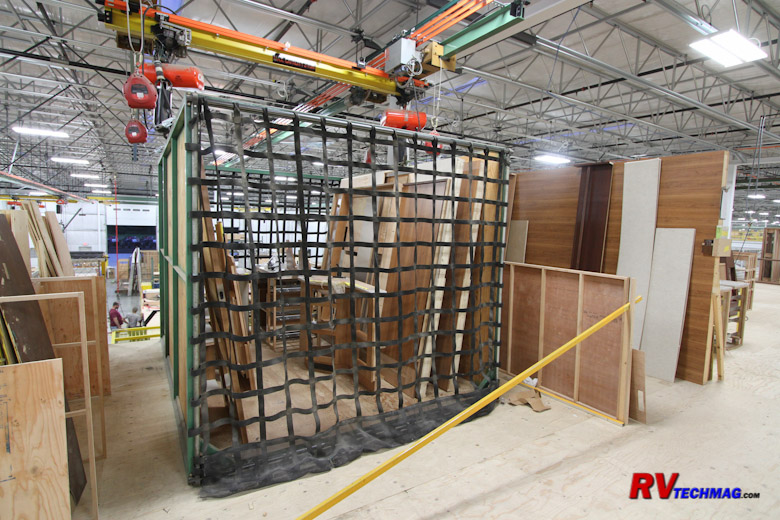
The cabinets are prepared in the cabinet shop and loaded into a cradle when finished.
|
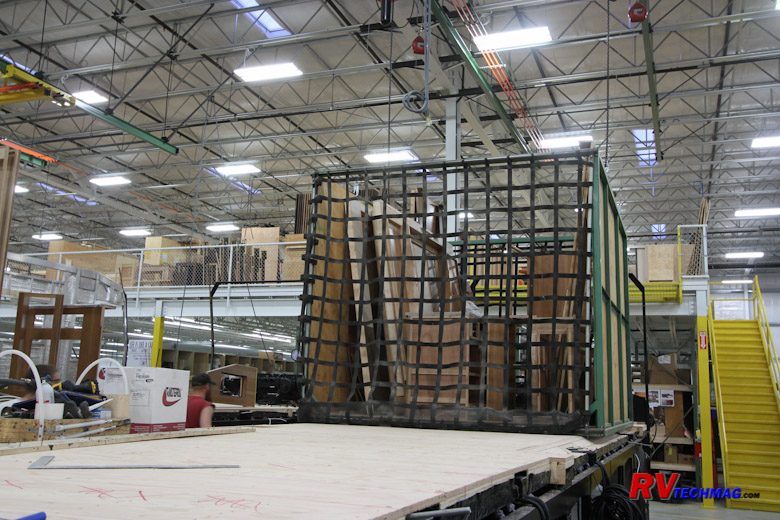
The cradle is then hoisted onto the floor of the coach. Once the cabinets are removed from the cradle and set into their
approximate locations the cradle is removed and hoisted back to the cabinet shop.
|
The cabinets are built by Amish craftsmen in the cabinet shop. Once the cabinets are finished they are placed
in a cradle. When the coach floor is complete the cradle is lowered down to the coach and set on its deck. The cabinets are then
removed from the cradle and placed in position. The cradle is then hoisted off of the coach and returned to the cabinet shop to be
reloaded for the next coach.
|
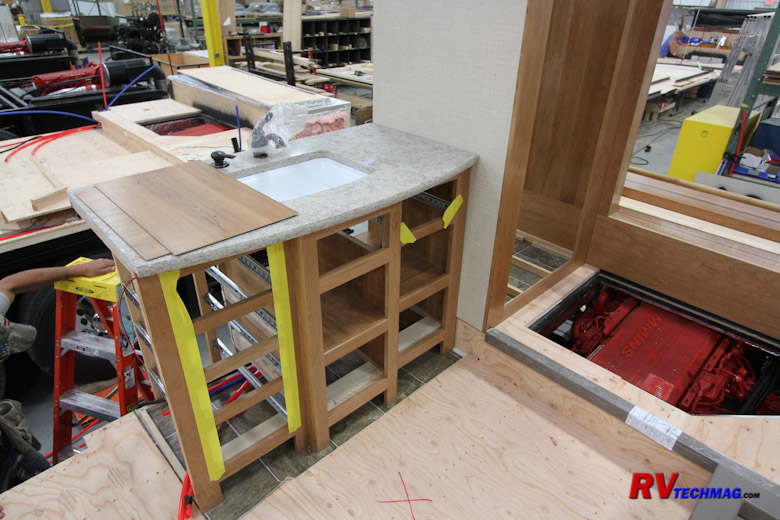
Cabinets, such as this bathroom vanity, are mounted and installed in their intended location.
|
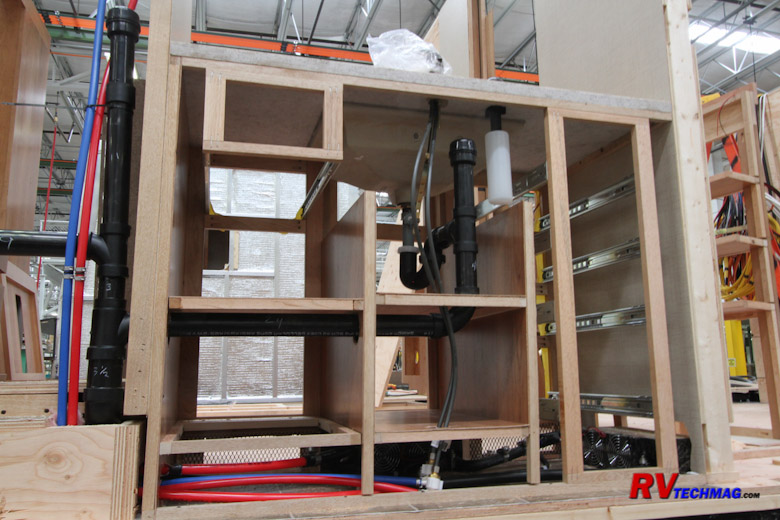
Plumbing runs and hydronic heat exchangers are installed and connected.
|
The cabinets are placed in their correct location. Exact
measurements are taken and the cabinets are then
fastened into place. Every cabinet gets vinyl flooring beneath as a cabinet floor liner. Pex water lines are connected where needed
and heat exchangers for the hydronic heating system are installed.
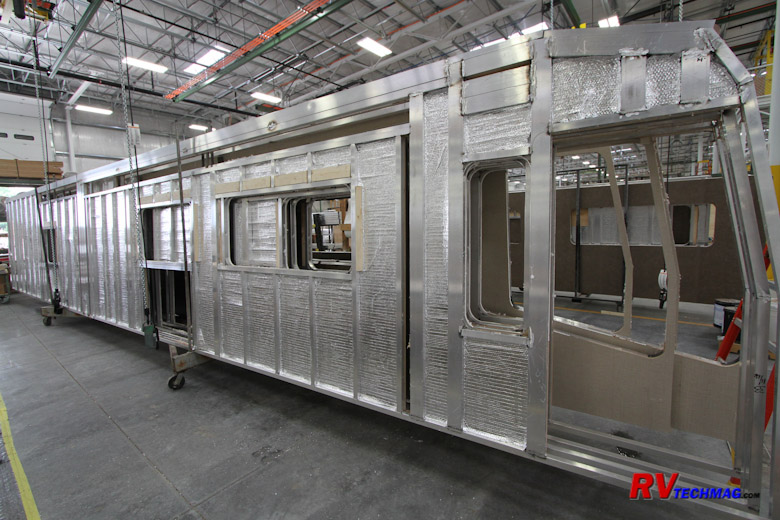
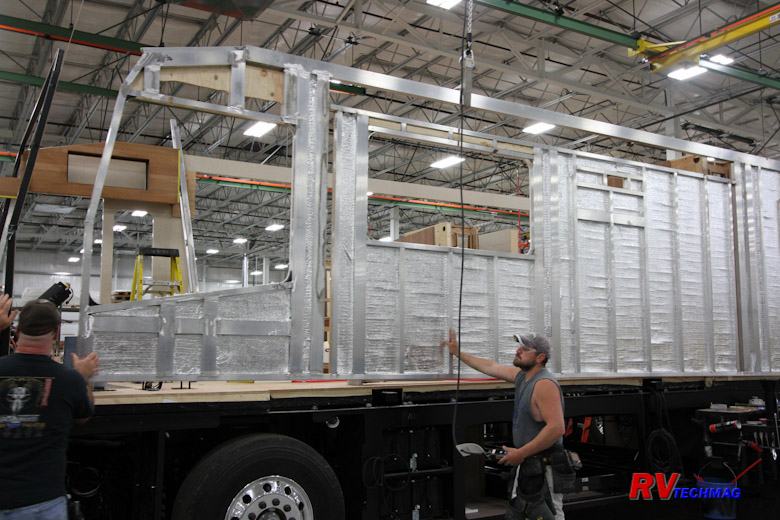
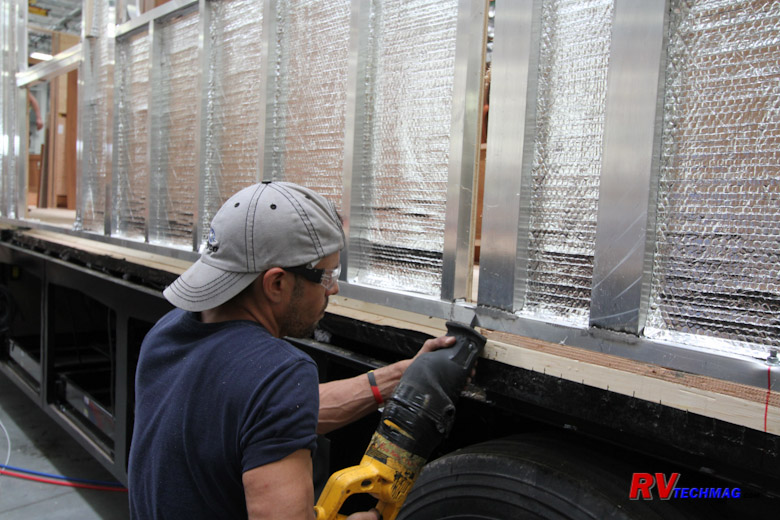
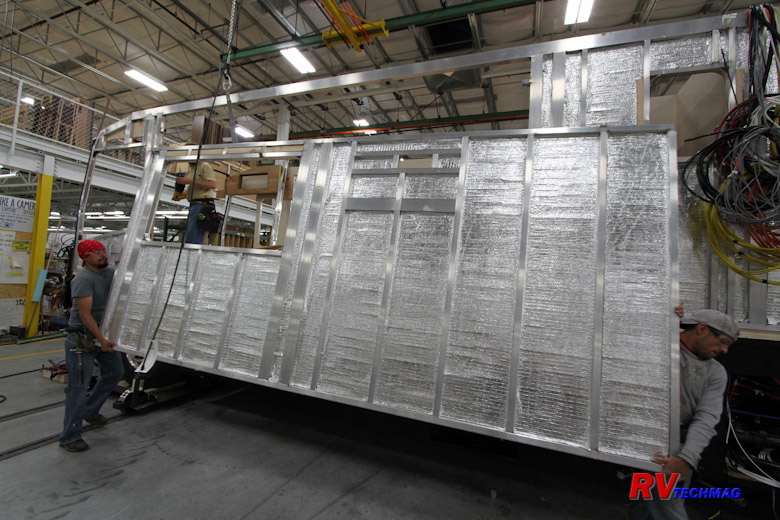
The sidewalls are assembled in a different area. The aluminum frames are covered with 1/2" plywood in most areas.
Reflective Flex Foil insulation is then applied to the outer surface of these interior walls. Every seam is taped and sealed
with foil
tape to ensure an air-tight seal. The sidewall assemblies are then set onto the floor of the coach with an overhead hoist.
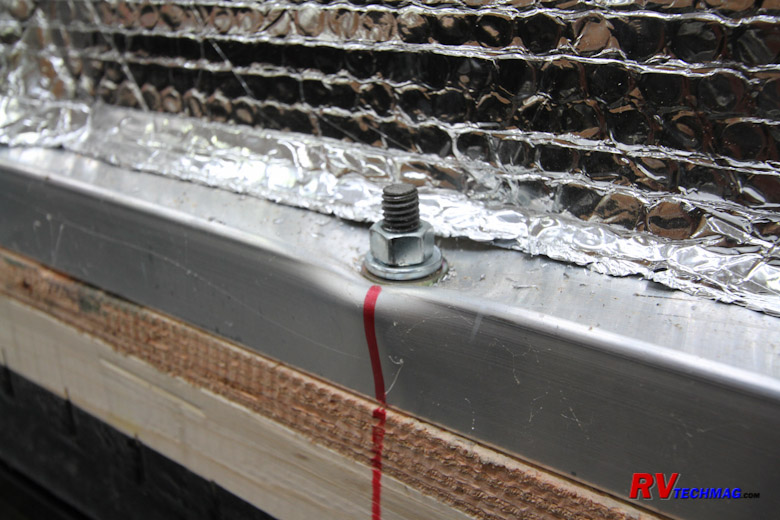
The sidewalls are fastened to the floor and steel sub-frame structure with bolts rather than screws to ensure
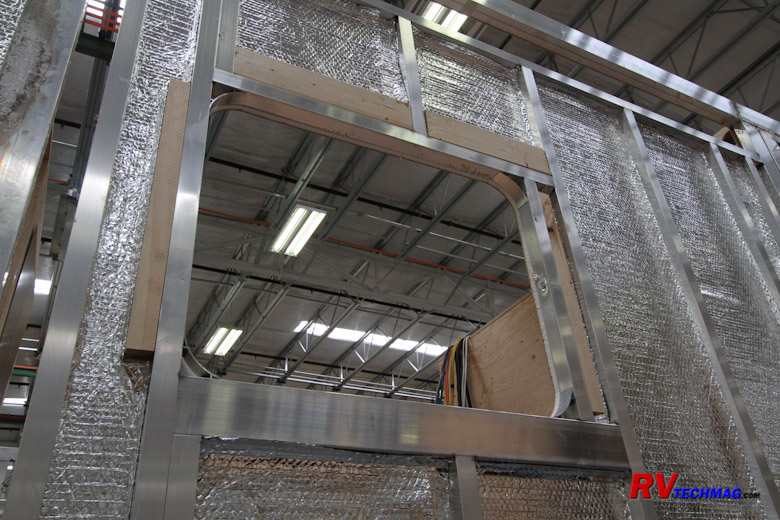
that no stripped threads could ever cause a fastener to pull out. Windows are framed in aluminum so that there is no potential for wood rot
in the event of a window sealant failure.
Entegra differs from most manufacturers in that the coach is built on its own aired up suspension. The slideout
walls are part of the sidewall, which is installed as a single assembly. This ensures that the slideout will be a perfect fit with the
opening, providing a tight tolerance fit and seal. Once the sidewall is bolted down to the coach the slideout portion of the sidewall is
cut out and taken away to a side area where the slideouts are built it. This same slideout wall will return to the coach later on when
the slideout has been completed.
|
|
|
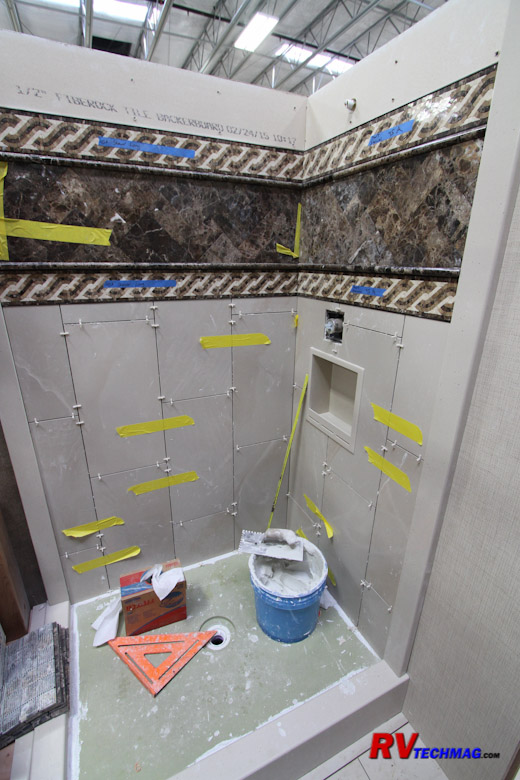
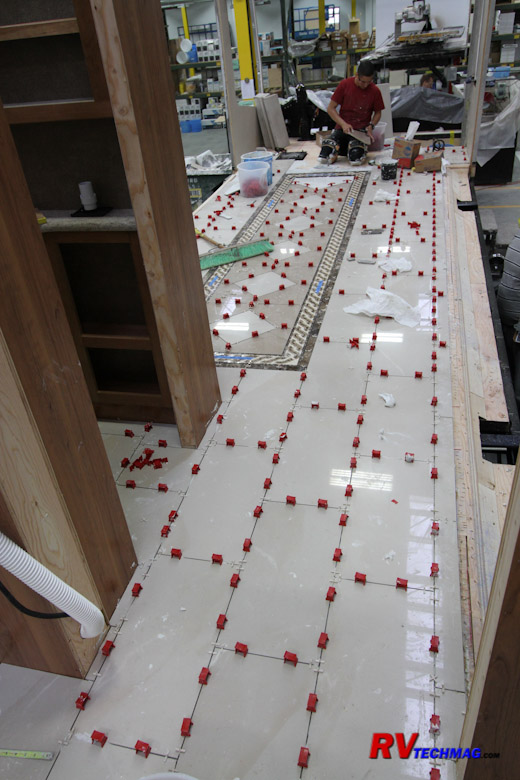
The coach then moves to the tile area. The Cornerstone's shower is painstakingly laid by hand with porcelain
sidewalls and a decorative tile stripe. The floor is finished and then covered with ceramic floor tile. The main floor is made up of
glazed porcelain tiles with a hand-laid decorative inset. Special installation clips and spacers ensure that every tile joint is even
and that there aren't any tiles that are higher than the rest. These clips are then easily removed once the epoxy adhesive is dry.
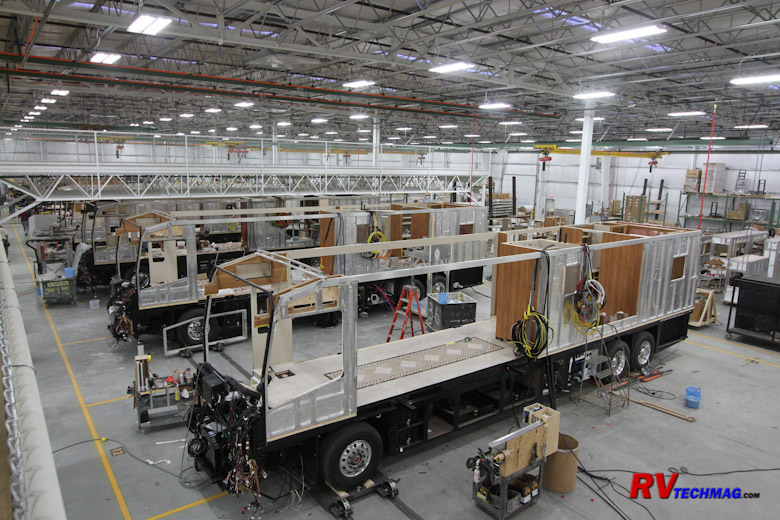
The coach is then moved to an area to allow the adhesive to set. Once set, the joints are grouted and set aside
to harden.
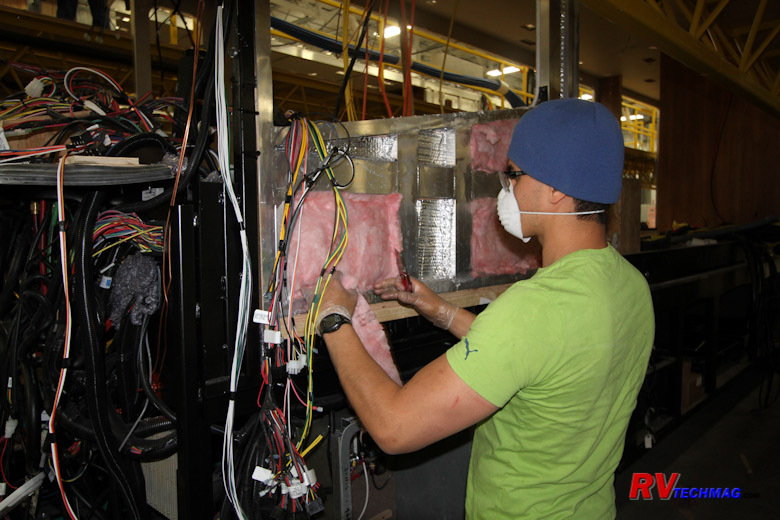
After tiling the coach sidewalls are insulated with fiberglass acoustical batt insulation. Every
possible location
is filled with insulation.
Return to Home Page
If you enjoyed this article be sure to recommend RVtechMag.com to your friends, like us on Facebook or Twitter
or subscribe to our RSS feed.


|


