Diesel Motorhome Chassis Service
Helpful DIY Tips on How to Service Your Own
Class-A Diesel Motorhome Chassis
Article Date: August, 2009
Article and Photography by Mark Quasius
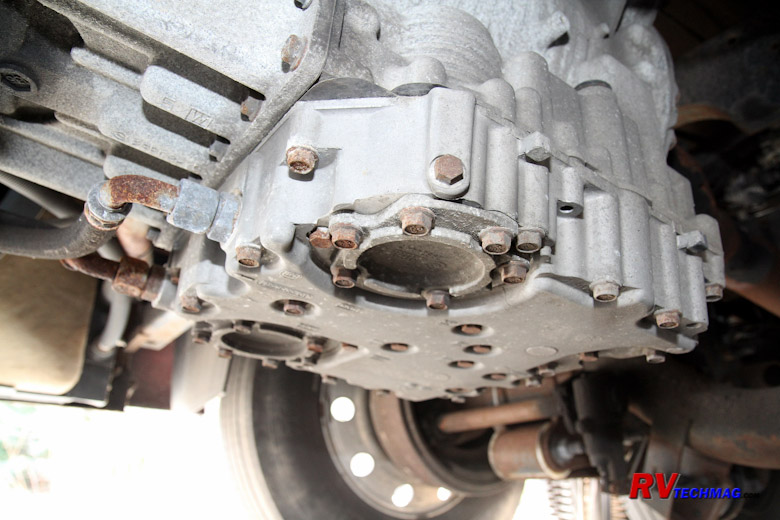
Basic Engine Maintenance
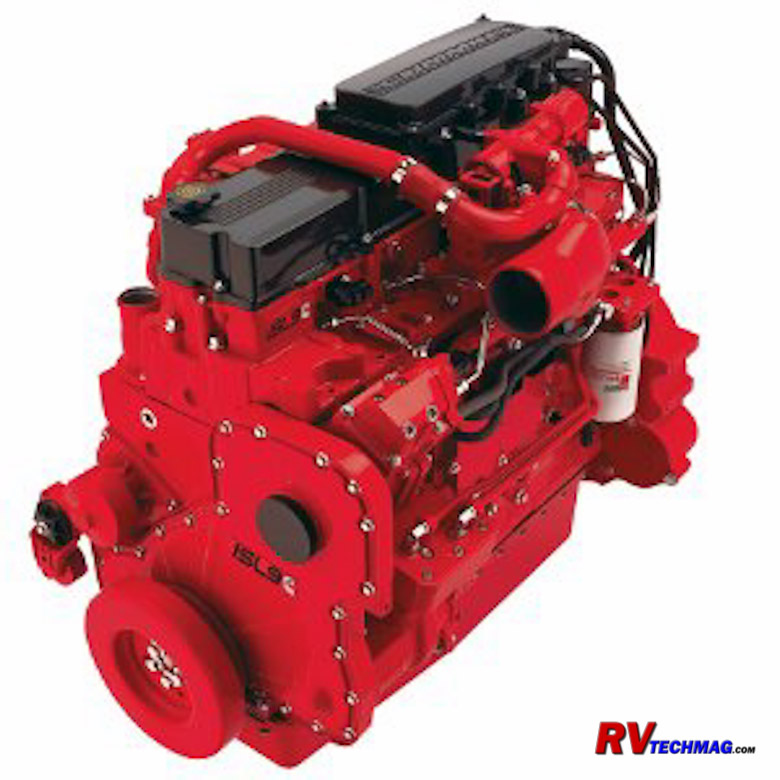
Engine Oil and Filters
The most common service task mentioned is an engine oil change. In order to keep your engine properly lubricated you need to
change the old dirty oil and replace it with new clean oil. You also need to put the proper API classification, viscosity, and quantity into the engine.
It's imperative that you carefully read your engine owner's manual. It will advise you of the proper API classification, viscosity, and quantity of oil
needed for your particular application as well as the frequency of oil changes.
Diesel engines generally run longer between oil changes than gasoline powered engines. They also hold more oil, which is part
of the reason for the extended interval. Oil changes are based on both mileage and time. The figure to use is whichever one happens first. In my case
I need to change my oil every 15,000 miles or 12 months. Most RVers don't put on that much mileage so the odds are good that you'll be changing it
based on the calendar rather than your odometer.
When you do change the oil it's best to have the engine warmed up prior to draining the old oil out. Sediments and sludge can
settle in the engine and won't come out when the oil is cold and has been setting. By warming the engine up you'll be stirring these sediments up and
suspending them in the oil so that they can be carried out of the system when the drain plug is removed. Just running your engine at idle for a few
minutes isn't enough. The best oil changes are done after the coach has seen some higher RPMs after a short drive. Warmer oil also drains faster and
you won't have to wait around as long for the oil to finally stop flowing.
Most diesel engines hold quite a bit of oil. In my case that's 28 quarts - which is equal to 7 gallons and won't fit into a
single 5 gallon bucket. I bought a few 5 gallon pails with screw-on lids. I can drain my 7 gallons into these pails and drop the old oil filter in
as well. Then I can spin the leak poof lids on and transport the used oil to a collection site without making a mess. Naturally I need to switch
buckets sometime in the middle of the draining so that the first bucket doesn't overflow. That used to require screwing the drain plug back in
quickly but that got messy and I went through lots of rags or shop towels cleaning up my hands and oil spatter from the driveway. I've since replaced
the drain plug with a Fumoto Drain Valve. This is a simple petcock that is rugged and foolproof that allows me to stop the oil flow at any time. It
also allows me to change my engine oil without needing any wrench for the drain plug. It's a handy device and you can order them direct
at Fumoto Drain Valve.
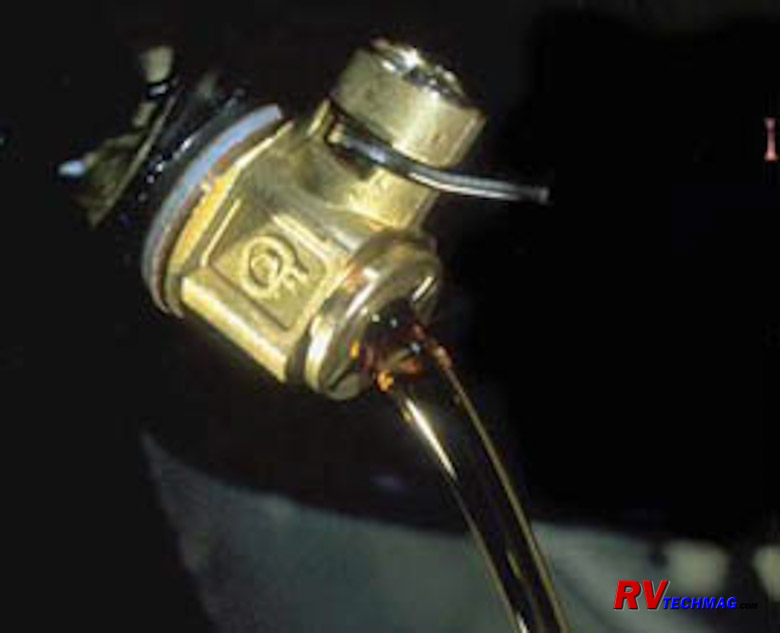
Fumoto Oil Drain Valve
To change the oil filter you'll need a larger oil filter wrench. Chances are that your oil filter is a larger diameter
than the automotive filters so you'll need a larger filter wrench to remove it. You'll still need the standard size for the fuel filters and also
an even smaller size for your generator set's oil filter so plan on having a set of three filter wrenches. Be sure to prefill your oil filter
with fresh oil and wipe the rubber sealing gasket with a bit of it to prevent binding when installing the filter. It's very important to prefill
the oil filter. If you don't your engine will be running for a while without oil pressure until the filter can fill up with oil and purge the air
out. This is not a good situation so always prefill your oil filter before installing it to ensure adequate lubrication during the initial startup.
It generally takes a fair amount of torque to tighten these larger filters so don't be afraid to use some elbow grease. Finally, wipe the filter
off with a clean rag or shop towel so that you can detect any oil leaks later on.
Most diesel pushers have their oil filler tube routed via a long hose to the back of the coach. Odds are good that it'll
be sticking out horizontally, which is fine for a heavy duty service center with pneumatic lubrication pumps but not so fine for the do it yourselfer.
You'll need to figure out a way to get oil to flow from your gallon jug into the filler opening without spilling it all. Typically some sort of
funnel setup with a flexible hose on the end allows you to do this.
Dipsticks are another issue. On a DP they are quite long to reach to the bottom of the oil pan. The head end is clamped at
an accessible location at the rear of the coach. Because of the long tube length these dipsticks are not always accurate so the first time you
change your oil you should calibrate your dipstick. After thoroughly draining the engine and replacing the oil filter, refill with the correct
amount of oil as specified in your engine owner's manual. Be sure to deduct for any oil you added to the filter because that counts as well.
Once you have poured the specified amount of oil into the engine replace the oil filler cap and run the engine for a while to purge any air out
of the lines. During this time you should check for any leaks, especially around the oil filter. After a few minutes shut down the engine and wait.
Be patient because it takes a while for all of the oil to drain down into the pan and settle in at the proper height. Go do something else for 15
minutes and leave the engine rest. Then remove the dipstick and wipe it clean. Insert it into the dipstick tube and check the oil level. Do this
a number of times, wiping the dipstick before each testing. If the oil level is not exactly at the dipstick's "full" level you can adjust the
length of the dipstick tube by loosening a few clamps and moving it a bit. Once the dipstick reads as it should tighten all the clamps and you can
now trust the dipstick readings.
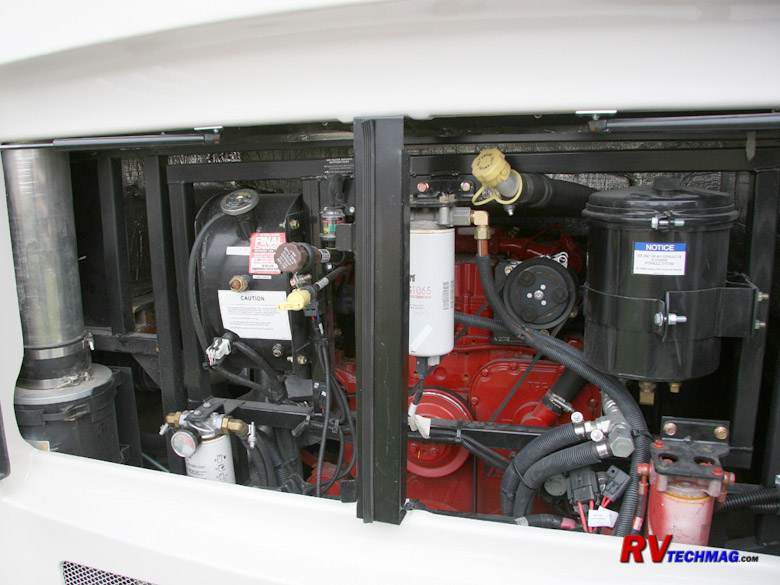
Engine Bay on 2008 Allegro Bus
Be sure to pay close attention to the API suffix on your oil. Prior to the 2008 model year most engines were happy with
API-CI series oil. In the 2008 model year new emission regulations came into effect that required the use of Diesel Particulate Filters (DPF) to
reduce emissions. The DPF is much like an overgrown catalytic converter with electronics and sensors added to recirculate exhaust gas and do a
number of other things. The DPF is supplied by the engine manufacturer, not the chassis builder, and as such is considered an integral part of
the engine's emissions system. The DPF is very expensive and it requires Ultra Low Sulphur Diesel fuel (ULSD) to function. In addition it requires
the use of API-CJ oil in the engine. Engine oil can get consumed during normal diesel engine operation. The ash content of API-CI series oil will
foul the DPF, resulting in reduced life and an early expense. For this reason API-CJ oil is required for all engines with DPFs. This oil features
a lower ash content to prevent this from happening. Both the API-CJ oil and ULSD fuel can be used without any problems in earlier engines that do
not have the newer emissions equipment.
Fuel System Maintenance
Diesel engines operate differently than gasoline engines. Whereas gasoline powered engines utilize a fuel with a higher
vapor point and a spark based ignition to fire it, diesel fuel is much heavier and uses increased compression ratios and accurate injection timing
to provide combustion. Diesel fuel has more BTU per gallon than gasoline therefore diesel engines produce more power per equal engine size than a
gasoline engine. All of this torque and combustion pressure requires heavier built engines so everything is much heavier on a diesel engine. Diesel
fuel systems are more picky than a gasoline engine's systems are. Specs of dirt or sediment can render a fuel injector inoperative. Any water in
the fuel can quickly destroy the fine tolerances in a fuel injection pump. For this reason it is critical to provide a steady supply of clean, dry
fuel to the engine.
This begins at the fuel tank. Buying fuel from a well known truck stop that sells lots of fuel helps to ensure that you are
getting fresh clean fuel. An older, less used fuel stop is more prone to having older stale fuel and a greater potential for water in their tank.
Once you get this stuff into your fuel tank the problems begin. If your filters plug up your engine will starve and you won't have very much power
available. You'll be spending quite a bit of time replacing fuel filters over and over again, or in severe cases, actually having the fuel tank
pumped out and cleaned.
Most (but not all) diesel fuel systems have two fuel filters in them. The first filter that the fuel passes through is
called the Primary Fuel Filter, and is sometimes referred to as the water separator. This filter is a coarser micron rating than the secondary
filter and is the first line of defense against anything entering your fuel system. Many of these filters incorporate a sensor unit in the bottom
that detects water. If you accumulate any amount of water in the filter the sensor will trigger a "Water in Fuel" warning light on the dash to
inform the operator. Most of these filters also feature a petcock or drain valve at the bottom so that any water can be drained out. The next fuel
filter is called the Secondary Fuel Filter and has a finer micron rating. If any minute particles of sediment pass through the primary filter,
this filter will prevent them from entering the fuel injection pump or fuel injectors and damaging those items.
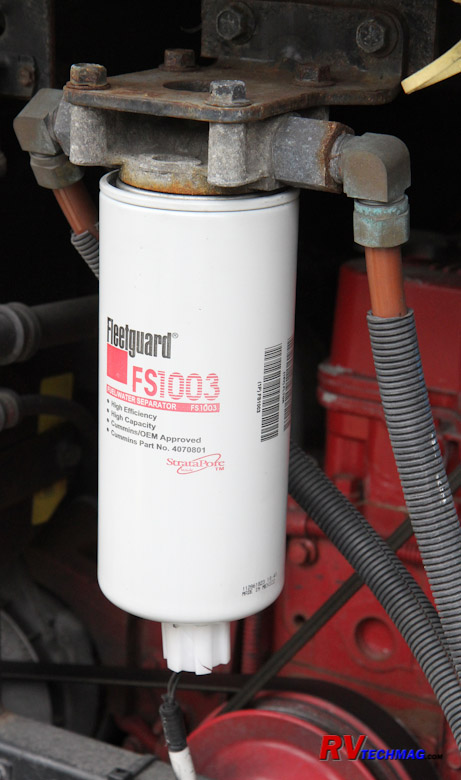
Fleetguard Primary Fuel Filter
These filters will need to be replaced according to your service schedule. Generally the secondary filter isn't replaced as
often as the primary filter but your specific service schedule should be your ultimate guide. To do this you'll need your filter wrench. When a
diesel engine gets air in the fuel system, it won't run. You will need to purge the air from the system, commonly referred to as "bleeding the
fuel system". This will vary from one engine to the next. Some engines use a hand primer level on a mechanical lift pump to accomplish this while
others may use an electric lift pump that requires some sequencing of the ignition key switch to purge the air from the system. Laboratory
engineers write the specs and procedures and don't approve of pre-filling the fuel filters. Their reasoning behind this is that a spec of dirt might
enter the fuel system and cause damage to the fuel injection system. While this is indeed a possibility, practical reasoning says that pre-filling
is a good idea to minimize the stress caused by cranking an engine with an air-bound fuel system in an attempt to get it to fire. My personal
preference is to prefill the filters but be careful to use clean fuel and clean techniques when handling it. First of all, if you do induce any
foreign matter into the primary filter, the secondary filter will catch it and prevent it from entering the fuel injection system. Being very
careful on the secondary filter has always worked for me, even in years of service as a diesel mechanic at a truck service center. The second
point is to change one filter at a time. Purge the system and run it after the primary filter was changed. Then proceed to the secondary filter.
By doing this you'll only have half as much air in the system as if you removed them both at the same time and your purges will finish up
much faster.
Return to Home Page
If you enjoyed this article be sure to recommend RVtechMag.com to your friends, like us on Facebook or Twitter
or subscribe to our RSS feed.


|


