Diesel Motorhome Chassis Service
Helpful DIY Tips on How to Service Your Own
Class-A Diesel Motorhome Chassis
Article Date: August, 2009
Article and Photography by Mark Quasius
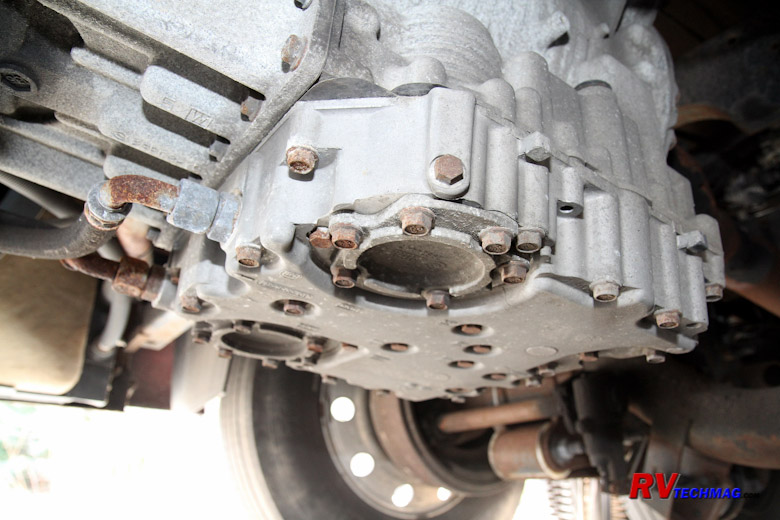
Diesel Engine Cooling Systems
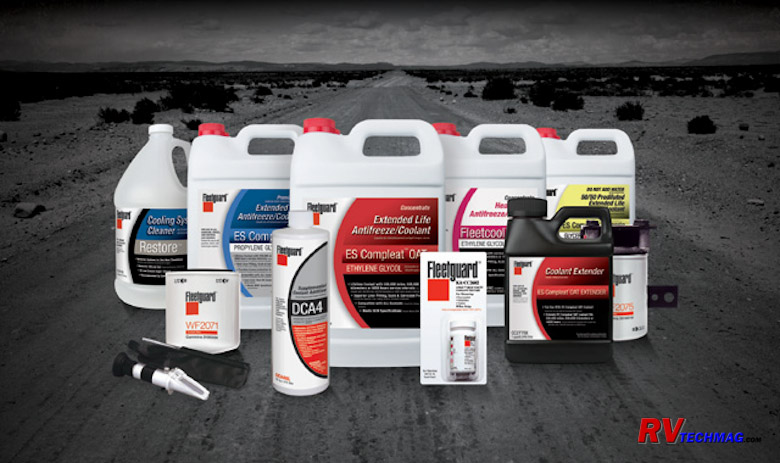
Diesel engines have different coolant requirements than gasoline engines. Many, but not all, of these engines have wet
cylinder sleeves. Wet sleeves mean that the cylinder liner is pressed into the engine block and the coolant contacts the actual cylinder liner
itself. Dry sleeves are pressed into the engine block but go into another casting so that the coolant doesn't contact the actual liner itself.
Wet sleeves have the advantage of better cooling because the heat can transfer directly from the cylinder to the coolant. They also require
special coolants that eliminate pinholes resulting from cavitation. Rather than go into detail, feel free to check out my article explaining
all of this at HD Diesel Engine Coolants for RVs. If you have a non-OAT Coolant you'll need to check your SCA
levels according to your maintenance schedule, which is typically every 6 months. Fortunately, most RVs are now being shipped with OAT coolant
and you won't have to worry about servicing it for 3 years. I would carry some extra coolant along though so that you have the correct stuff in
the event of a cooling system leak repair.
Belts are normally good for a few years. But, it never hurts to have a spare set. If one does fail you may not be able to
find a replacement easily and you might be sidelined for a while. In addition to having the spare belt, think about what tools you'll need to
replace it. Many of these belts are now serpentine and utilize an automatic tensioner to provide continuous tension as the belt stretches. You
may need a large breaker bar of some sort to be able to rotate the spring loaded tensioner so that you can replace the belt. It's best to test
this out in the driveway at home rather than find out how to do it on the side of the road some day.
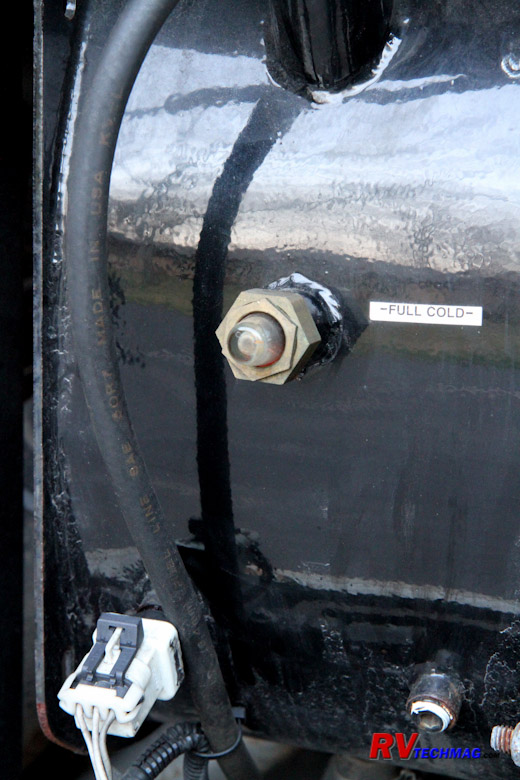
Coolant Surge Tank Sight Glass
Radiators are another service area. They need to be kept clean in order for them to efficiently remove any heat from the
coolant and transfer it into the air. Side mounted radiators aren't the worse but rear radiators require a bit more care. Rear radiators are
located at the very rear of the coach. As the coach drives down the road a vacuum is formed behind the coach. This vacuum tends to suck up all
of the road dirt and pass it through the radiator. Some engines in the past have had breather issues where the "slobber tube" passes oily
crankcase fumes out the breather pipe. Some of these pipes did not extend down very far and the oily mist would pass through the rear mounted
radiator, coating it's fins as it did so. When the road dust rose up and passed through the radiator it would stick to the oily film and begin
to restrict air flow. Between the breather tube fumes and road dust this became a vicious cycle and eventually the radiators began to plug up
and overheat. Cleaning the radiators required spraying them with a mixture of degreaser, such as Simple Green, and hot water. Unfortunately,
this wasn't the easiest place to get to so it was a very time consuming and messy job. The workaround was to extend the slobber tube so that
its end was lower than the radiator. Most of the current engines use a captive breather system so that's isn't as big of a concern as it once
was. However, any oil leakage can still get into the radiator so it's important to keep both your engine and it's radiator clean. Regular
inspection should be on your checklist for each scheduled service.
Engine Air Filters
Your engine's air filter is another area that is critical to your engine's health. Today's engines are very efficient
and built to tight tolerances. It is commonly stated that one tablespoon of dirt is enough to ruin an engine. Typical air filters on class A
diesel pushers consist of a sealed unit, such as the Racor EC series. These units consist of a paper air filter element surrounded by a large
steel encasement. There are fins situated around the filter and inside the case to use cyclonic action to spin heavier particles away from the
filter and into the bottom of the housing, increasing the filter's longevity. These are non serviceable elements and you simply replace them
when it's time. Loosening two large worm drive hose clamps and releasing two cam-over retaining latches allows the filter assembly to be
removed. A bit of silicone spray inside the rubber attaching hoses makes for easier installation of the new filter.
Your owner's manual will be the definitive guide as to when to replace your air filter but it's based upon an average
set of circumstances. Once you understand what makes a filter wear out you'll be better able to determine when it's time for you to change
your particular filter. The main reason to replace the filter is that they eventually plug up and won't pass enough air through. All of the
dirt that's in the air will accumulate in the filter material over time and cause gradual decrease in airflow. Your air filter undoubtedly
has an air filter restriction indicator mounted next to it. This is a small plastic sight vial with a yellow plunger in inside that will move
according to how much vacuum the intake pipe has. It will latch in the highest position so that you don't have to run behind your coach when
driving to see what it reads. Pushing the reset button on the bottom returns it to zero and it now will record the next highest reading.
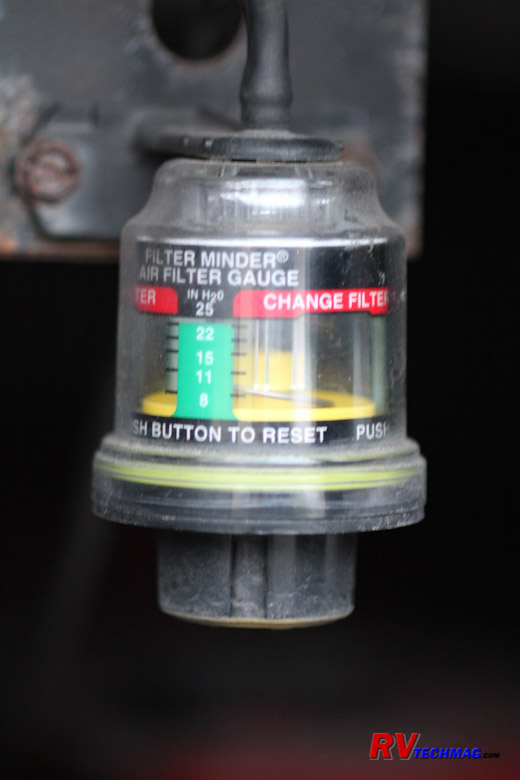
Air Filter Restriction Gauge
Most air filters are designed to be replaced when there is 15" of vacuum present. The higher the vacuum, the more
restriction is in the air filter. This value is just the amount of "increase" in the vacuum level over the value of a fresh filter. Now not
every RV's intake system is identical. Some RVs have smaller piping than others, engine displacements vary, etc so there is no single setting
that everyone can use. What you need to do is check your vacuum reading after you have installed a fresh filter and run the engine at high
RPM for a while. Then make a note of that reading. Add that value to 15 and that will tell you when you need to change your filter. For
instance - my base reading on a fresh filter is 6" of vacuum. 6 plus 15 = 21 so my particular air filter needs to be replaced at 21" of vacuum.
Remember that this is a gradual degradation of its ability to pass air through. If your filter is approaching that number you will not have the
full efficiency of your engine, so you may not be getting full power or fuel economy. If you have a long trip planned it would be to your
advantage to change it earlier.
The second criteria is age. Three years is the longest I would go on an air filter and many manufacturers recommend 2
years in their service schedules. Paper eventually wears out. Pass enough humidity and water vapor through any kind of paper and eventually
you'll wind up with a useless glob of pulp. You don't want to let your filter get that far or else the paper will rupture and it'll fail to
filter dirt particles out. Once you get that legendary tablespoon of dirt, you'll be visiting your engine rebuild shop. Naturally this will
happen sooner if you operate your coach in a wet, humid environment whereas a coach operated in southern Arizona will get much longer life.
But it always pays to err on the side of caution when this much is at stake.
Transmissions
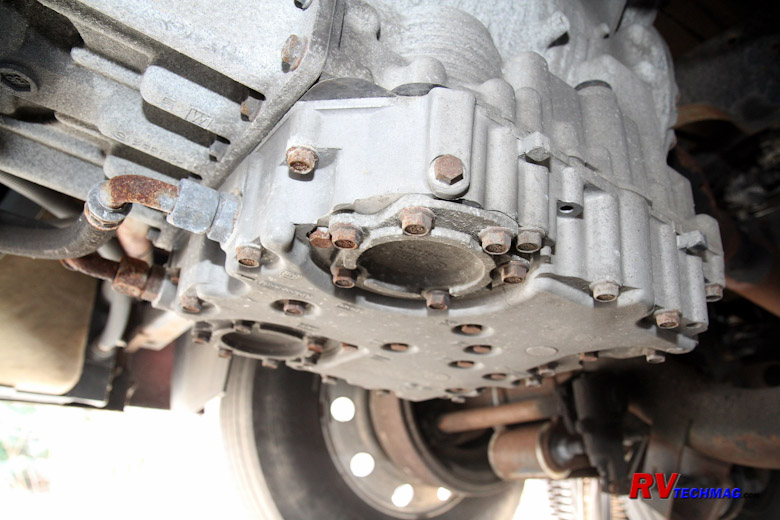
Allison 3000 Transmission Filter Locations
It's a pretty safe bet that your diesel pusher has an Allison transmission in it. With the exception of smaller gasoline
powered RVs the Allison is pretty much the choice of every RV chassis builder. Various sizes on Allison transmissions are made. The smallest use
spin-on filters, very similar to your car's engine oil filter. The larger transmissions use a pair of cartridge style filters that insert through
the bottom of the transmission's oil pan. These are not all that hard to change. A ratcheting socket set will easily remove them and not that much
fluid will drain so it's a manageable job for most everyone. It's important to verify the service schedule with your Allison manual. If in doubt,
a quick phone call to them with your build date will get you the correct information. Some transmissions require a single filter (the primary filter)
to be changed after a few thousand miles while others do not. So, be sure to read your manual or make that phone call to verify your particular
requirements. Allison filters can be purchased in two packs, which will save you quite a bit of money over a single filter purchase.
Transmission fluid come in two versions - regular or synthetic. For the most part your Allison transmission is probably
filled with synthetic transmission fluid if it was manufactured in 2005 or later. It's possible that your chassis builder may have finished it
off with non-synthetic fluid so be sure to verify that with your chassis builder. If you have synthetic fluid the service intervals are longer
than with dino based fluid. Allison sells a brand of synthetic fluid called Transynd which is specially formulated for them by Castrol. They
also recommend Mobil Delvac Synthetic ATF. The
Allison website lists the various fluids available that meet the TES 295 specifications. Always verify any fluid compatibility and your exact
service schedule on the Allison site to be sure that you are in compliance and that your warranty is not jeopardized.
|
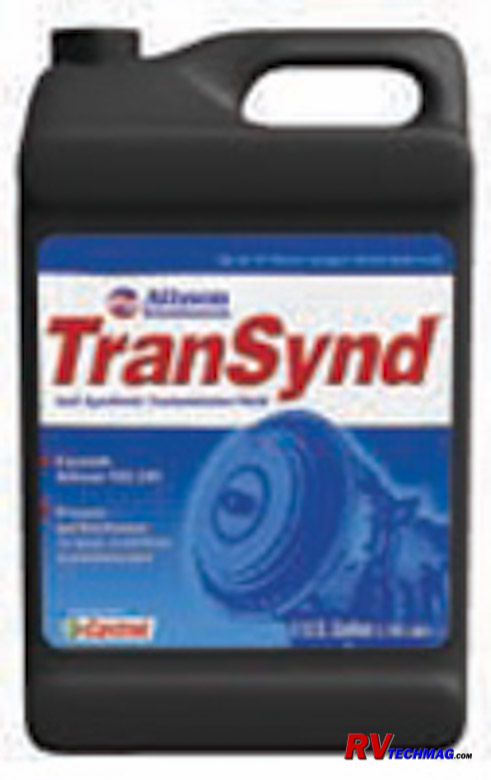
Transynd ATF
|
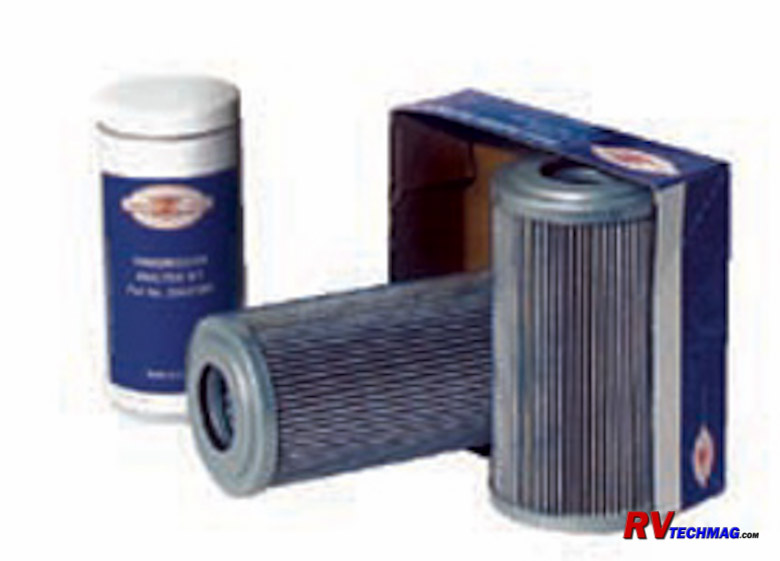
Allison Filters
|
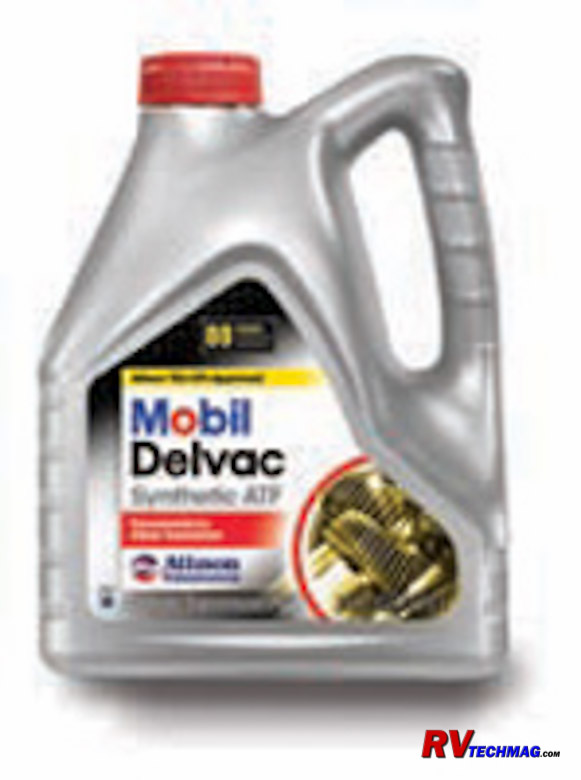
Mobil Delvac ATF
|
Return to Home Page
If you enjoyed this article be sure to recommend RVtechMag.com to your friends, like us on Facebook or Twitter
or subscribe to our RSS feed.


|


