RV Chassis Lubricants
Selecting the Correct Lubricant
Application for Your Motorhome
Article Date: September, 2014
Article and Photography by Mark Quasius
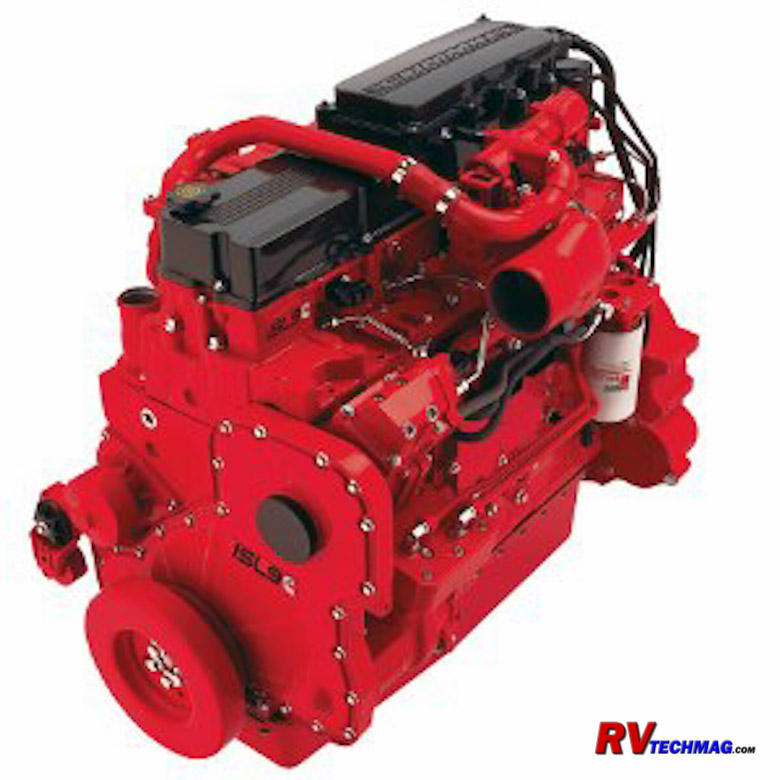
A motorhome chassis is made up of quite a few moving parts. Engines and transmissions that propel these large vehicles
require lubrication to keep all of these moving parts operating in harmony. Chassis components also require lubrication. If you put the wrong
lubricant in or fail to keep adequate lubrication levels or service intervals up and you'll have some expensive repair bills looming in your
future. In this section I'll try to detail some of the basics behind the various lubricants. Most lubes are designated with a series of API or
MIL category numbers. Choosing the proper lubricant consists of reading the owner's manual for your specific RV in order to determine which API
service level you need to meet, then matching the lubricant's viscosity to the specs that relate to your operating environment. Note that this
tutorial only serves to enlighten you as to some of the differences between the various lubricants. It does not replace your owner's manual,
which will be the ultimate guideline to the service schedule that pertains to your RV. I've broken each section down by lubricant class so that
you can easily access any specific area of interest that you may have.
Engine Oils
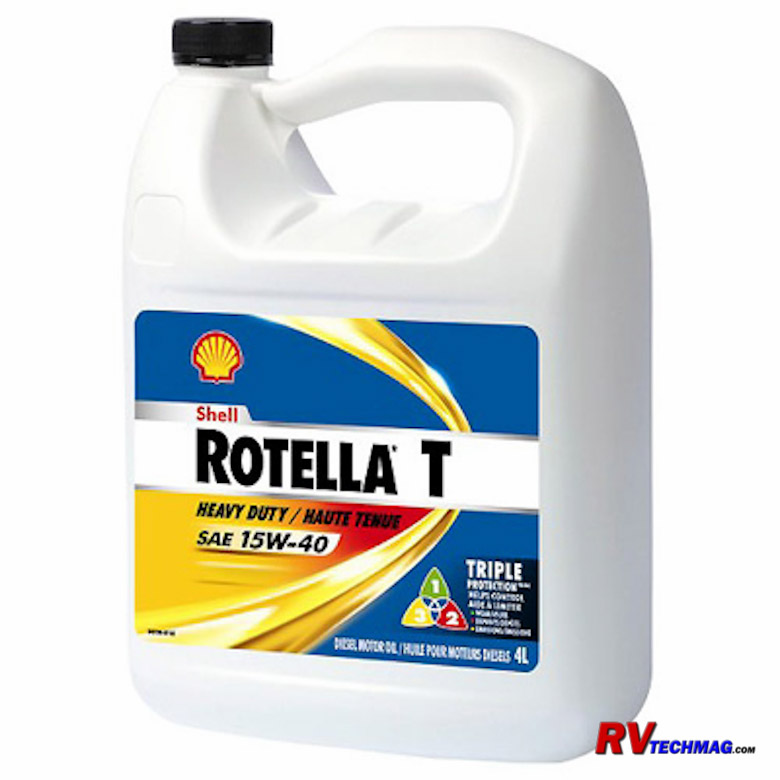
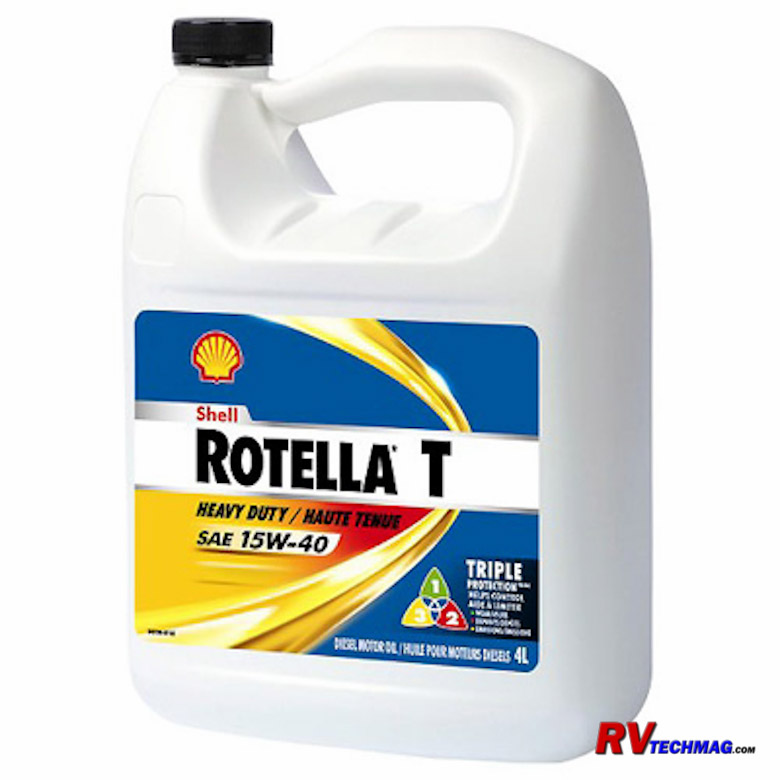
Motor oil is the life blood to your motorhome's engine. Without it, your engine will just be a big, heavy pile of scrap.
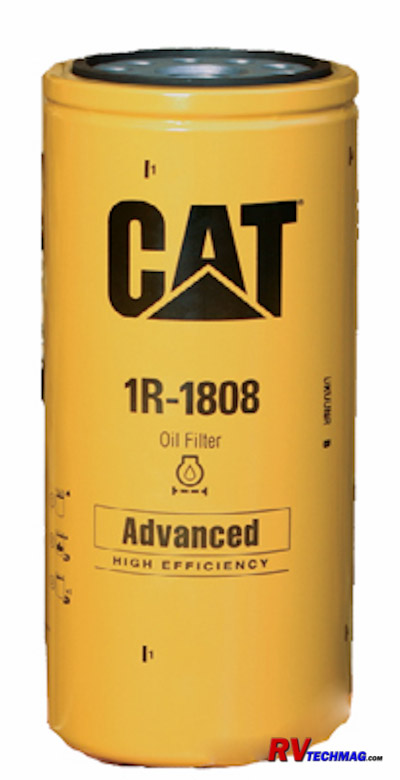
To maintain your engine in operating order you'll need to provide the correct weight and rating of oil and you'll need to service both the oil
and oil filter on a regular basis. In the following paragraphs we'll try to demystify motor oil and provide you with some information so that
you can make an informed decision regarding how to properly care for your motorhome's engine. Note that this tutorial only serves to enlighten
you as to some of the differences between the various lubricants. It does not replace your owner's manual, which will be the ultimate guideline
to the service schedule that pertains to your RV.
Viscosity
Viscosity is just another term for "Thickness". Thick oils flow slowly while thin oils flow fast. As the oil heats up, it
becomes thinner, flows faster, and doesn't provide as much lubrication at higher temperatures. When the oil gets cold it thickens, flows much slower,
and won't provide adequate lubrication if it gets too thick. For this reason, oils are rated by the Society of Automotive Engineers (SAE) according
to a standardized numbering system. basically they heat the oil up to a 210 degree temperature and measure how long it takes for a given amount of
oil to pass through a standardized diameter hole. Thicker oils take longer to drain through the oil so they receive a higher rating number than a
thinner oil that flows through much quicker. Therefore an SAE 40 rated oil will be thicker than an SAE 30 oil. These numbers are rated at the 210
degree temperature and can be useful for determining how that oil will perform in summer use but it doesn't take into account the low temperature
performance of the oil, which is necessary for cold winter startups. A second test is taken at 0 degrees F for winter oils and these ratings are
given the "W" rating. Therefore an SAE 10W oil is thinner than a 20W oil.
Thick engine oils provide good protection in hot engines because the oil doesn't thin out at higher temperatures. But, that
same oil will be fairly stiff when it's cold. In a cold start condition the engine will turn over slowly because of the drag that is placed on the
engine bearings from the cold, stiff oil. Once the engine does start it will take a while for the oil to pass through the oil pump and get to all
the critical wear parts so you'll basically be running without lubrication during those first few seconds. That's why winter oils are created to
allow easier starts and better lubrication during cold temperatures. The problem with this is that eventually the engine will warm up and if you
work it hard the oil will thin out and you won't have very much oil pressure or lubrication going on. This is a problem with single viscosity oils.
Fortunately a solution for this came out in the late 1960s in the form of multi viscosity oils.
Multi viscosity oils are the best of both worlds. They are thin at low temperatures so that their pour point is low enough to
provide adequate lubrication at cold temperatures. Yet, they retain their viscosity at high temperatures and don't thin out like a single viscosity
winter oil does. The SAE has given these a multiple rating and the winter rating will be followed by the summer rating. A 10W-30 oil will have the
low temperature viscosity of a 10W winter oil but will retain it's viscosity up to the same rating as an SAE 30 summer oil.
Modern engines are fitted with extremely tight tolerance compared to engines made 20-30 years ago. It's critical to follow
your owner's manual when choosing your oil viscosity. Not all engines are designed for the same viscosity so be sure to refer to the manual for your
particular application. Keep in mind that operating temperatures play a big part in choosing which oil to use. A 20W-50 oil will probably work quite
well in the middle of a desert but won't work well at all in Alaska where a 5W-30 oil may be a better choice. When choosing an oil for your
application be sure to give careful consideration to what kind of temperatures you'll be operating in.
API Specifications
|
API Classifications for Gasoline Engines
|
|
Category
|
Status
|
Service
|
|
SM
|
Current
|
Introduced November 30, 2004.
For all automotive engines currently in use.
|
|
SL
|
Current
|
For 2004 and older automotive engines.
|
|
SJ
|
Current
|
For 2001 and older automotive engines.
|
|
SH
|
Obsolete
|
For 1996 and older automotive engines.
|
|
SG
|
Obsolete
|
For all 1993 and older automotive engines.
|
|
|
|
API Classifications for Diesel Engines
|
|
Category
|
Status
|
Service
|
|
CJ-4
|
Current
|
Introduced 2007 for the latest engines using a Diesel Particulate Filter (DPF).
Reduced levels of zinc are required to prevent fouling of the DPF. CJ-4 oil is required for
all diesel engines using ULSD fuel and DPF emissions equipment, introduced in 2007.
Can be used in all diesel engines currently in use.
|
|
CI-4
|
Current
|
Introduced September 5, 2002. Designed to meet 2004 emissions standards.
Meets requirements of all LSD (0.5% Sulphur) diesel engines.
|
|
CH-4
|
Current
|
Introduced in 1998 and designed to meet 1998 exhaust emission standards.
|
|
CG-4
|
Current
|
Introduced 1995. Designed for all high Sulphur diesel engines.
|
|
CF-4
|
Current
|
Introduced in 1990.
|
Engine oil isn't just plain old oil. There's a ton of additives that contribute a huge amount to overall performance.
Detergents will aid in cleaning any sludge out of the system, anti-foam agents reduced oil foam, anti-wear additives (such as zinc), will help
prolong the life of engine bearings, anti-corrosion additives reduce the effect that the acids created by normal engine combustion have upon the
internal components, etc, etc. The level of additives helps determine the quality level of the oil. Older engines weren't so picky but over time
engines have gotten more sophisticated as far as emissions are concerned and the quality of the oil has had to increase as well in order to meet
that demand. For this reason you also need to find out which API (American Petroleum Institute) service level you need to meet for your
particular engine. The API service levels determine the quality of the oil. You can always go up a grade to a higher quality oil but you cannot
drop down below the level that your engine requires. So, in addition to oil viscosity rating, it's just as important to watch the API service
category as well. Fortunately, the latest oils have fairly high ratings while the older oils are discontinued so it's not that hard to find the
right oil for your engine. Generally, if an oil is harder to find it's because you've got the very latest engine design and the oil manufacturers
haven't quite caught up yet.
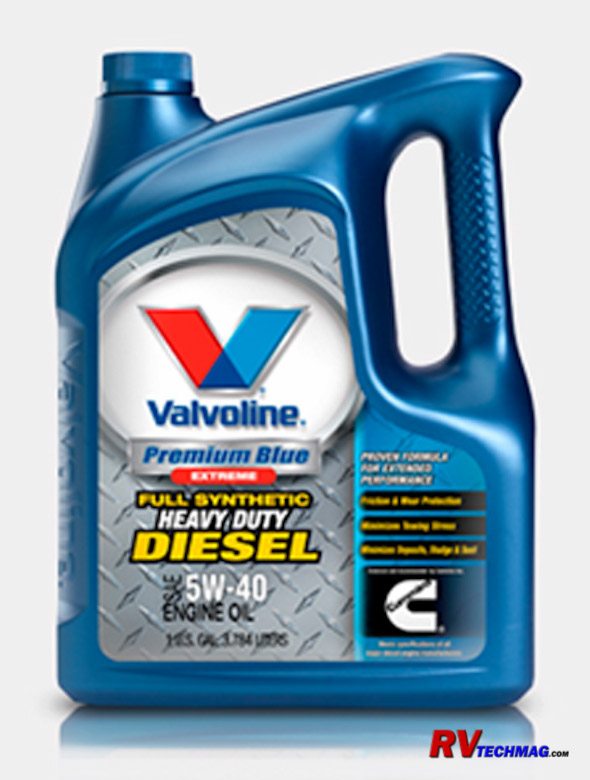
It's important that you use API CJ-4 oils in any diesel engine that meets the new 2007 emissions standards. The 2007 spec
engines began to show up in the 2008 model year RVs. These engines use Diesel Particulate Filters to filter and recycle the engine exhaust gasses.
In addition, only Ultra Low Sulphur Diesel (ULSD) fuel can be used in these engines or else the DPF will foul out and need some very expensive
service or replacement. Oils up through API CI-4 contain zinc and other anti-wear additives which will foul and leave ash content in the DPF so
they cannot be used in the latest engines. API CJ-4 oil was developed with a new additive package that replaced the traditional zinc and other
anti-wear additives with new elements that will not foul the DPF so it's critical that you use API CJ-4 oil in any engine with a DPF.
Synthetic Oil Options
Conventional motor oil is refined from mineral oil that is pumped from the ground. Basically, dead dinosaurs, etc.
Conventional oils contain impurities, like Sulphur, wax, asphalt, etc. because conventional oil is basically "found", rather than "created",
there is a fair amount on inconsistency within it. Synthetic oil, on the other hand, is chemically created in laboratory conditions. This
eliminates any impurities and also provides for molecules that are consistent in size and shape. Basically, synthetic oil is fine tuned.
Because synthetic oil is created from scratch it can have just about any properties the chemist choose to incorporate within it. Synthetics
have the ability to pour at much lower temperatures than conventional oils, which greatly improves cold weather performance. Yet, the high
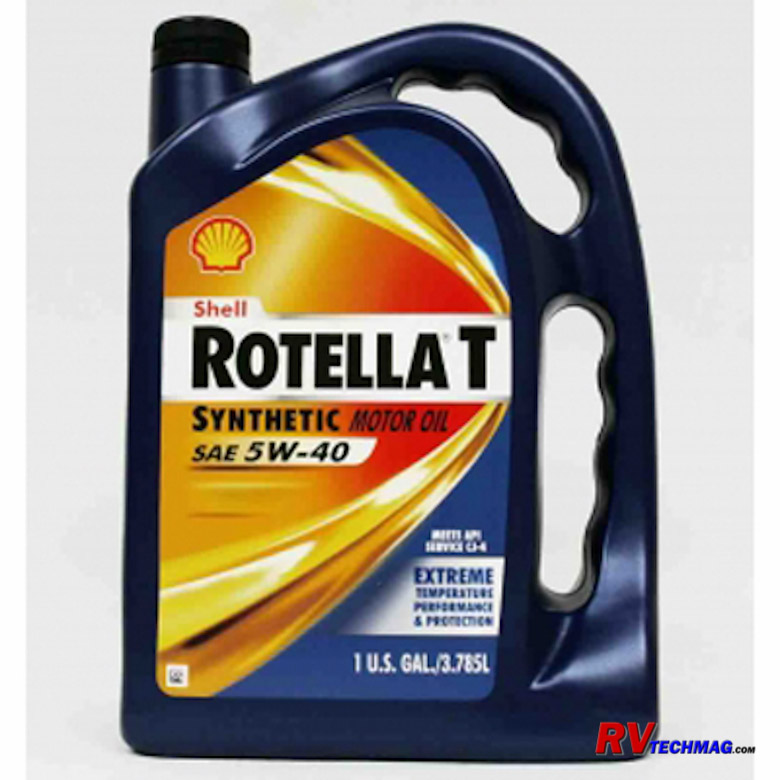
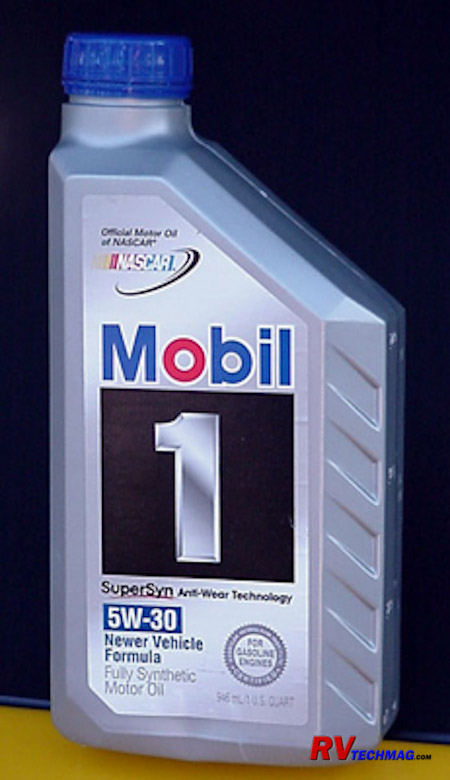
end performance is not diminished. It's common to find a conventional oil rated at 15W-40 while the synthetic version is rated at 5W-40.
All oil will eventually boil. It's just a matter of how hot it needs to get in order to reach it's boiling point. Once that point is reached
the oil vaporizes and forms carbon deposits when it condenses. A typical place for this is piston heads and the piston sides just above the
top piston ring. This is a hot location and as the carbon builds up, it accelerates wear on the engine cylinders and increases oil consumption.
Synthetic oil boils at a much higher temperature than conventional oil so you won't have the carbon buildup that you do with conventional oil
and the oil consumption will be reduced because it remains as a liquid lubricant rather than vapors in the exhaust. Conventional oils tend to
break down once the oil temperature gets to 250 degrees but synthetics are good to 290 degrees and beyond.
Synthetics last longer so the oil manufacturers claim that you can extend service intervals out farther with synthetics.
However, not all vehicle manufacturers state the same so it's possible that extending your service intervals may affect your warranty coverage
should an engine failure occur. In the case of RVs, most RVers change according to time versus mileage anyway because they don't put on that
many miles in a year. So, the extended service interval most likely isn't something that the average RVer will benefit from. But, a synthetic
oil will give better protection for your engine than conventional oils. If you operate in cold weather the benefits of synthetic's low pour
point is a big plus for cold starts. The greater high temperature protection also means that you'll guarantee good lubrication when you are
working the engine hard in extreme conditions. Conventional oil will meet all of the minimum requirements but synthetic just gives you a
greater margin for error. Unfortunately, synthetic oil does cost more than conventional oil. Whether or not you feel that the additional cost
is justified is something that only you can determine.
Service Intervals
Service intervals are always rated by time or mileage. You always perform this service according to whichever happens first.
Oil changes are no different. A typical diesel engine may have a recommended oil and filter change at 12 months or 20,000 miles, whichever happens
first. The majority of RVers will fall under the time rather than mileage criteria. Keep in mind that you are not just replacing worn out oil when
you change it. The oil will flush and accumulate a number of things during it's lifetime that you just don't need in your engine. Engine crankcases
are an extreme environment and many of the byproducts of combustion wind up in the crankcase. These include acids that can eat and pit your critical
wear surfaces, carbon and other grit that can grind away bearing surfaces, etc. Whenever you fire up a cold engine there will be condensation
inside the crankcase. Short runs are bad for this because the condensation never gets a chance to burn away. Running your engine for longer periods
of time and getting it good and hot helps in that regard. There will always be some condensation left though and after a while it will need to be
removed, along with the other contaminants that have accumulated over time. So, it's important that you don't strictly look at mileage as a criteria
for determining when to change your engine oil. Time is just as important and most RVers will change based on time rather than mileage. Always refer
to the service schedule as put forward by your engine manufacturer when determining when to change your oil.
Do Your Own Oil Changes
When you do change, be sure that you have the engine warmed up. Run it long enough to ensure that the oil has had a chance to
loosen up any sludge and carry it, as well as any condensation or foreign particles, out as it flows into the drain pan. Give it plenty of time to
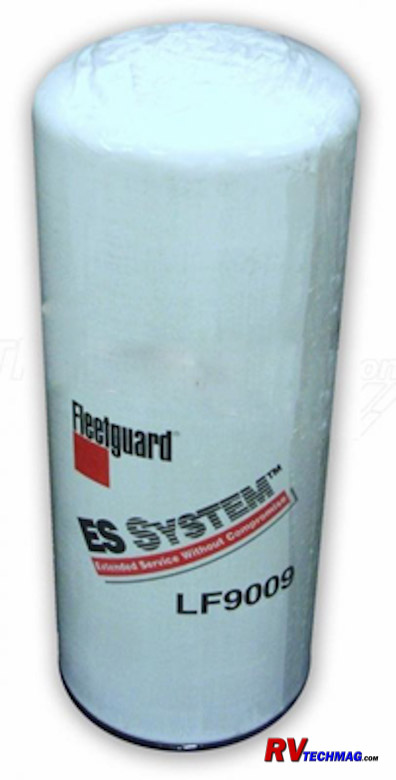
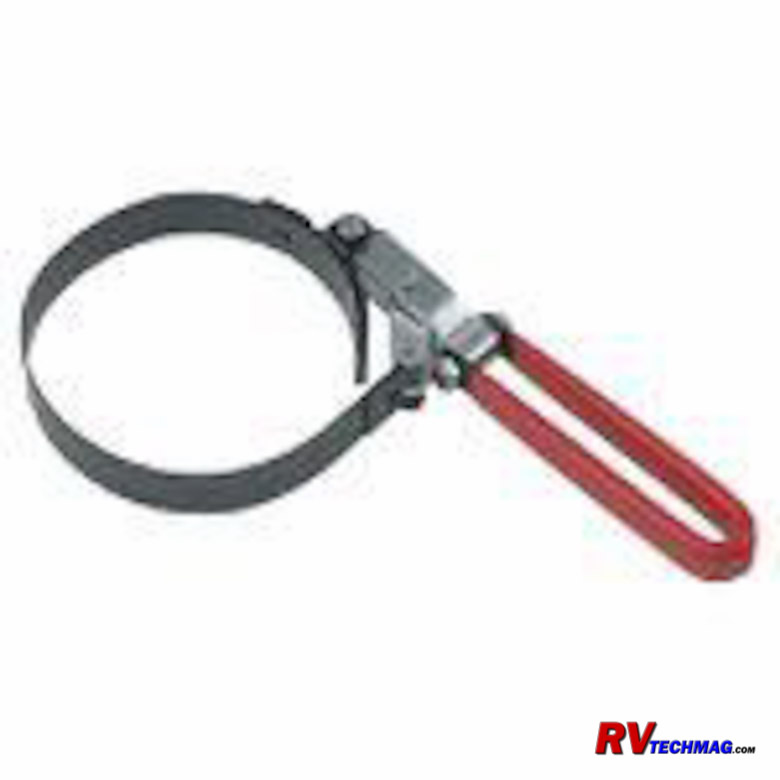
drain - don't rush it. Then reinstall the drain plug and move your drain bucket over to the oil filter and remove the filter. To remove the filter
you'll need an oil filter wrench. Many diesel engine oil filters are of a large diameter than standard automotive filters so you'll probably need an
oil filter wrench that's one size up from the normal size. Conversely, if you plan on changing your own oil on your generator you'll probably need
an extra small one so you will probably wind up with three different sized oil filter wrenches in your toolbox. Before installing the new filter be
sure to prefill it with fresh, clean engine oil. If you don't prefill it you'll be starting your engine up without any oil pressure. Given the size
of the filter it will take quite a while before it finally fills up and you'll be running your engine without oil pressure for a dangerously long
time. Always prefill engine oil filters on large diesel engines. Wipe a small film of oil onto the oil filter gasket before installing. If you don't,
the gasket will pinch and bind when you tighten the filter and it'll leak and maybe even loosen up and fall off after a while. An oiled gasket won't
pinch. Be sure to tighten the filter adequately. The larger filters take a fair amount of torque to tighten them so don't be afraid to lean into it
and apply some elbow grease when tightening the filter.
Next it's time to refill the engine with oil. Add the required amount of oil as per your engine's service manual. Be sure to
allow for any oil that you used to prefill the filter with because that oil is part of the total capacity. After you have filled the crankcase with
the correct amount of fresh oil start the engine and observe the oil pressure gauge. As soon as you see the oil pressure gauge move go back to the
engine compartment and check for any leaks, especially by the oil filter. If you find an oil leak, shut the engine off and correct the source of
the leak. Dipsticks can be misleading. The dipstick runs through a very long tube into the crankcase. If this tube is not clamped off at the required
length your dipstick will not read accurately. For this reason it's best to calibrate the dipstick the first time that you perform an oil change on
your coach. Change oil, as detailed above, and run the engine. Once you know that everything is in good shape and that you have added the exact amount
of oil specified to your engine shut the engine off. Let it sit for a few minutes to enable all of the oil to settle into the oil pan. Then remove the
dipstick, wipe it off, and insert it back into the engine. Check it carefully to see what it reads. It's best to take a couple of sample to make sure
that you have an accurate reading. If the oil level is right on the full line you are fine. If not, you can either remember that the "real" full line
is a bit off from there or you can change your dipstick so that it reads correctly. To do this, loosen the clamp that holds the dipstick tube in
place and length or shorten the tube until the dipstick reads accurately. Once it's accurate, tighten the clamps to lock it into place.
Draining a large capacity diesel engine isn't the same as draining your passenger car. Many engines can hold 28 quarts of oil.
That's 7 gallons and that won't all fit into a 5 gallon bucket. You'll need two 5 gallon buckets to hold all of the oil plus the old oil filter. You'll
also want some lids if you need to transport the oil to another location for disposal. One problem with this is that you'll need to switch buckets
mid-stream. There's no way that you can replace the drain plug while the oil is rushing out without spraying oil all over the place and switching
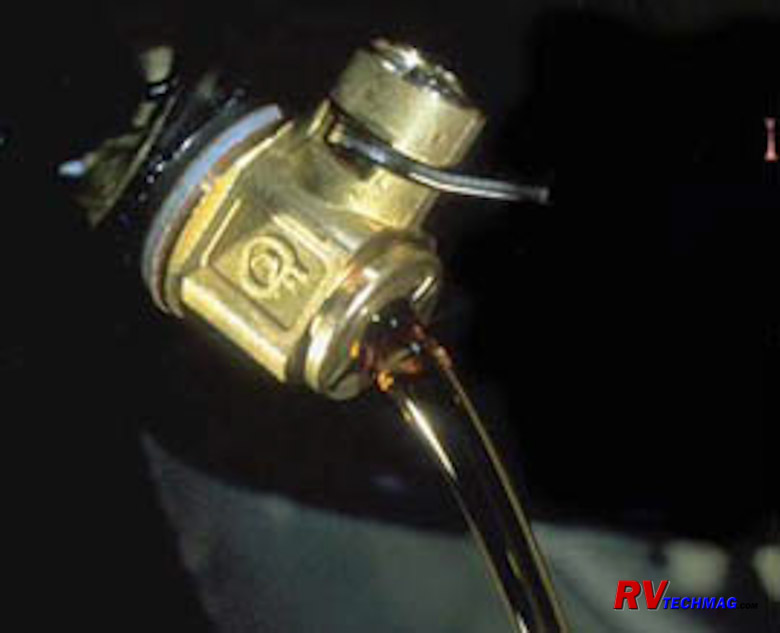
buckets "live" is a tricky operation. I recommend replacing your drain plug with an oil drain valve that can easily be switched off. I use a Fumoto
Oil Drain valve, which is shown in the photo above. This is a high quality, reliable valve that will remove all of the mess from swapping buckets in
the middle of your oil change. For information, or to order this valve, contact them at
www.quickoildrainvalve.com. Two types are available. One has a nipple that can be used to connect a rubber hose to direct the oil to the drain
pan and one is a plain valve. Typically the nippled version works well for front engined chassis where the oil needs to be directed away from tie
rods and axle parts while the plain version works best for rear engined diesel pushers.
Return to Home Page
If you enjoyed this article be sure to recommend RVtechMag.com to your friends, like us on Facebook or Twitter
or subscribe to our RSS feed.


|


