RV Chassis Lubricants
Selecting the Correct Lubricant
Application for Your Motorhome
Article Date: September, 2014
Article and Photography by Mark Quasius
Gear Lubes
In addition to the engine and transmission, other rotating parts also need lubrication. Rear axles and wheel bearings have
their own set of specific needs. Fortunately they don't have to deal with the attributes of a combustion engine nor the power transmission
characteristics of an automatic transmission so these requirements are a bit relaxed and finding good gear lube isn't as difficult as obtaining the
best engine oil or transmission fluid for your RV. But, axles and wheel bearings do have to put up with a fair amount of heat and a tremendous
amount of load. This means that the lubricant will be thicker in viscosity than engine oil in order to handle the load and heat without thinning
out. Typical gear lubes will run in the 90 weight viscosity range. It's also possible to improve lubricant performance by going with a synthetic
gear lube. Again, this tutorial only serves to help illustrate the differences between the various lubricants and tips on servicing those
components. It does not replace your owner's manual, which will be the ultimate guideline to the proper lubricant and service schedule that
pertains to your RV.
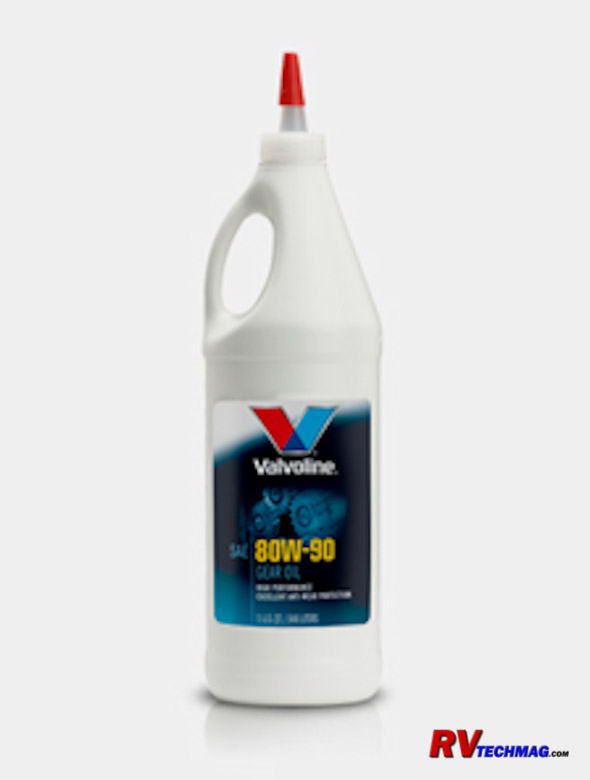
Conventional Gear Lubes
Chances are your application that requires gear lube falls into one of two categories - standard duty or extreme duty. The
majority of situations require your basic 80W-90 gear lube. This gear lube serves well to lubricate most bearings, manual gearcases, and rear axle
ring and pinion gear sets. In some automotive applications a limited slip rear axle will be utilized. This adds a bit of complexity to the lubricant
requirement because the limited slip differential utilizes clutch plates to tie both drive wheels together for improved traction, yet still allowing
them to slip when turning corners. An additive may be added to conventional gear lubes or a gear lube that is specifically designed for limited slip
applications may be utilized. Note that a limited slip rated gear lube can also be run in an axle without limited slip without any problems.
Sometimes conditions are more extreme and a greater range of protection is desired. In that case a heavier weight gear lube
will be specified. In years past a 140 weight gear lube was a popular choice. The drawback to a heavier weight lubricant is that it is thicker than
molasses when it's cold and does not provide good lubrication until it warms up. This has been rectified in recent years when multi-grade gear lubes
were formed. However, this necessitated the use of synthetics to achieve that temperature range because traditional gear lubricants just weren't up
to the task.
Synthetic Gear Lubes
Synthetic gear lubricants really do "Kick it up a notch." They provide a wide range of operating temperatures from a single
lubricant. Conventional gear lubes that stay in the 80 to 90 weight range can be replaced by synthetic lubricants in the 75 to 90 range or even the
75 to 140 range. The provide better cold temperature performance and greater high temperature performance and can handle greater loads and stress
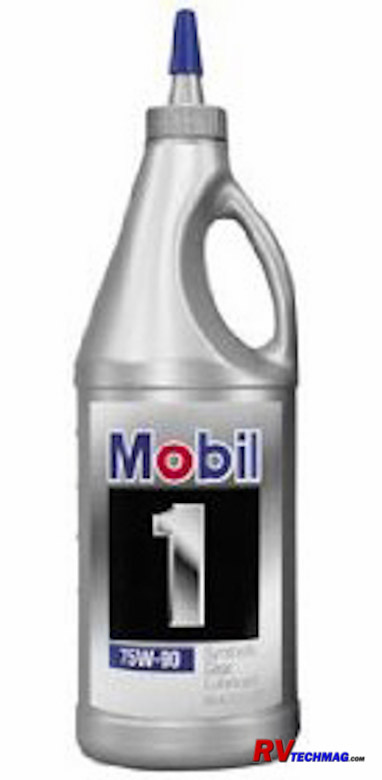
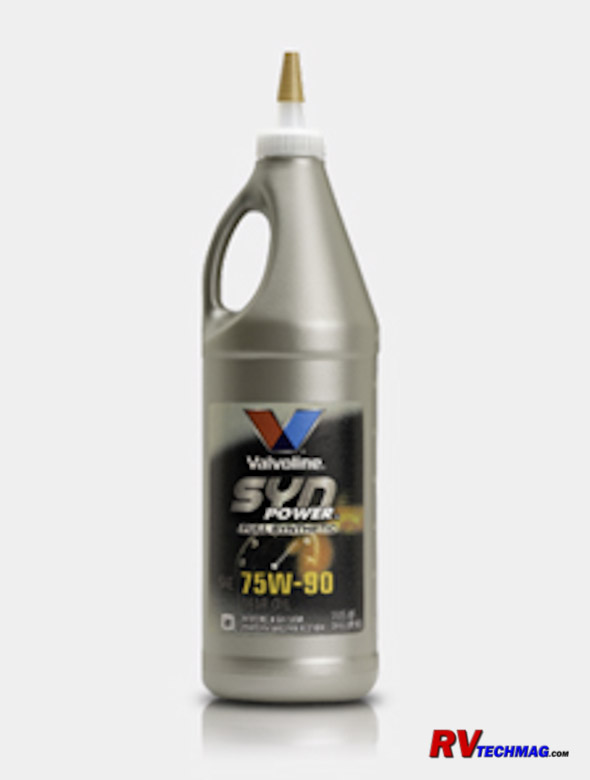
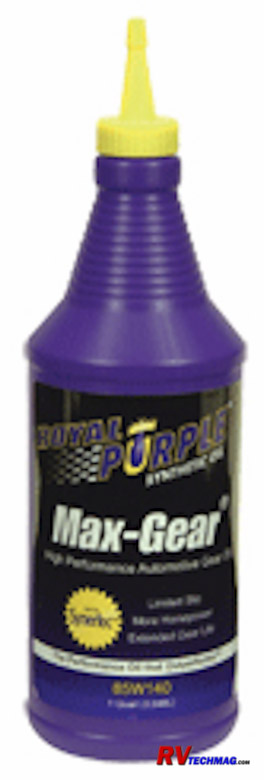
than conventional lubricants. Synthetic lubricants are manufactured by all of the major oil and lubricant makers, such as Mobil One, Shell Oil,
Valvoline, Kendall, Royal Purple, and many others.
Synthetic lubricants are less susceptible to foaming than conventional lubricants, which makes them better suited for wheel
bearings and axle housings. Synthetics offer better low temperature performance with reduced friction and drag in cold temperatures as well as
greater high temperature performance, which will show up when the coach is working hard. The following chart will better illustrate the low
temperature (pour point) and high temperature (flash point) of three typical gear lube viscosities. This particular chart was based upon Mobil Oil
specifications but other brands will have similar performance.
|
Viscosity
Rating
|
Pour Point
Degrees (C)
|
Flash Point
Degrees (C)
|
|
80W-90 Conventional
|
-27
|
98
|
|
75W-90 Synthetic
|
-46
|
175
|
|
75W-140
|
-51
|
221
|
As the above chart shows, synthetics flow much better at low temperatures yet hold up better under extreme high temperatures.
Couple that with reduced friction and foaming and synthetics are a good choice for any gear lube application.
Do Your Own Service
Servicing your gear lube levels isn't hard. Gear lube typically has a long service life because it's not exposed to the extreme
conditions that engines and automatic transmissions are. But, eventually it's time to replace the lubricant. Note that gear lube is contained in a
housing that is designed to lubricate bearings and/or gears. There should not be any consumption of lubricant therefore the level should not drop over
time. If your gear lube level is dropping it's time to check for leaks to see where it's going.
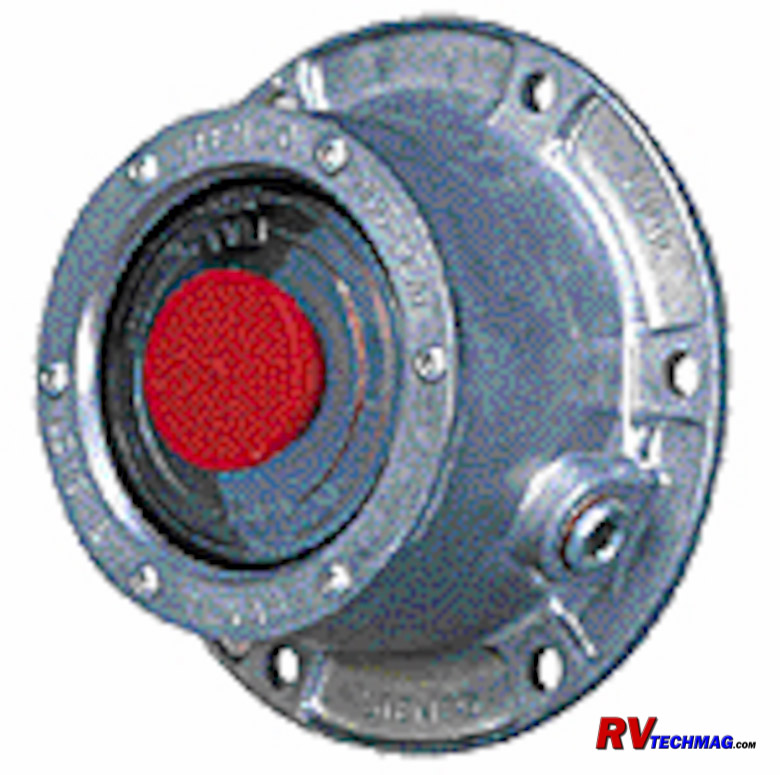
Wheel Bearing Hubs are used on front axles as well as tag axles. Gear lube is used on wheel bearing hubs in heavy duty
applications. You won't find them on your car or pickup truck but you will on a larger class A. Grease filled hubs work but the grease gets slung away
from the wear surfaces over time whereas the more fluid gear lube circulates better and gets to more areas that need lubrication. Your front bearing
hubs will generally have a hub cover, as shown in the above image. These cast aluminum covers have a clear plastic sight glass window and a rubber
plug (typically red or black) that fills the center hole. The clear window will have two rings molded into the plastic. These act as a dipstick of
sorts. The outermost ring is the "low" marking while the inner ring is the "high" marking. Think of them as the "full" and "add oil" markings on your
dipstick. You want to keep the oil level between these two lines.
You do not want to overfill the hub. If you do, it will create excess pressure and blow the wheel seal. If the level is low,
simply pry the rubber plug out with your fingers and add some gear lube through the hole. Again, do not overfill. Keep it between the lines. You may
need to let it settle for a minute to allow the lube to pass through the bearing and into the hub cavity, then check it again. If you need to add gear
lube, check for leaks. The wheel hub can leak in one of two places - either the hub cap, or the wheel seal. If the wheel seal is bad the lube will
sling all over the backside of the tire and make a big mess. If the leak is at the hub cover you'll find the mess on the outside of the wheel and
inside the chrome trim hubcap. Either way, a little leak makes a big mess because the rotation of the wheel slings it all over the place. If your
hub cover is leaking, check for loose bolts where the hub cover bolts to the wheel hub. If they are loose, chances are the gasket is also bad. You'll
need to replace the gasket and apply a good gasket sealant to it during reassembly. My personal preference is Permatex Ultra Black. Also check the
six small Torx had screws that clamp the clear sight glass window to the hub cover. If they are loose, the retaining ring will allow gear lube past
the silicone gasket that holds the clear window in place. I have repaired that with a light coating of clear silicone gasket sealant but replacement
hub covers aren't all that expensive either.
If you want to change your hub gear lube it's going to be hard to get it all out because the well inside the wheel hub is deeper
than the hub cover. Ideally you'd remove the hub, clean everything up, inspect the wheel bearings, and replace the seals. We did that on over-the-road
trucks all the time but they racked up significant mileage. Most RVers simply rotate the hub so that the hex plug in the side of the casting is facing
down, then remove it to drain the hub. You'll get a good chunk of it out that way and if you service it often enough (based on time rather than mileage)
this method should work for you.
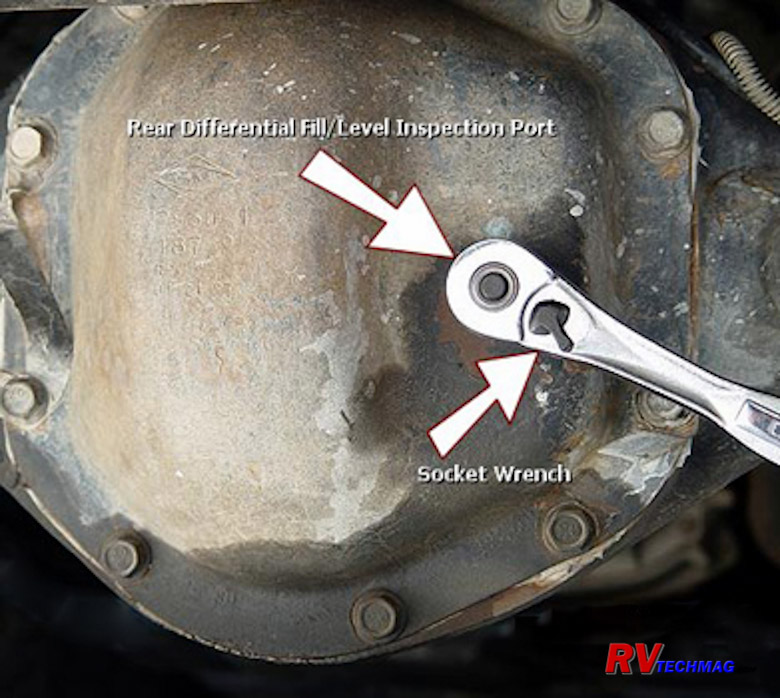
Rear axles have similar needs. However, a typical rear axle as found in a class A motorhome will be rated for
20-22,000 lbs and will probably hold very close to 4 gallons of gear lube. You can buy 16 quart bottles or look into a 5 gallon pail with a hand pump
to simplify it and hold the cost down. To drain the old lube you'll find a drain plug in the bottom of the axle housing and a fill plug in the rear
of the housing. The fill plug also serves as a level checking plug. The lubricant should be just ready to flow out the fill hole when it's at the
proper level. You can check this by sticking your finger in the hole to see how high the lubricant level is. When draining it's best to remove the
fill plug first to allow air to enter the differential cavity while you drain the old lube. Otherwise it'll glug and splatter more as it drains.
Then, remove the drain plug. Most of these plugs have a female square opening in them that you stick your ratchet wrench into. The drain plug will
also have a magnet attached to it to trap and metal filings or chips. Be sure to clean this plug off thoroughly before replacing it. Once it's drained,
reinsert the drain plug ands start adding your gear lube. When you get close to the recommended quantity, stop and check the level with your finger
to see if you are getting close. If you have found the correct specs you should hit it right on the head.
Return to Home Page
If you enjoyed this article be sure to recommend RVtechMag.com to your friends, like us on Facebook or Twitter
or subscribe to our RSS feed.


|


